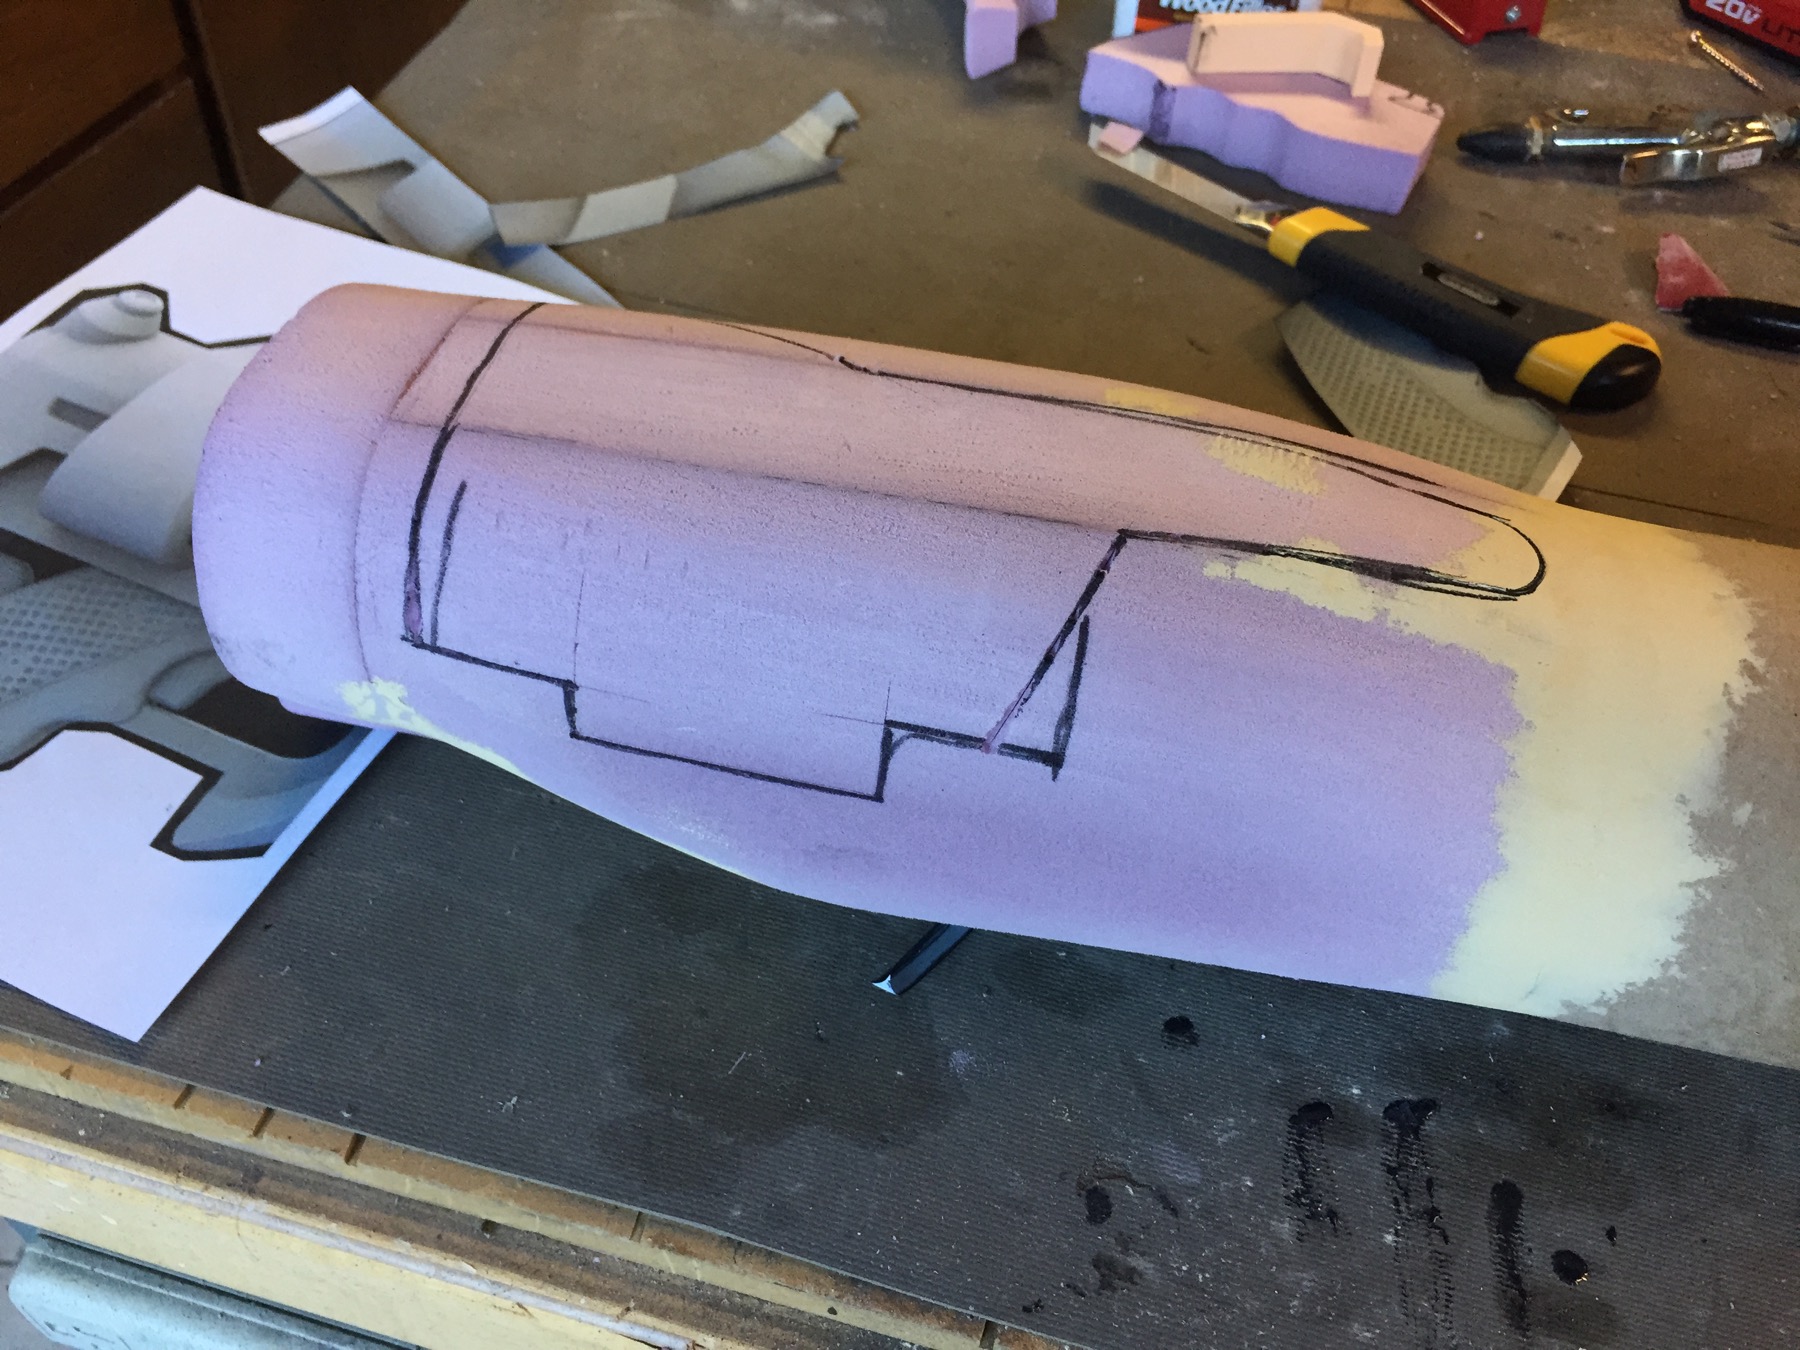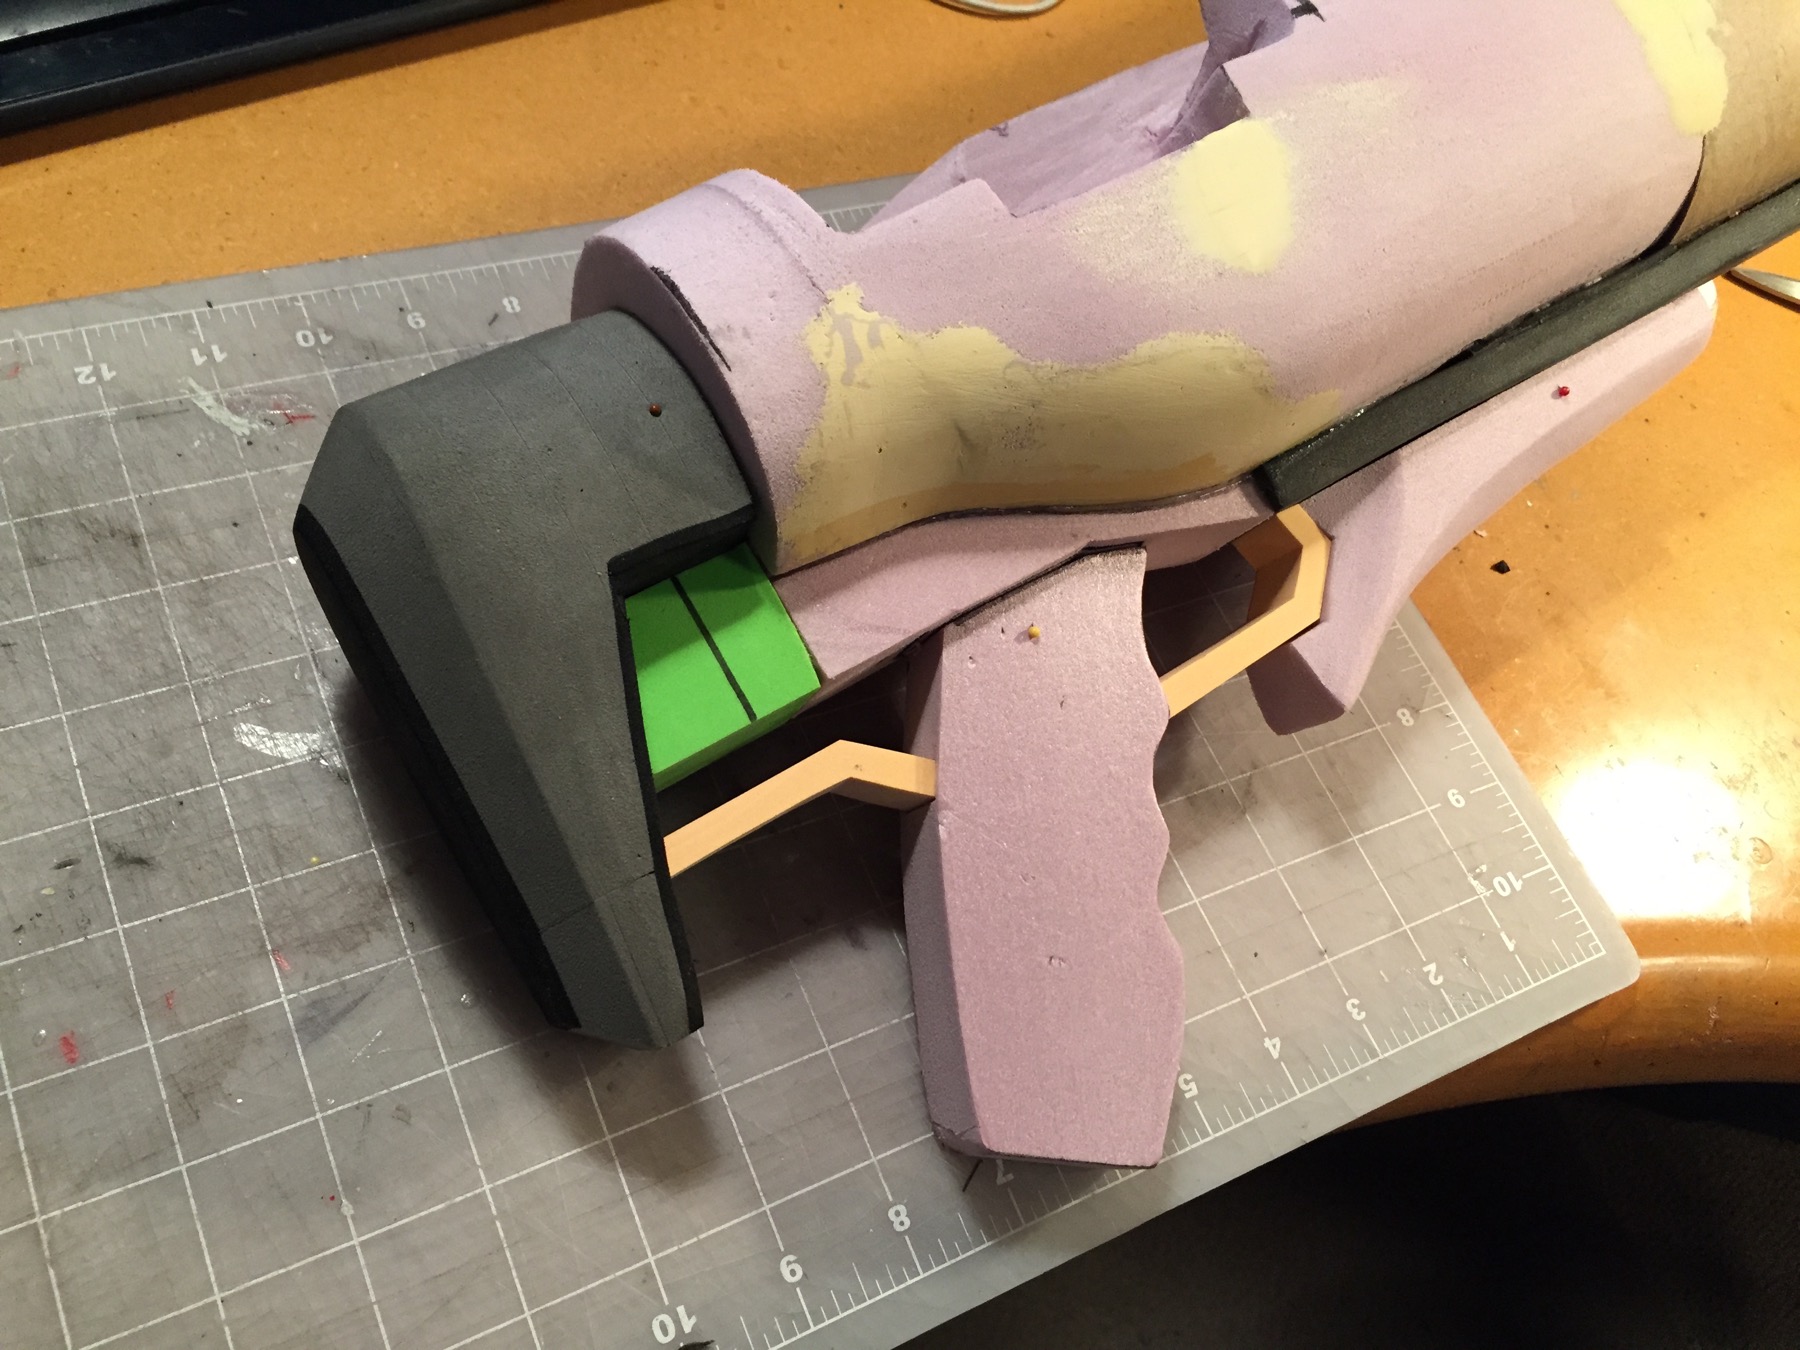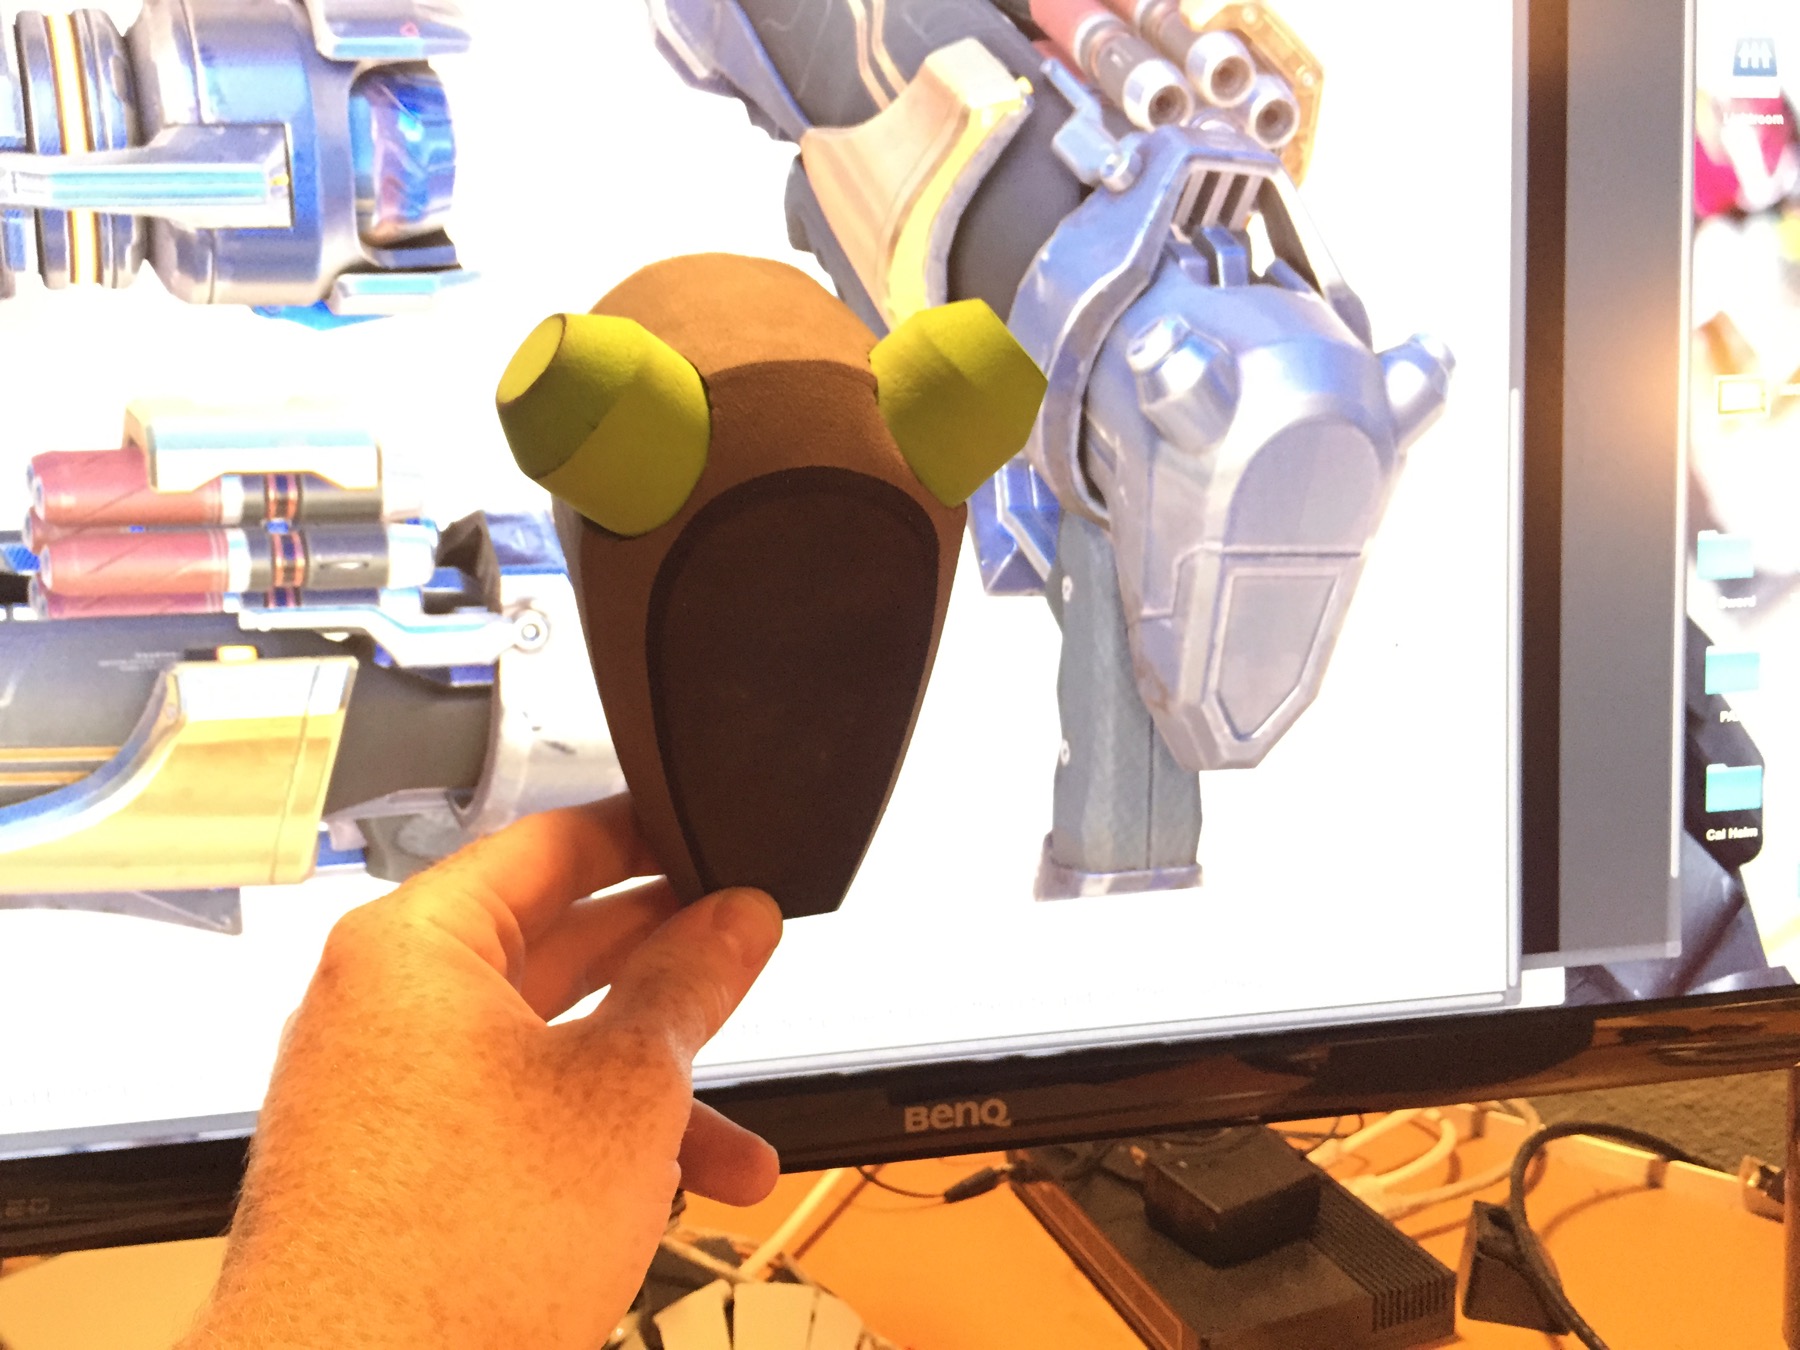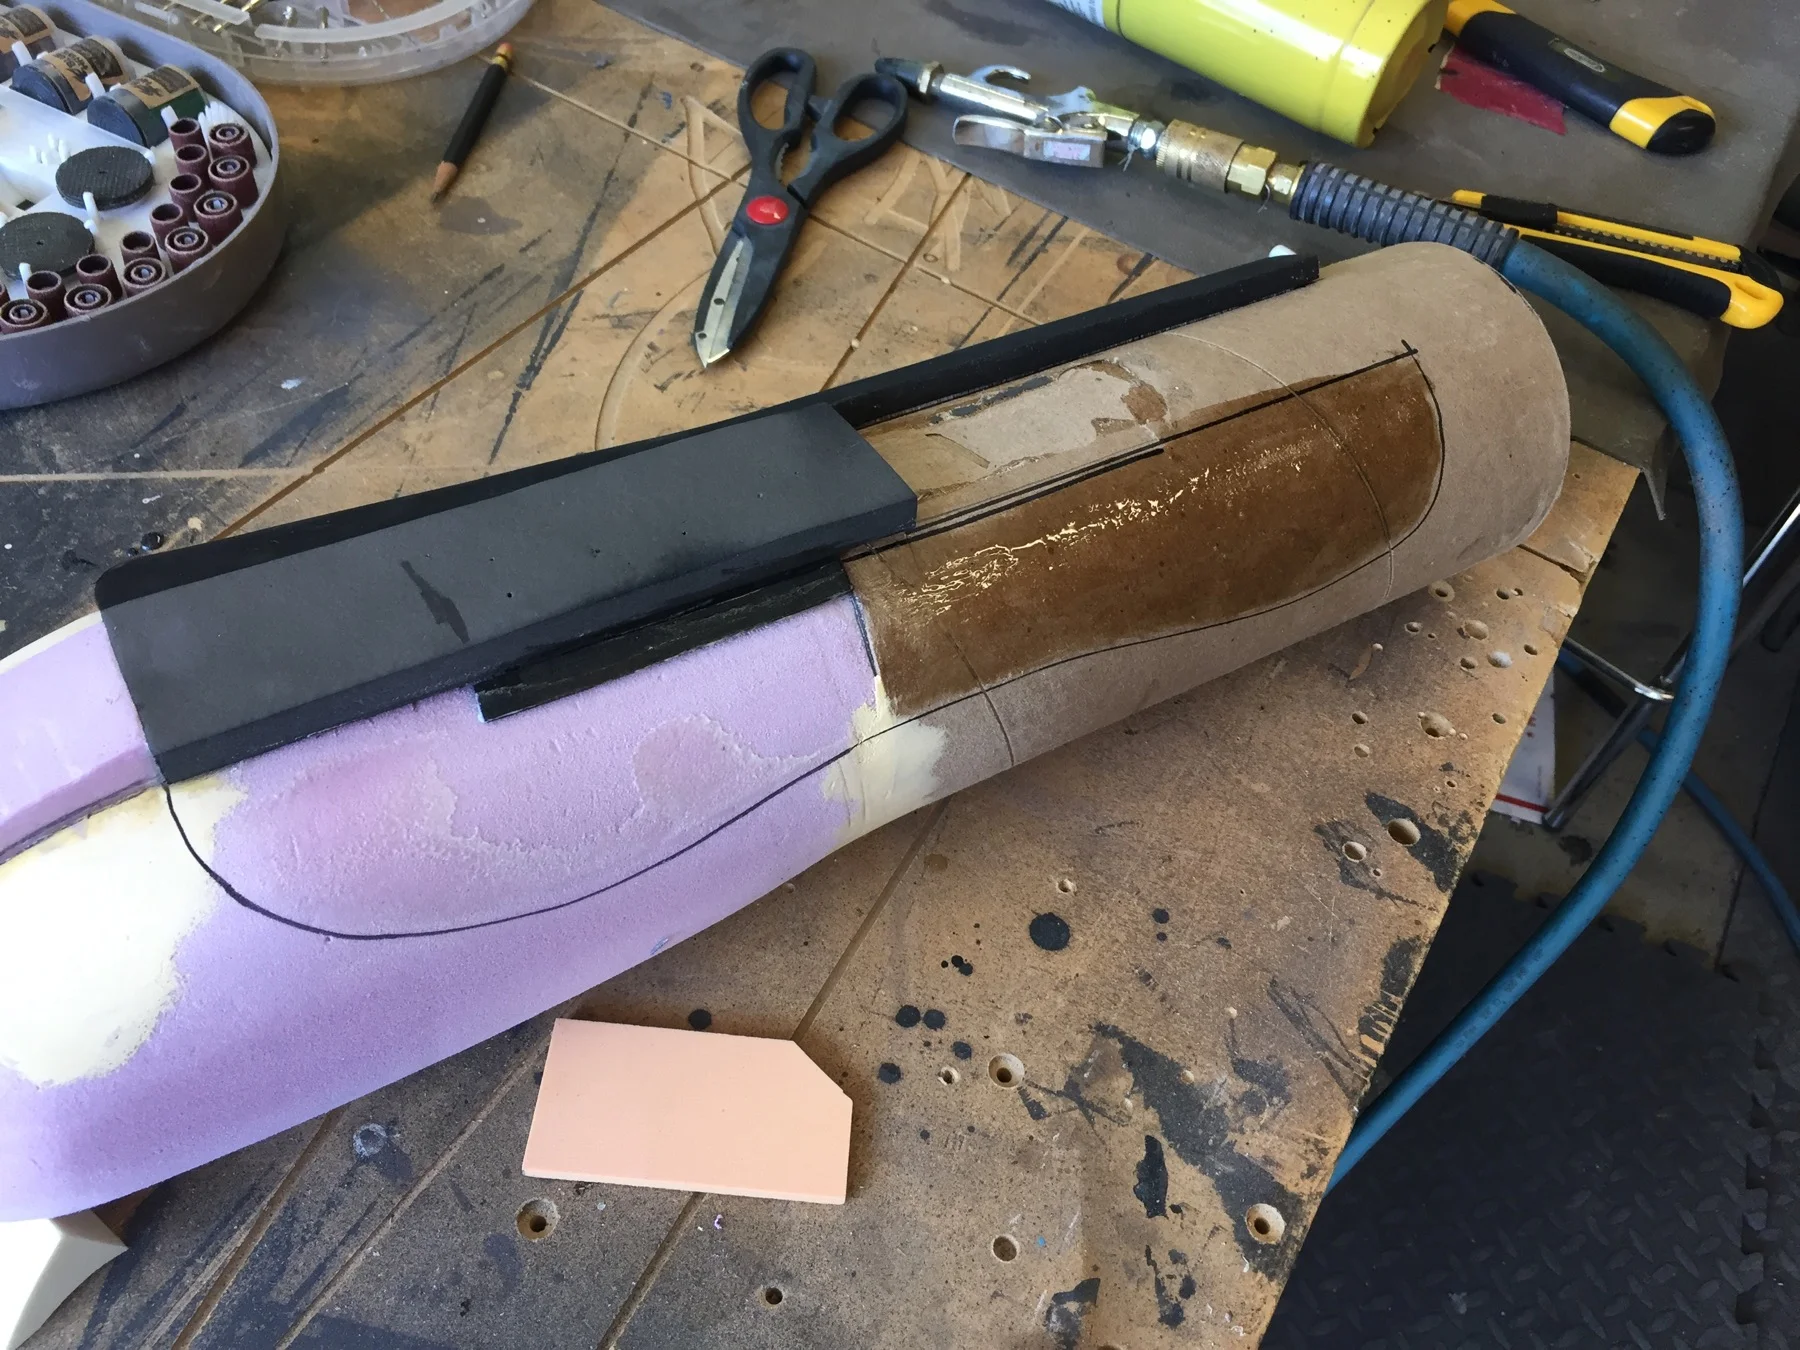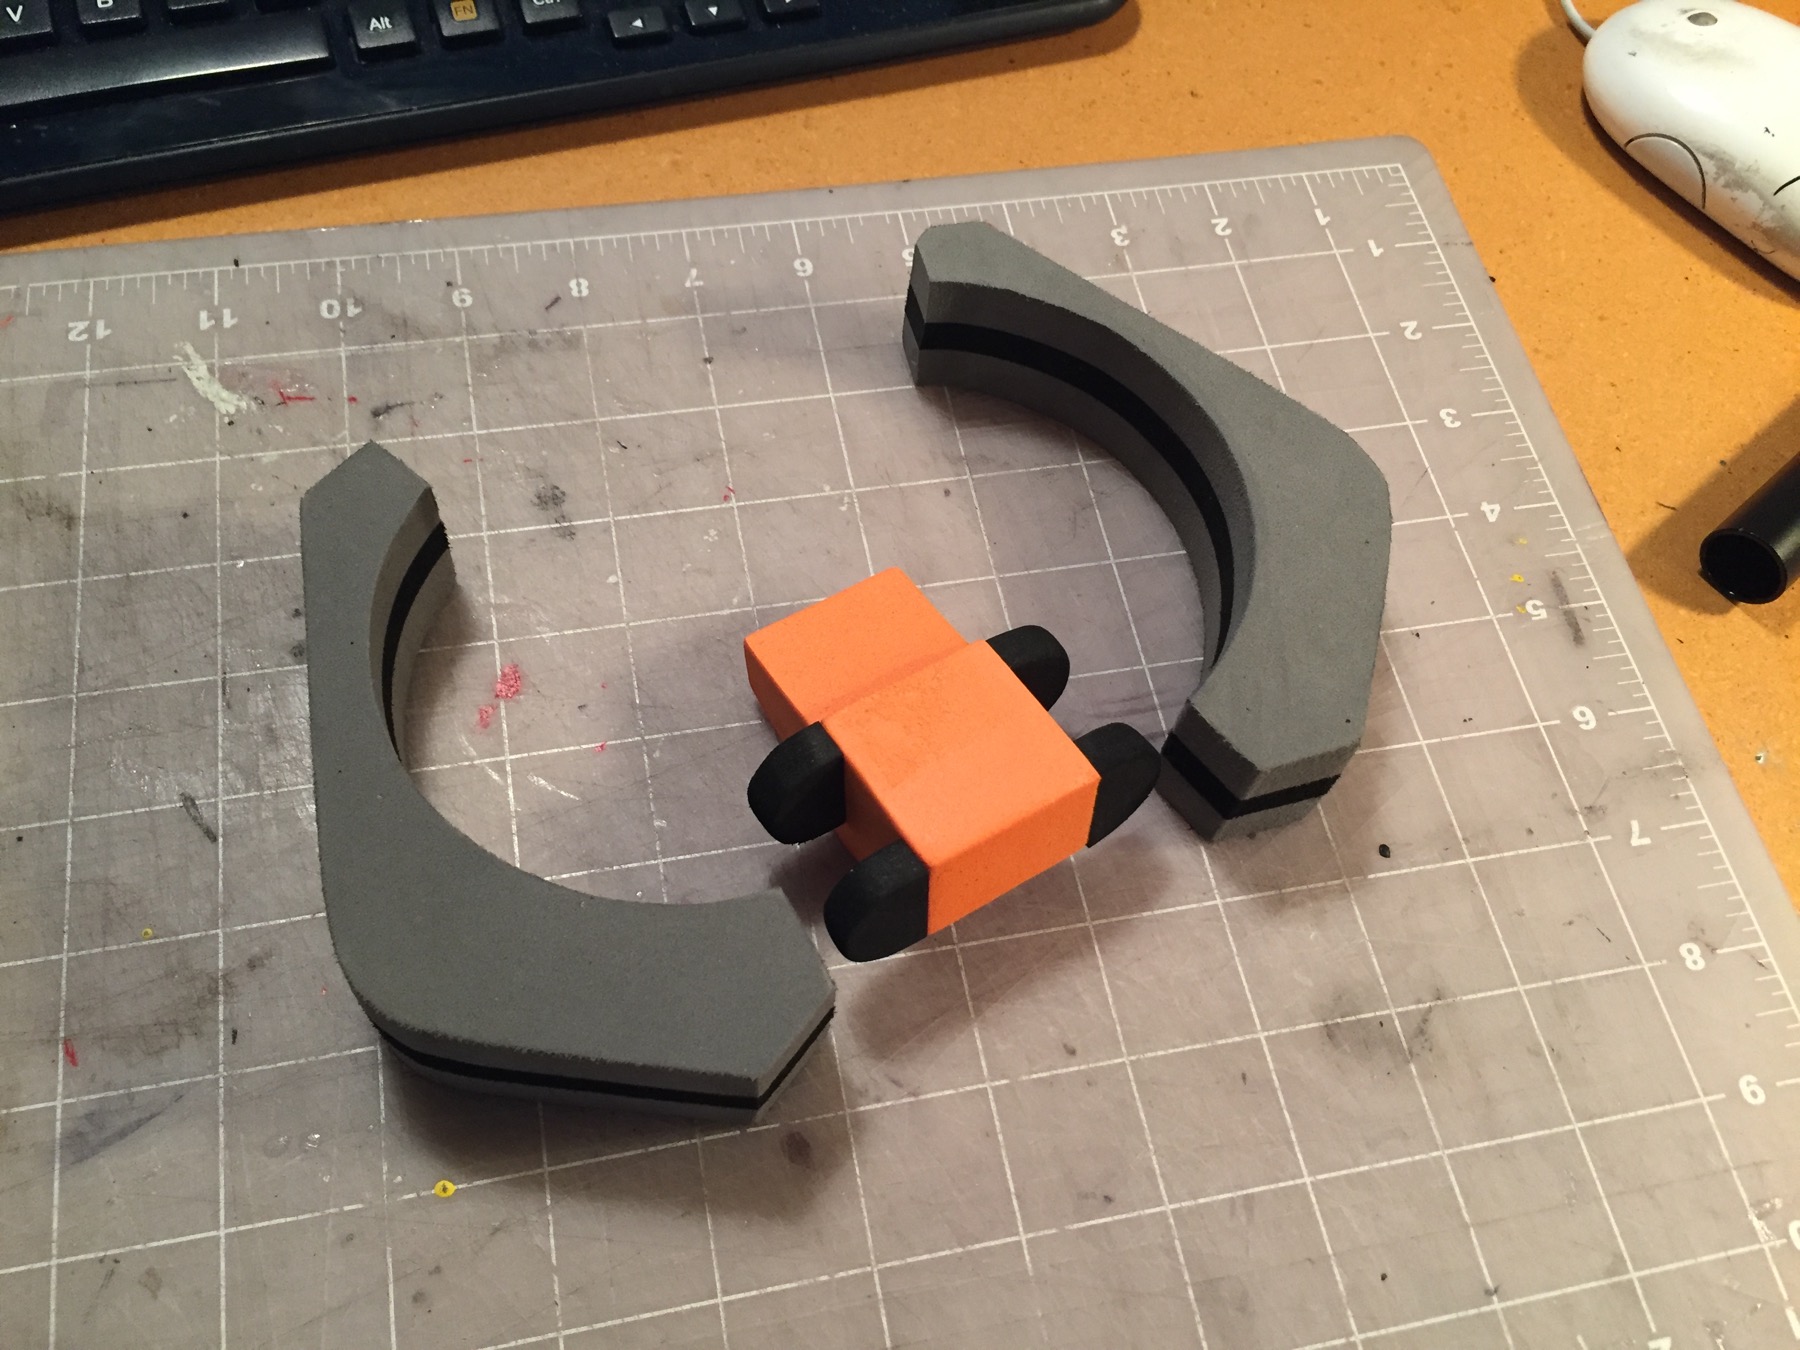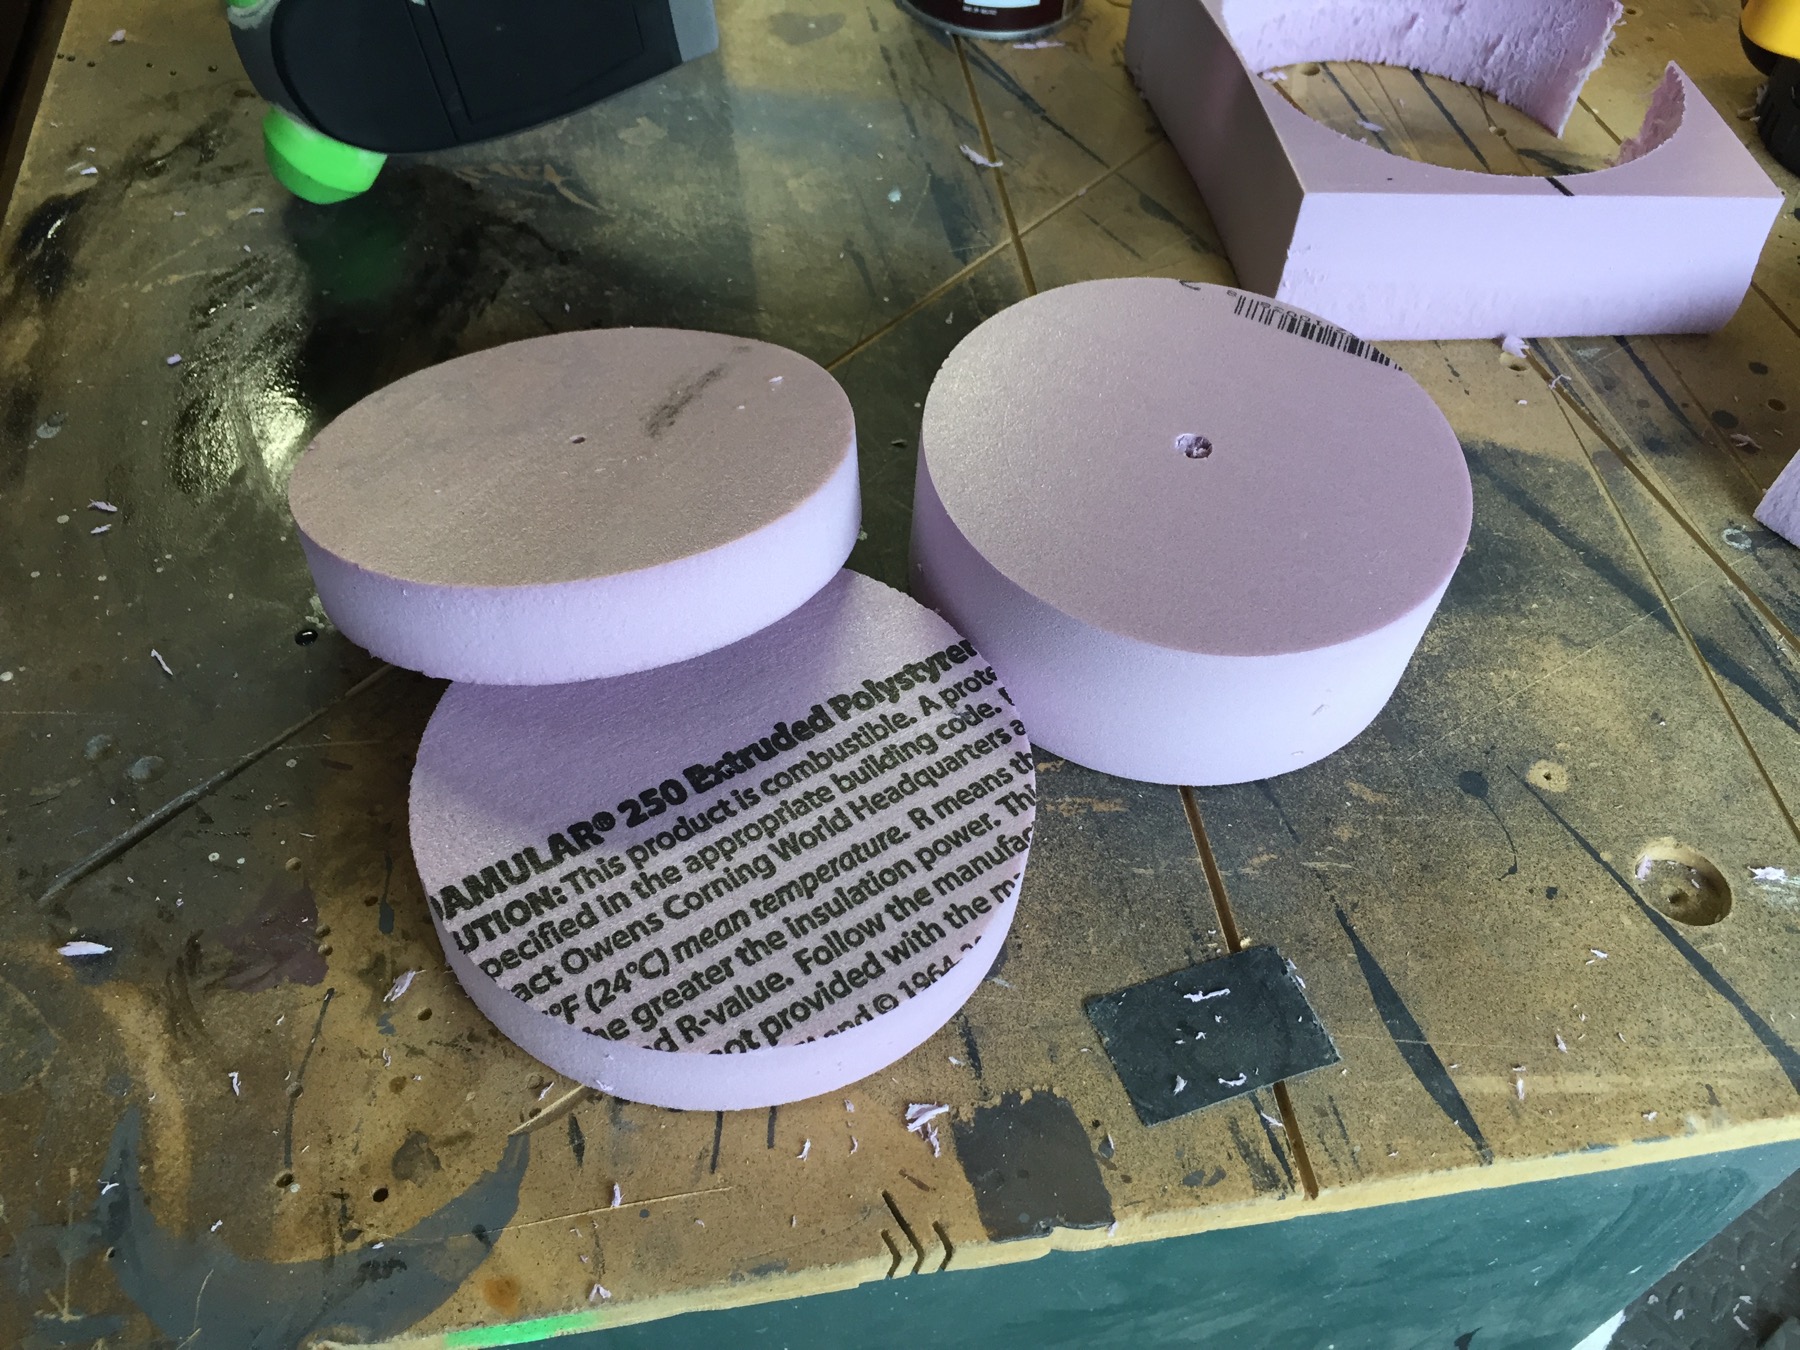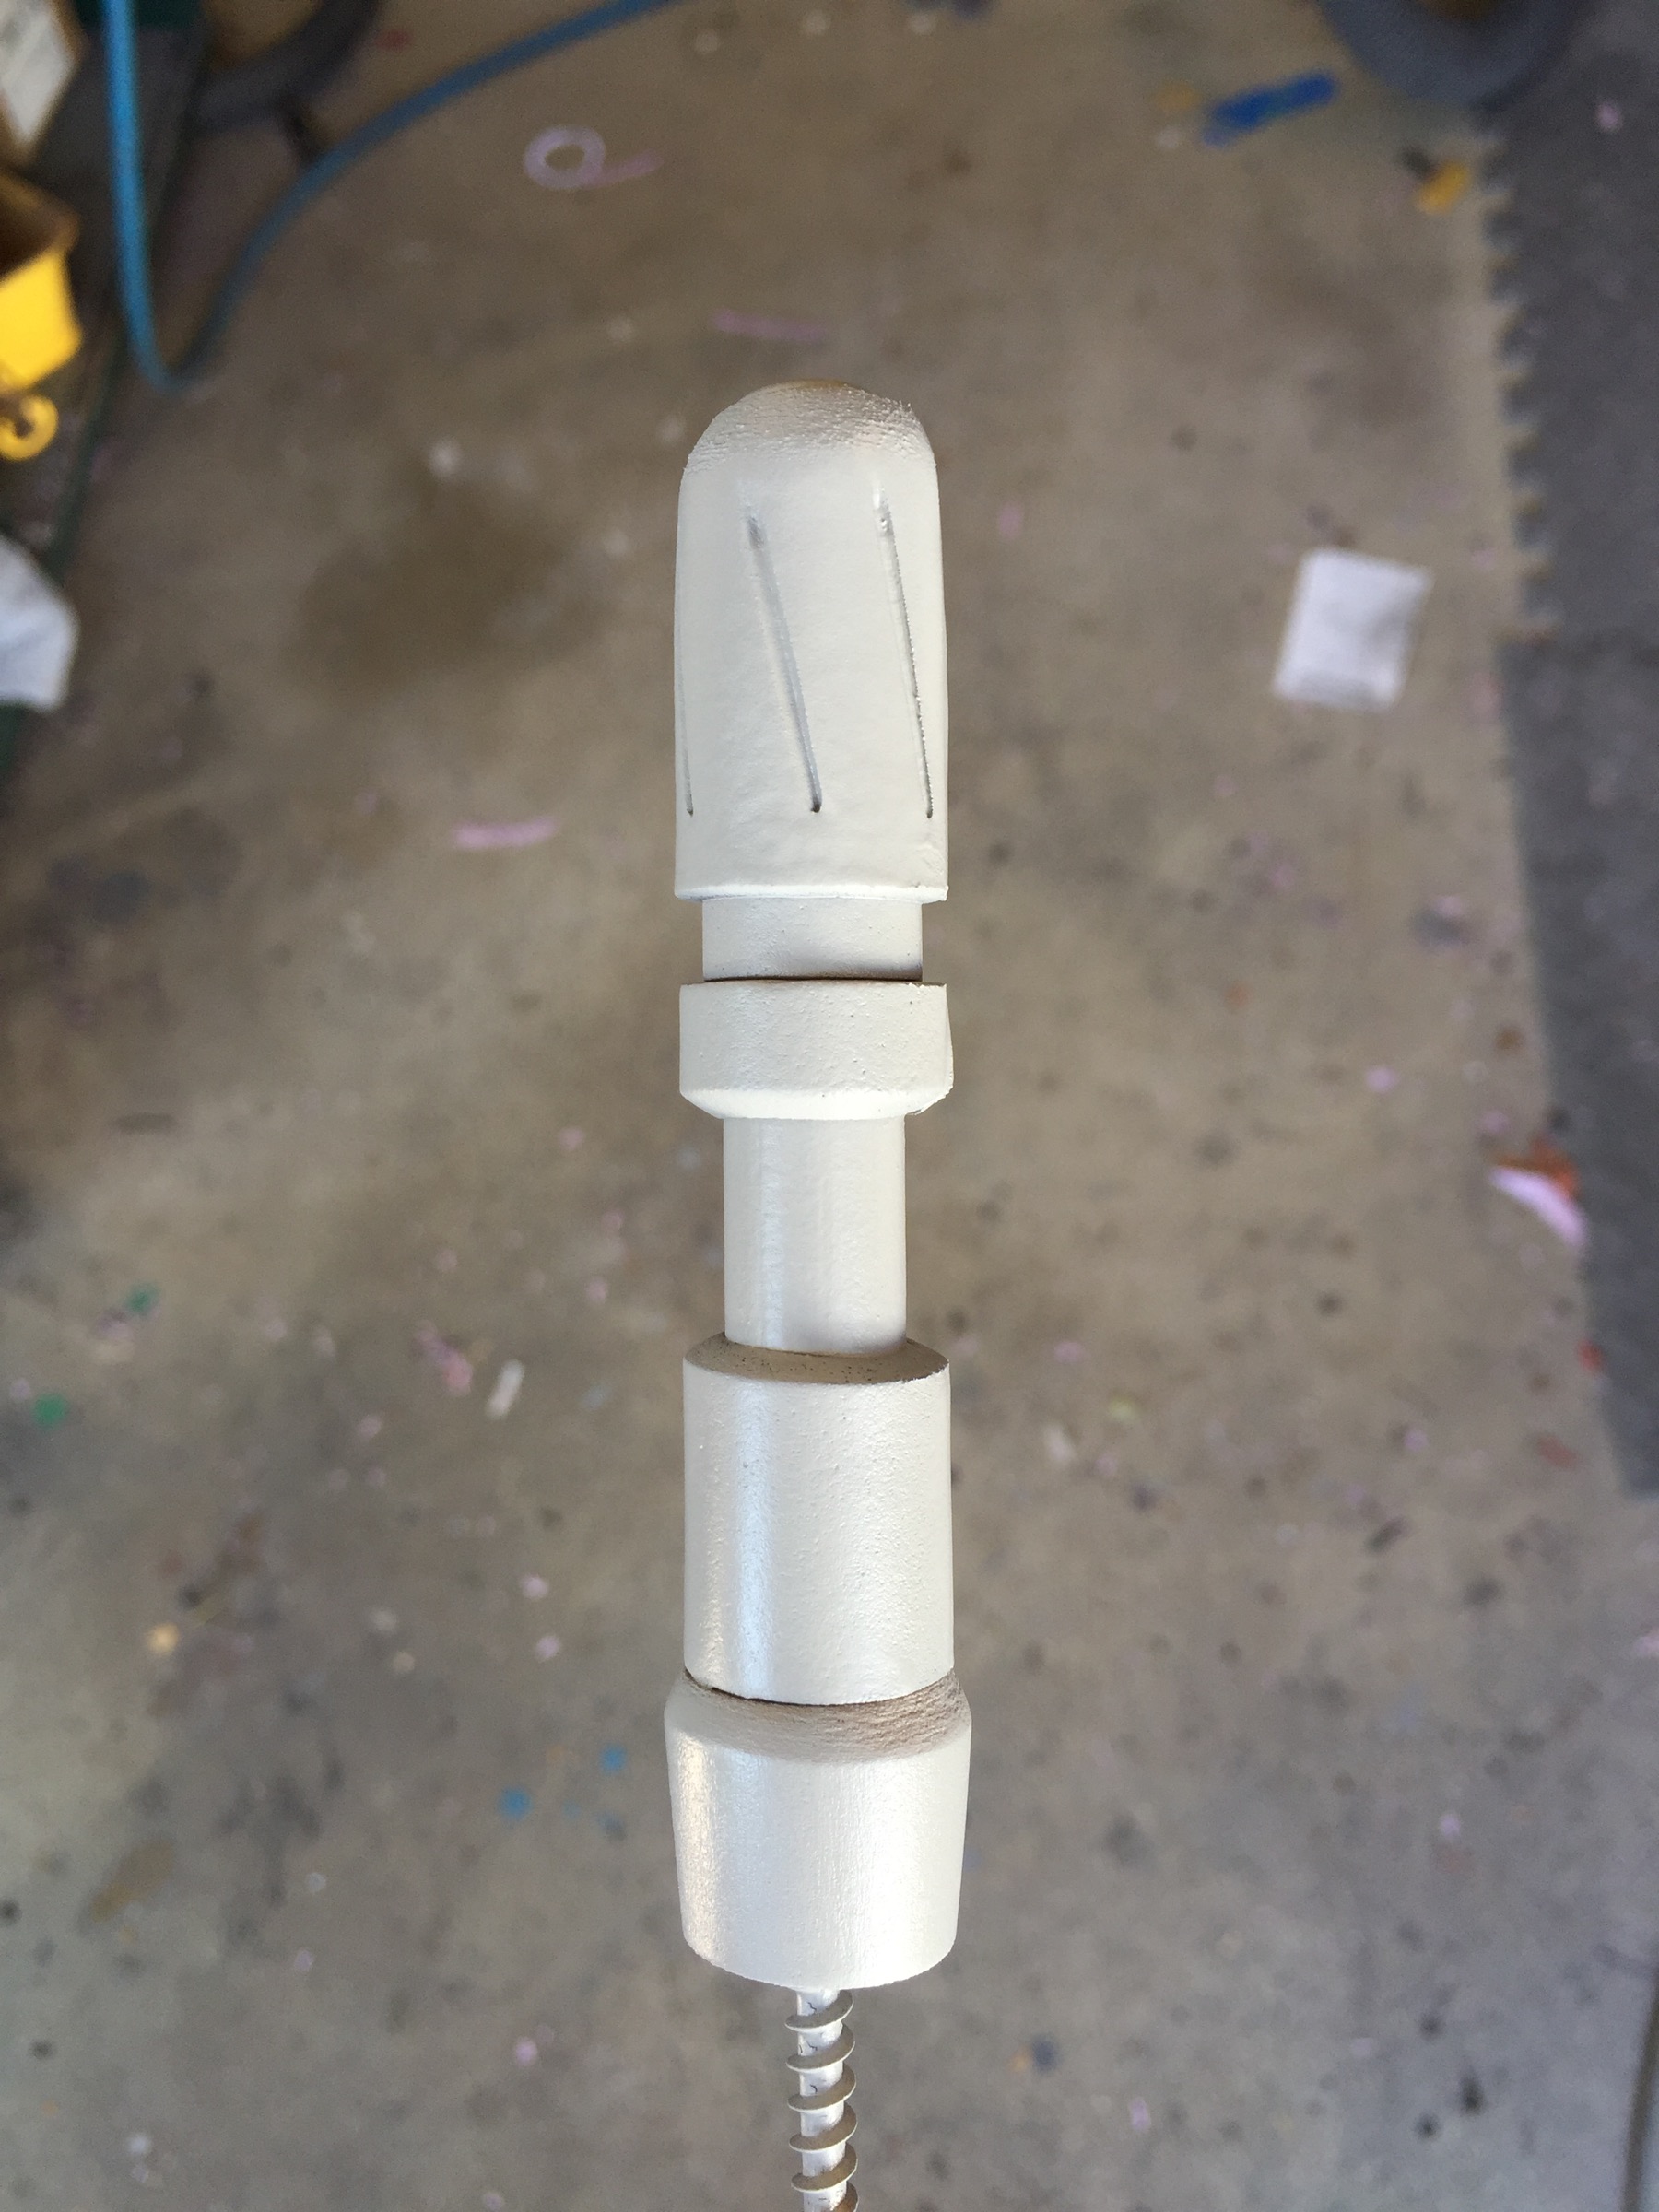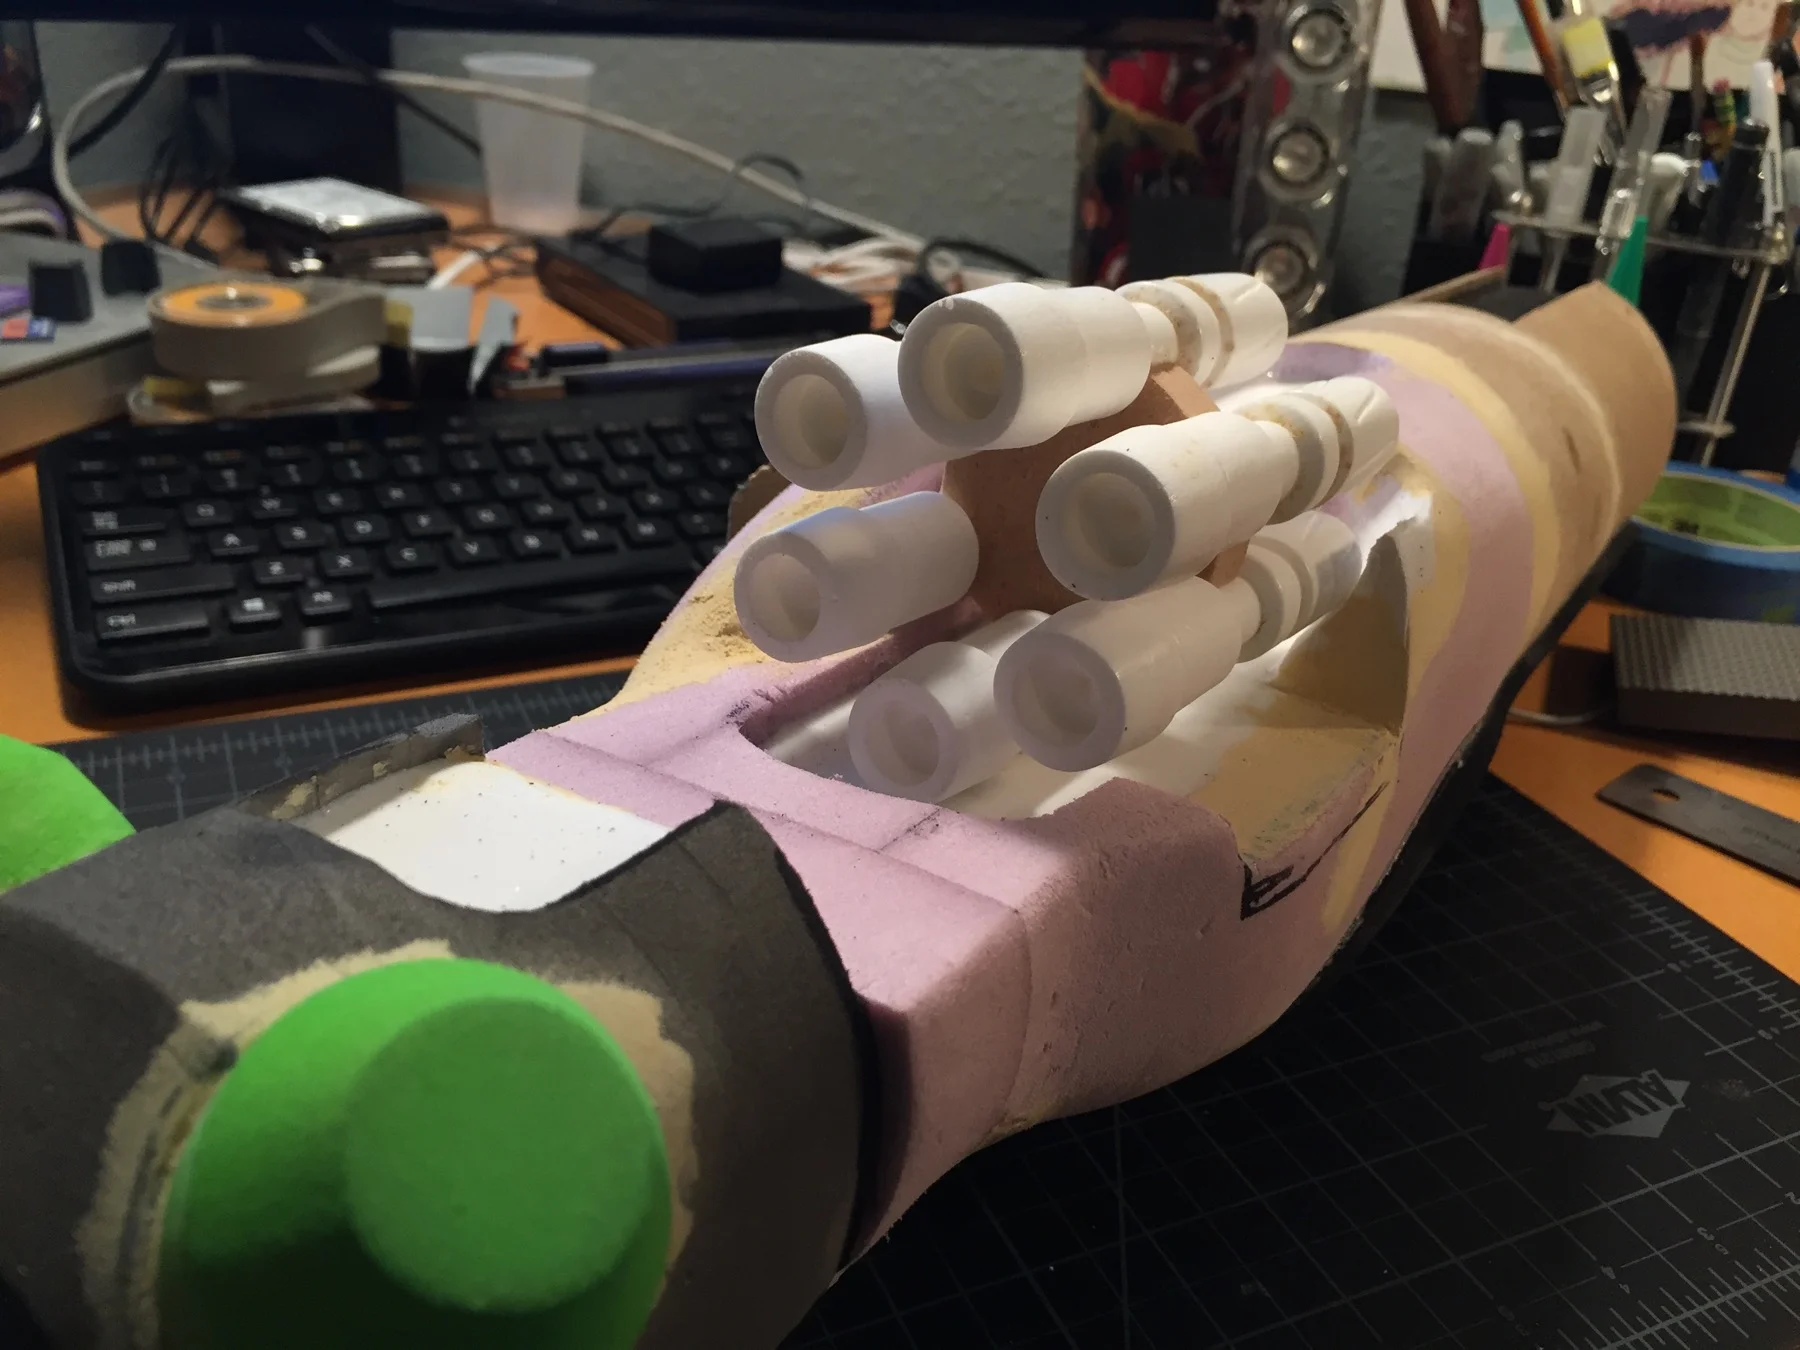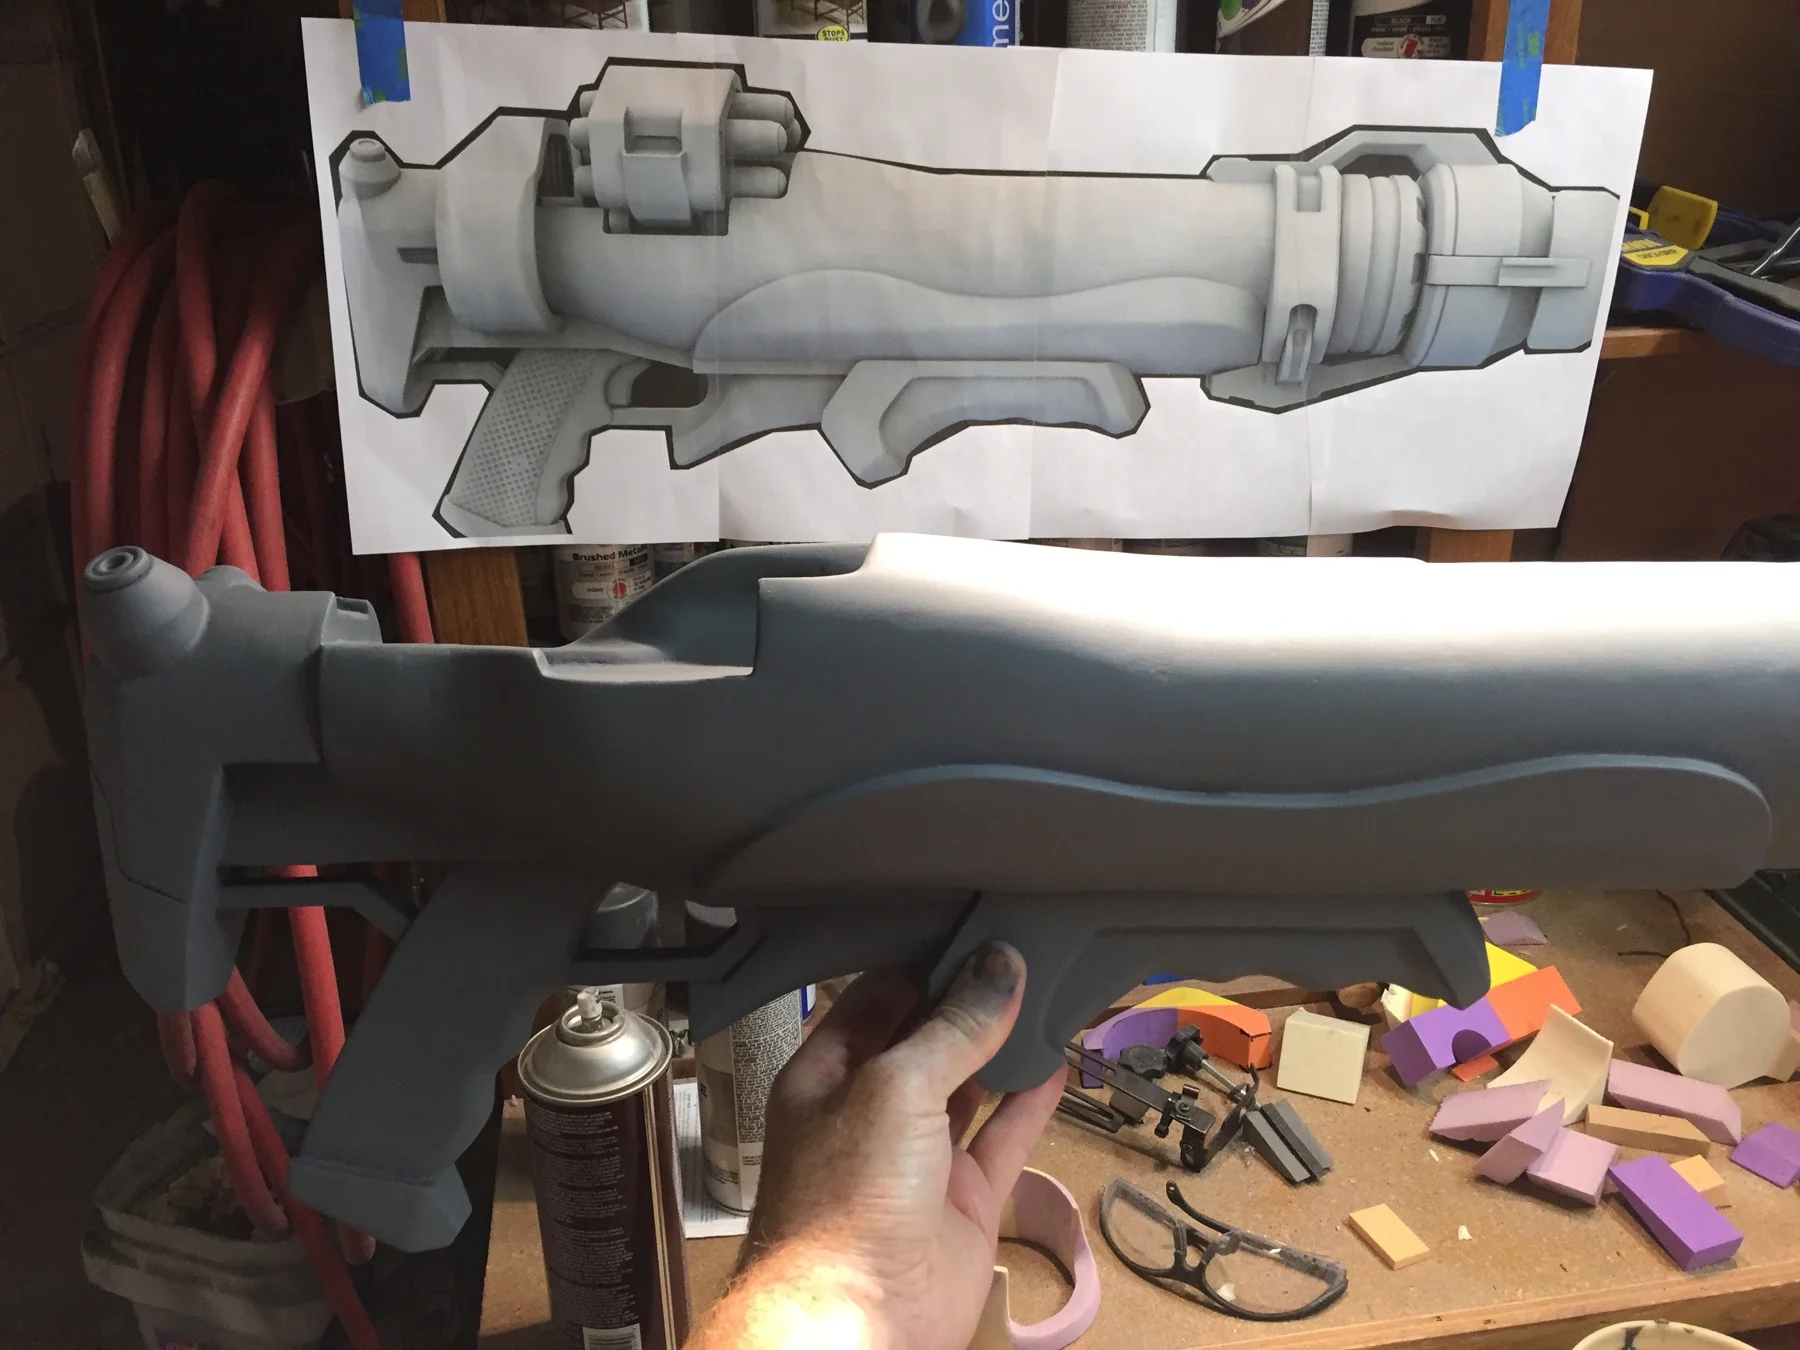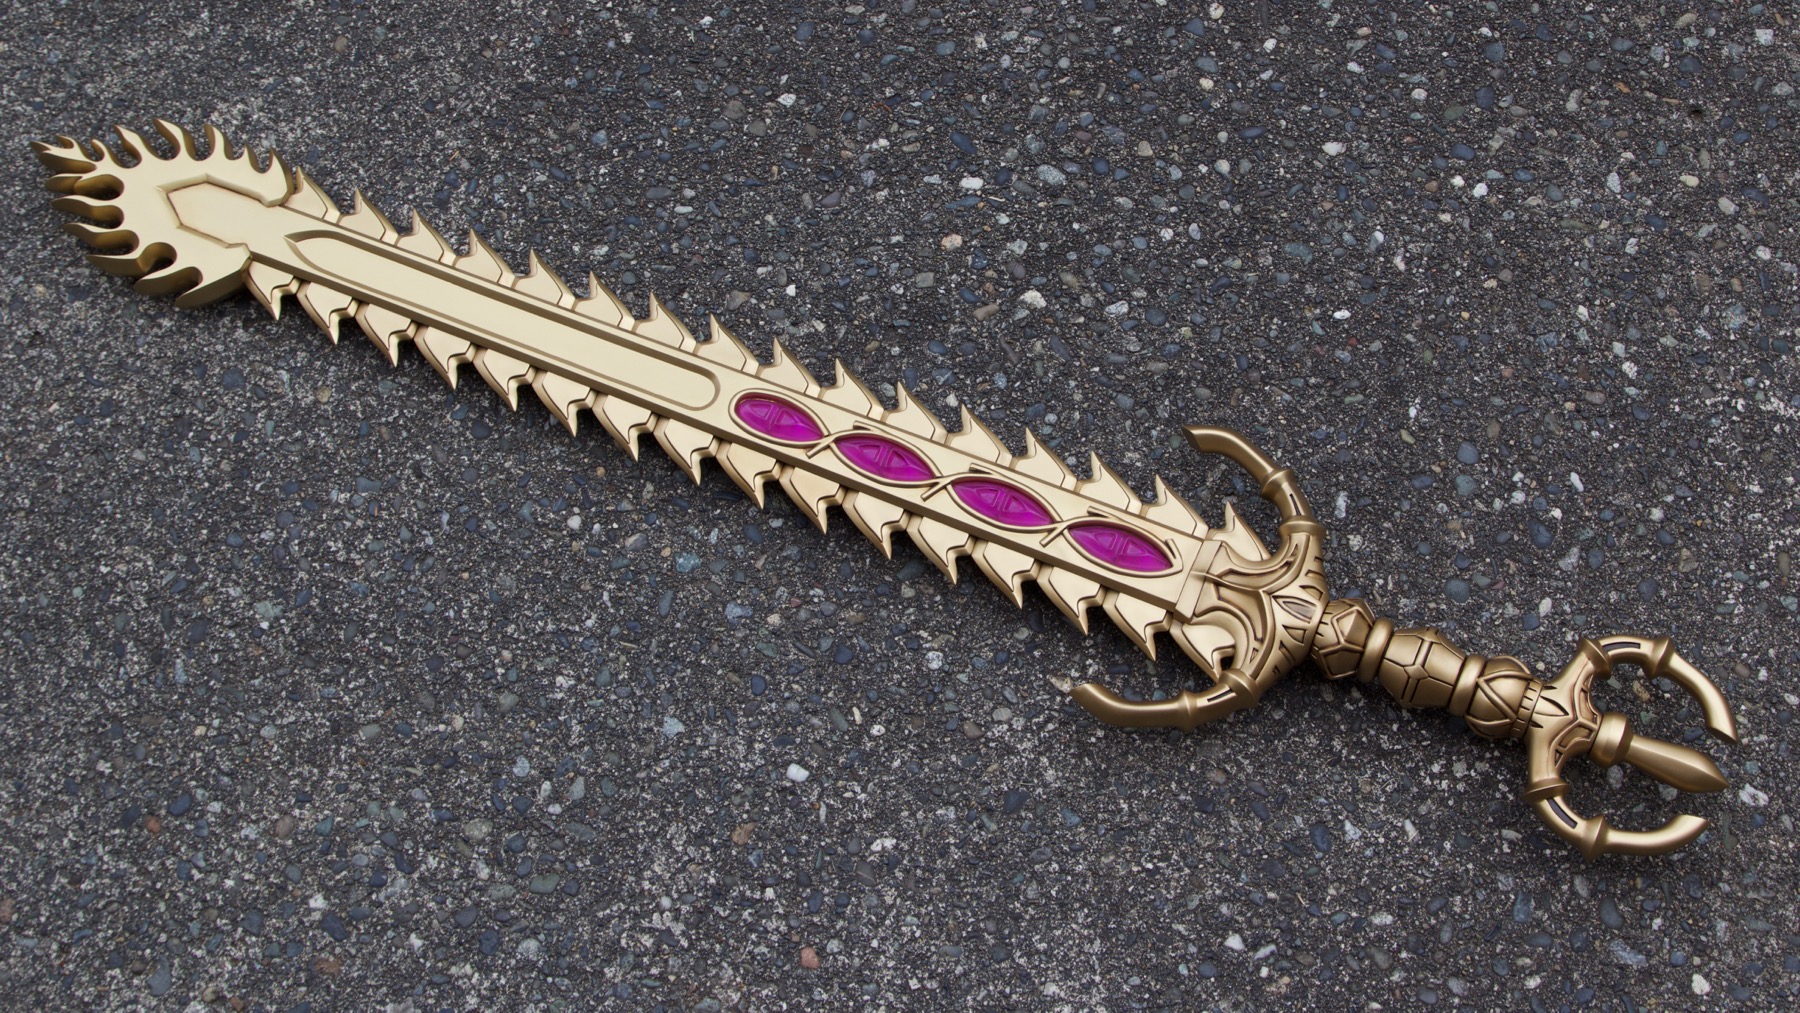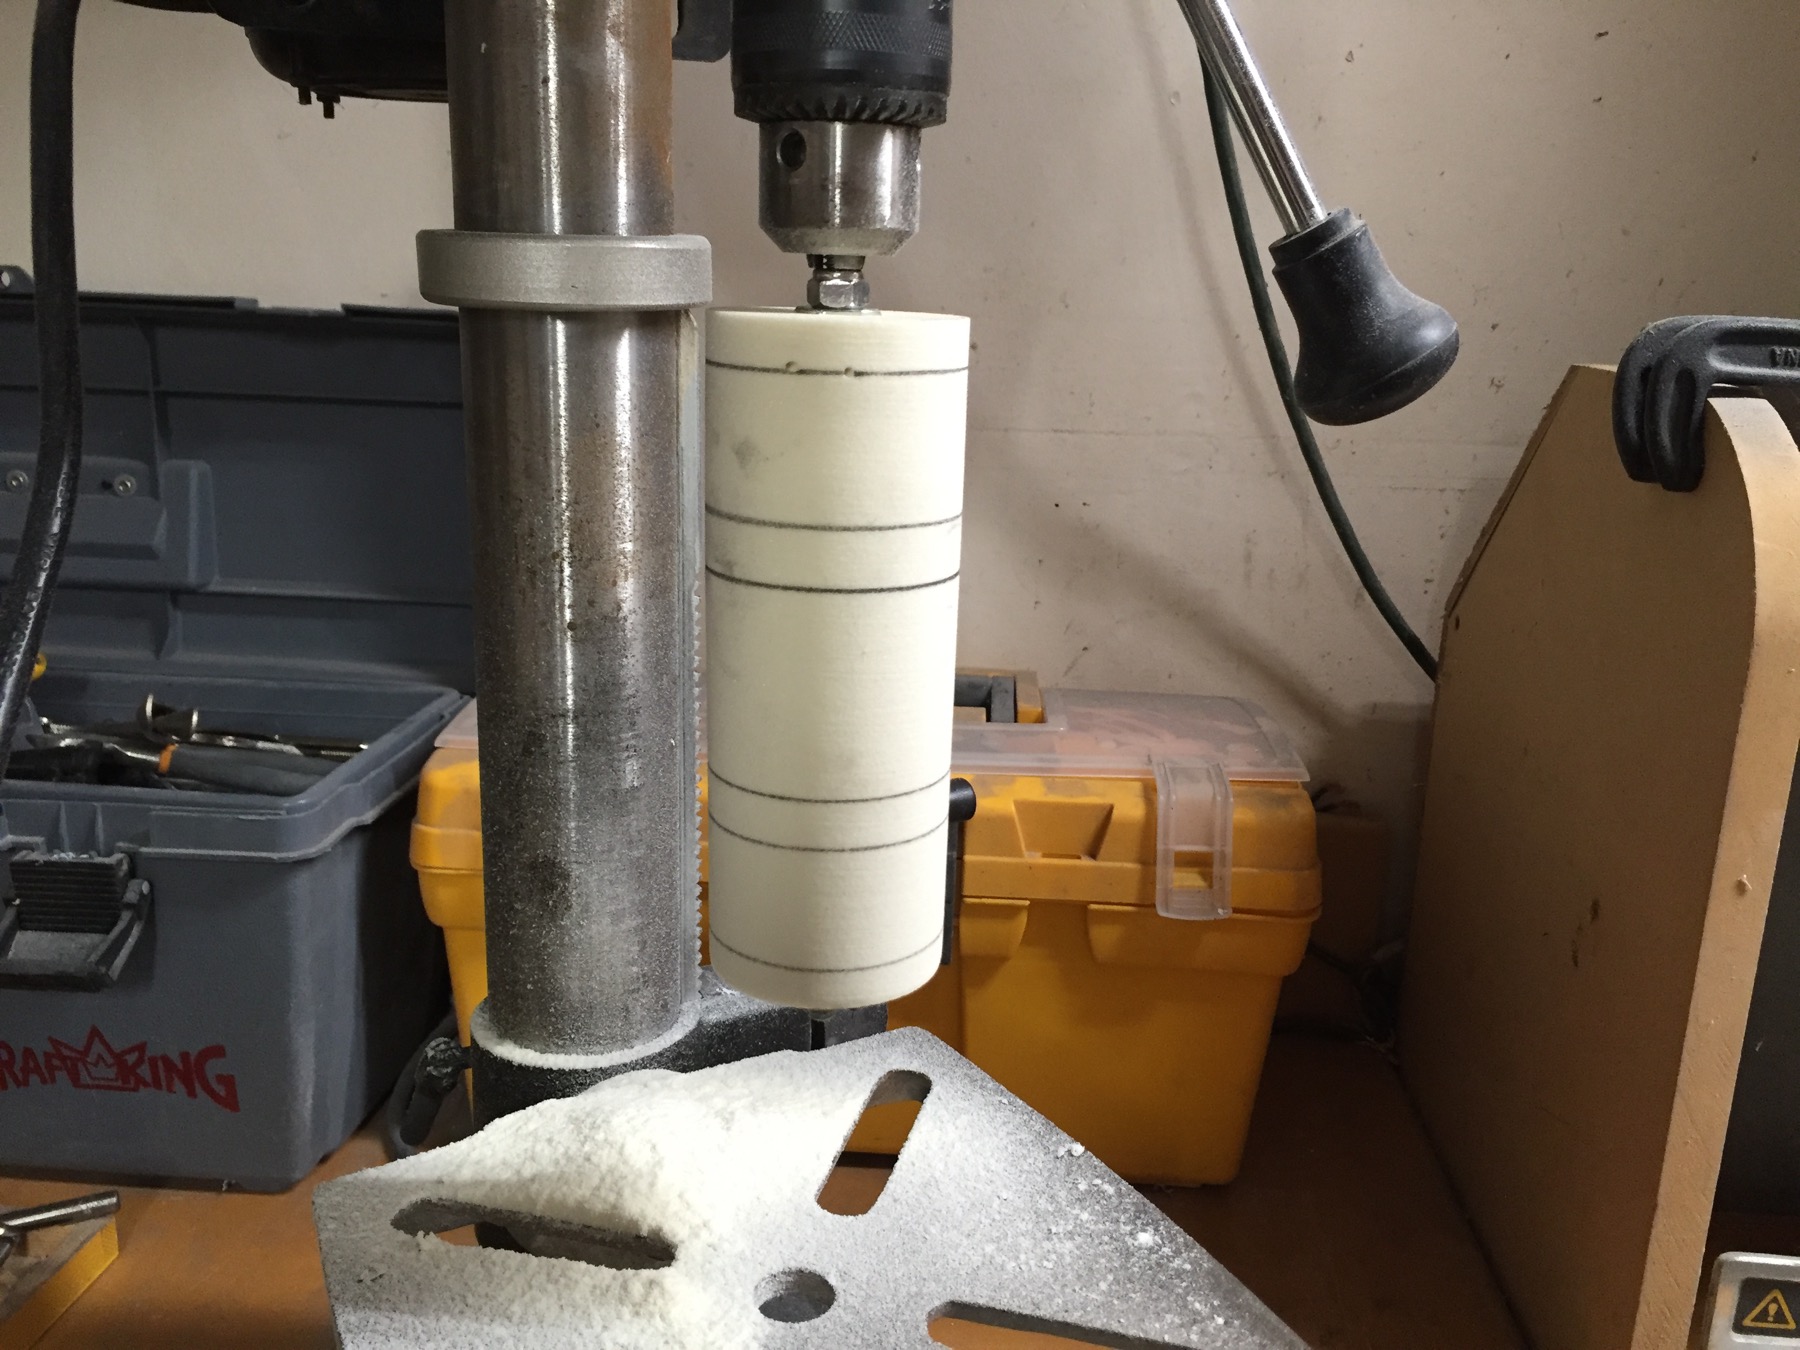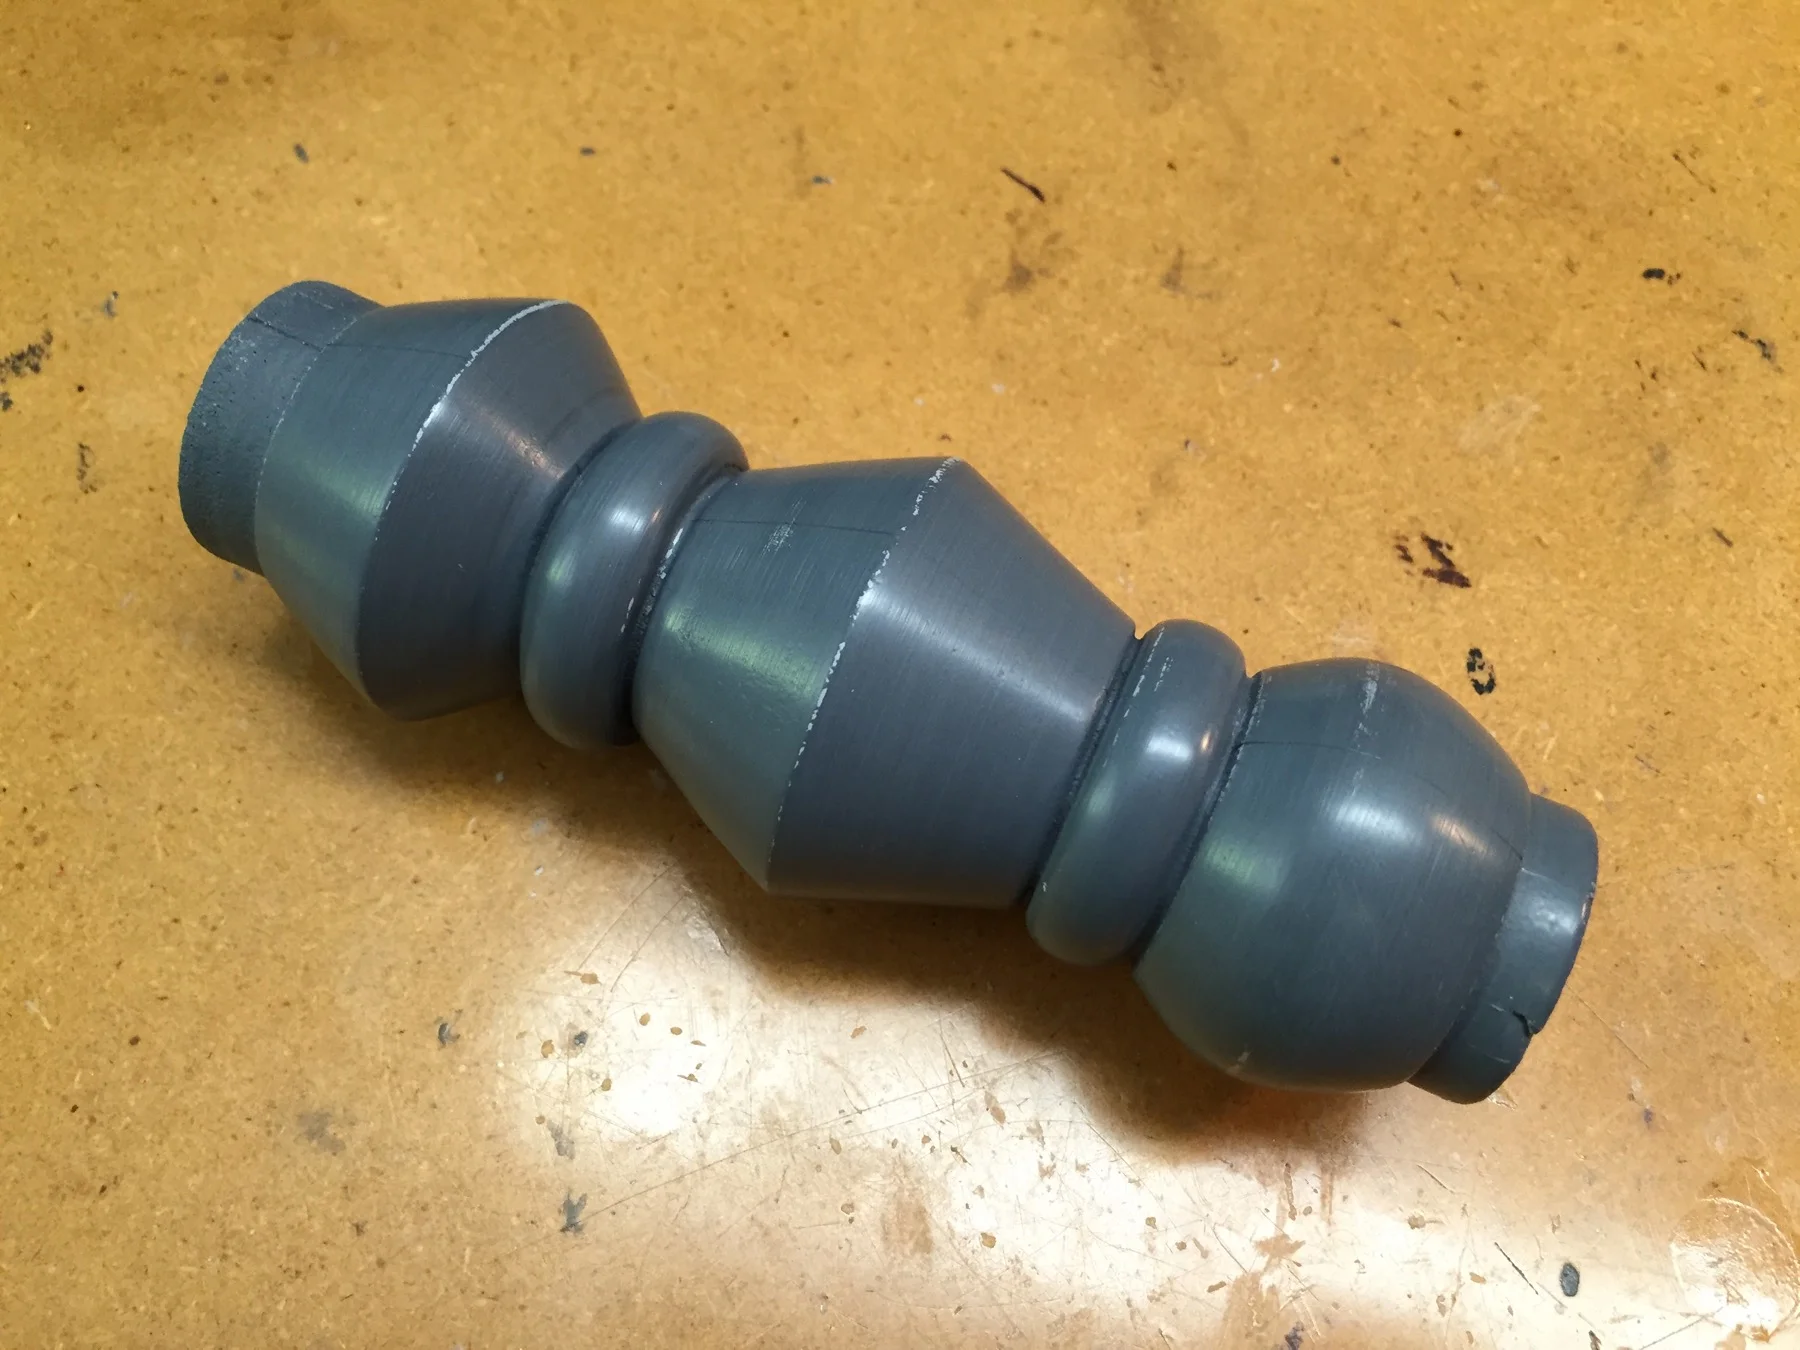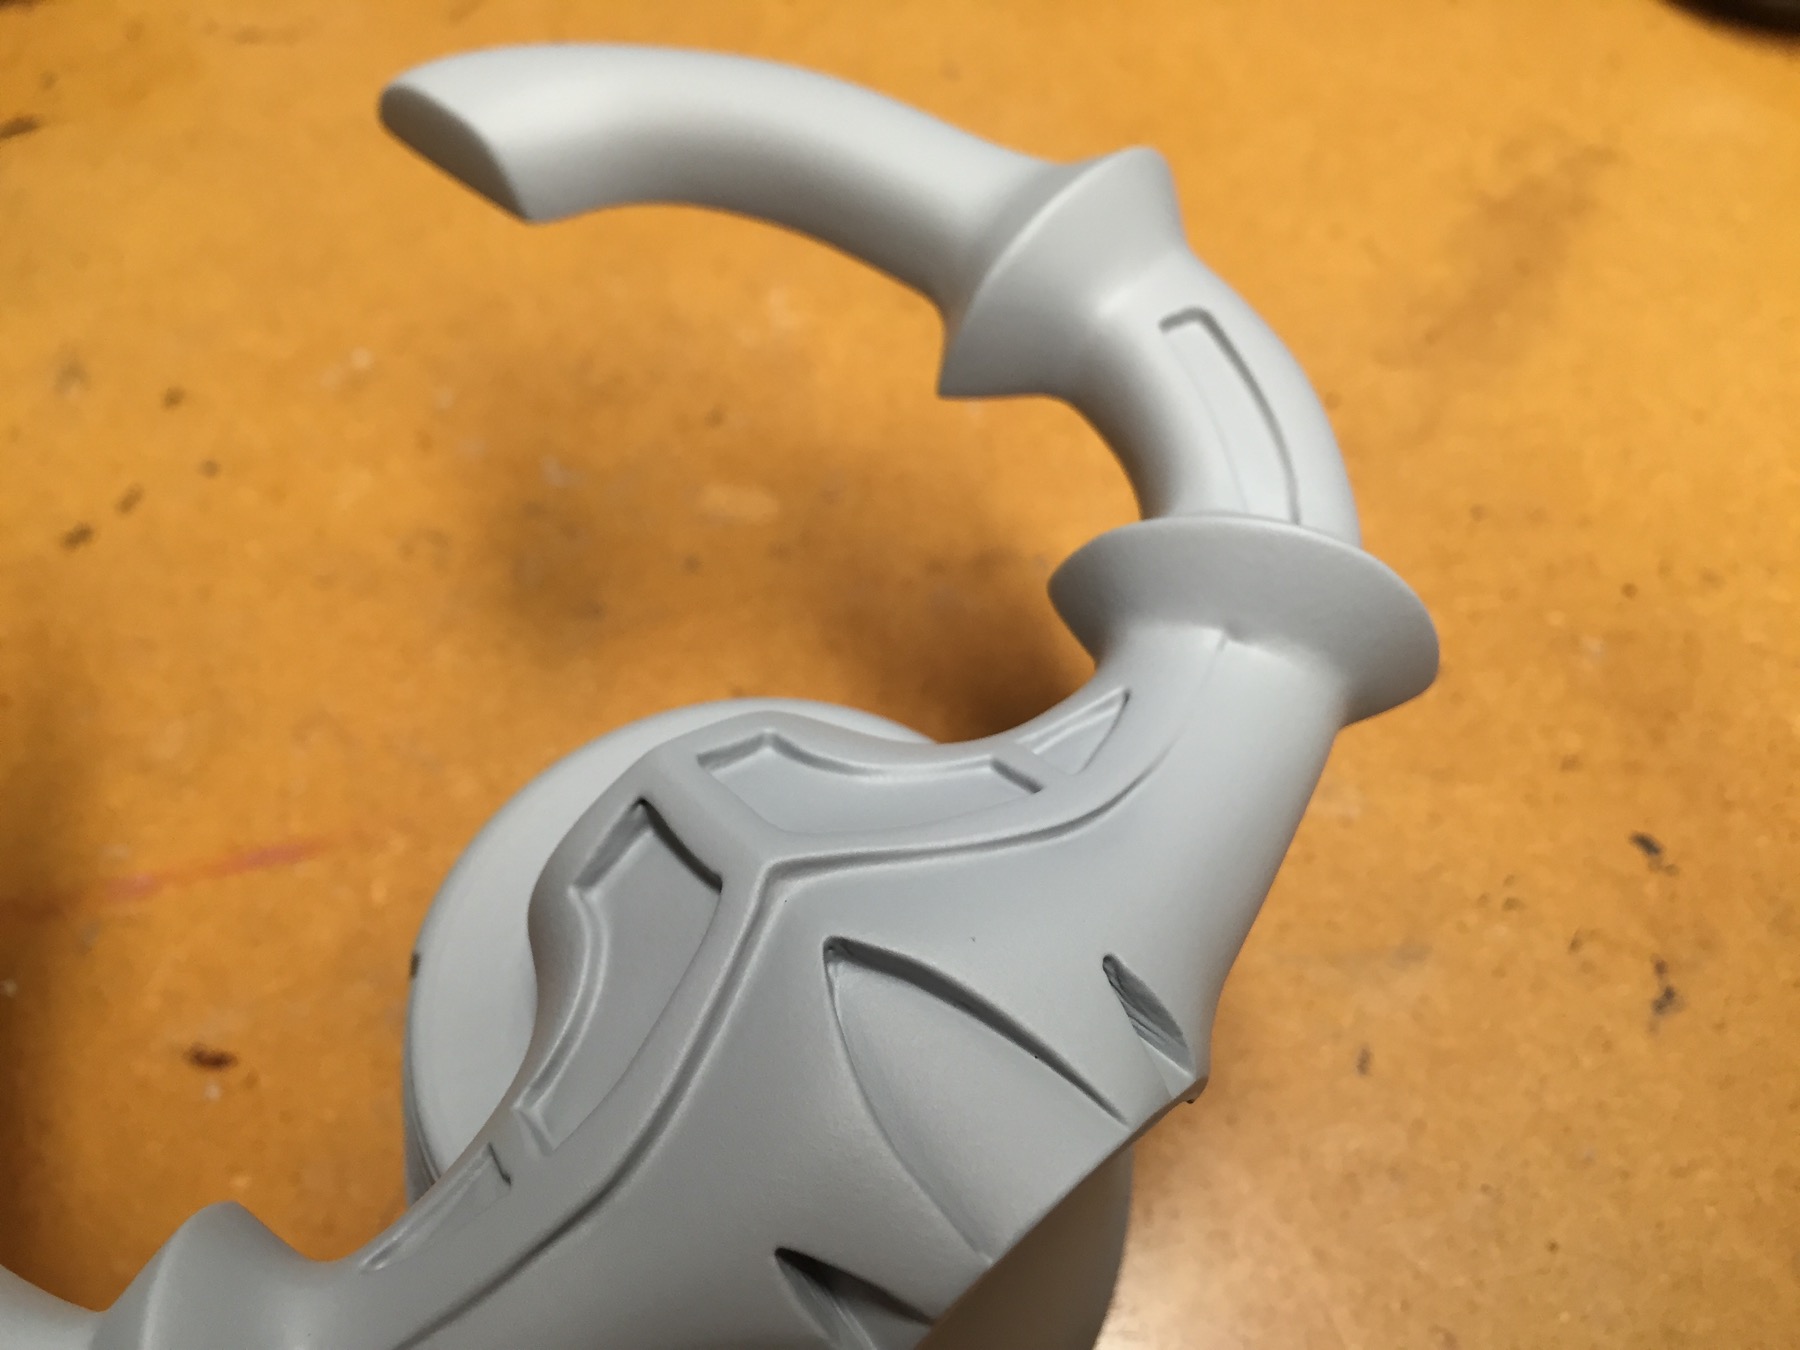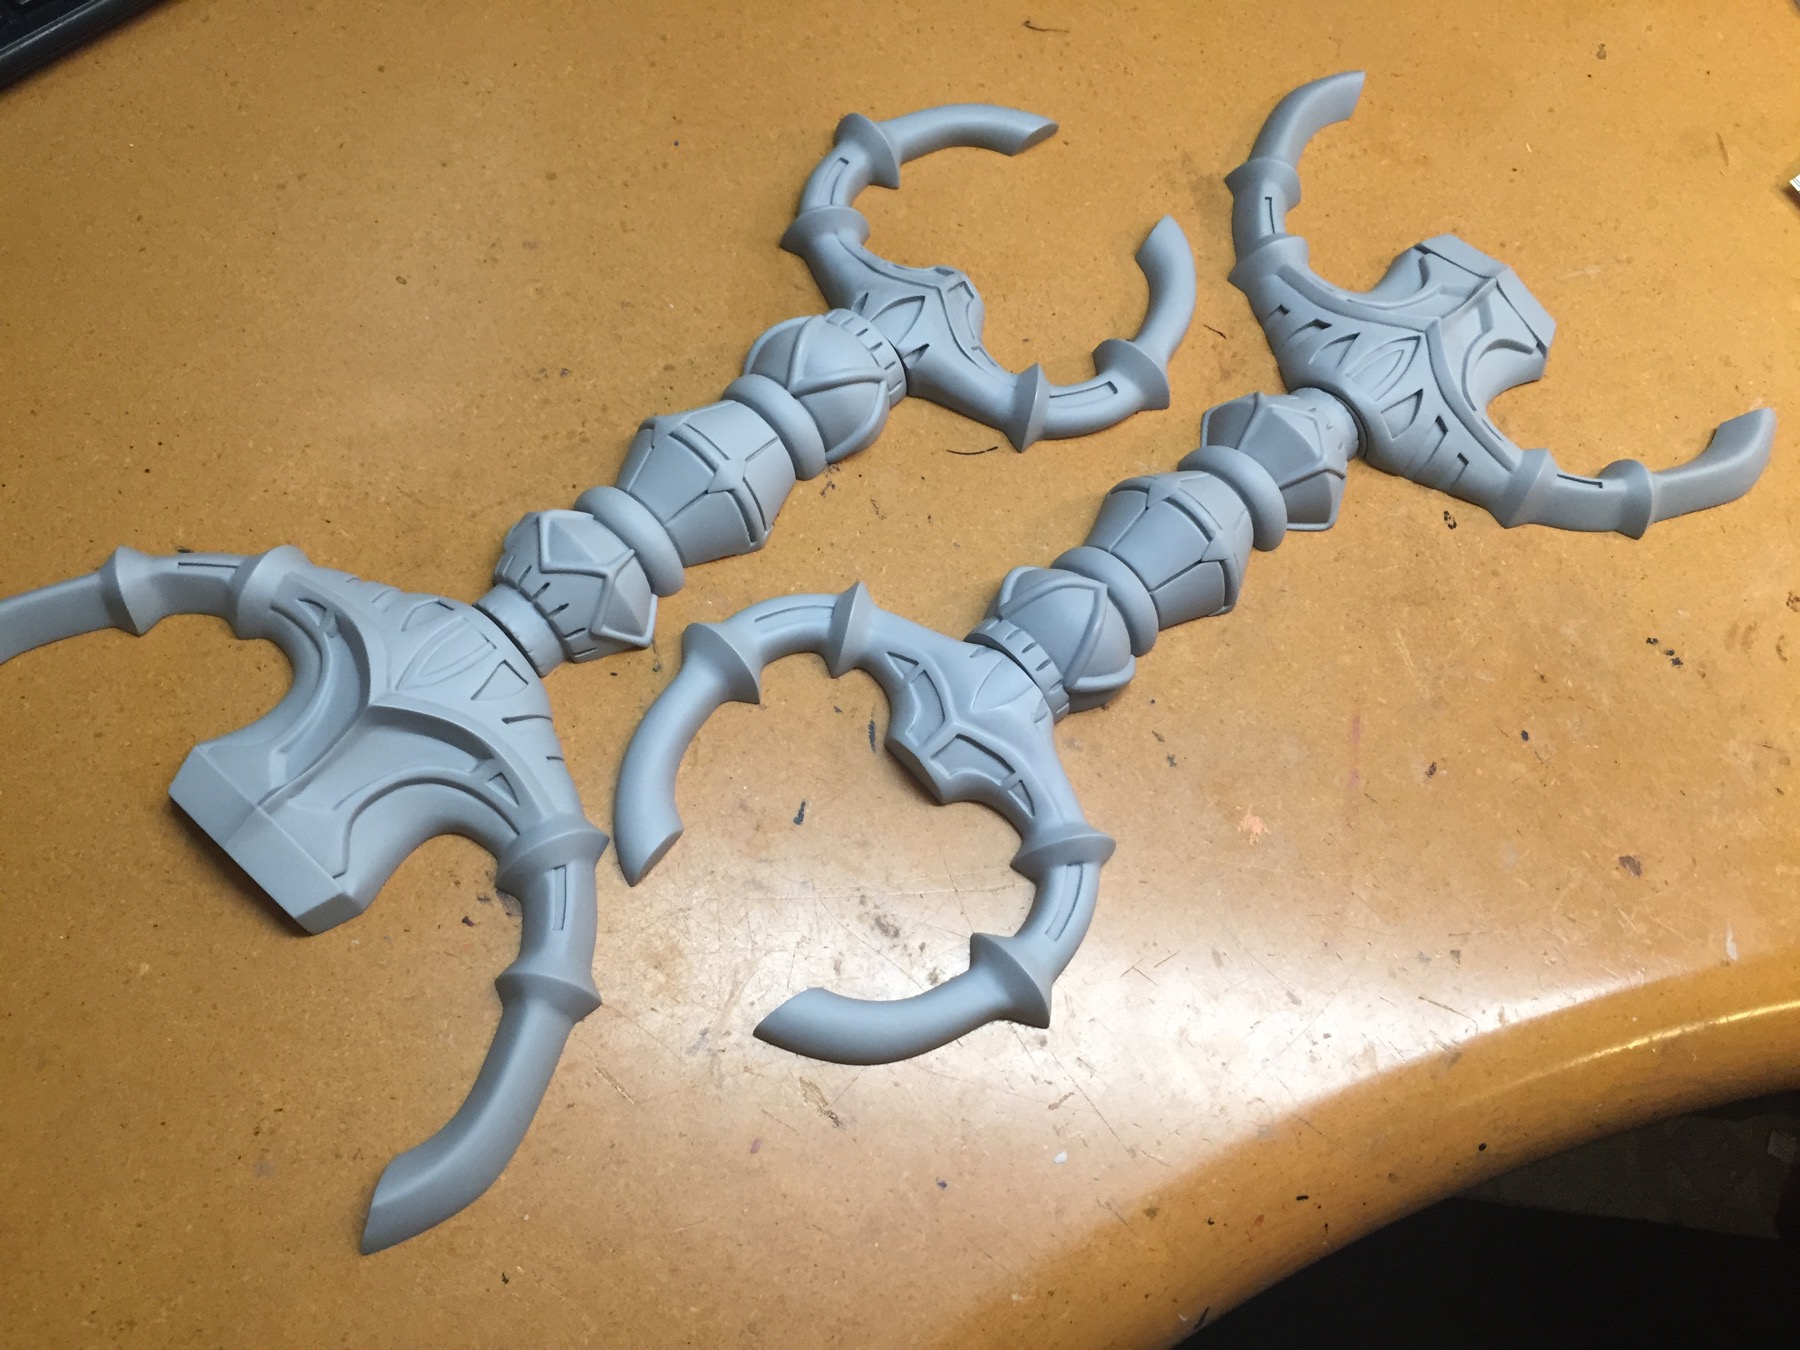

The following gallery is the photo progression (with annotations) of Pharah's Falcon Rocket Launcher from Overwatch. It's made almost completely from foam. I used EVA, XPS and Tooling foam. All of the parts are sealed/hardened in a hardshell resin coating from Smoothon called Epsilon. For more information about using Epsilon resin with foam please watch my video on YouTube.
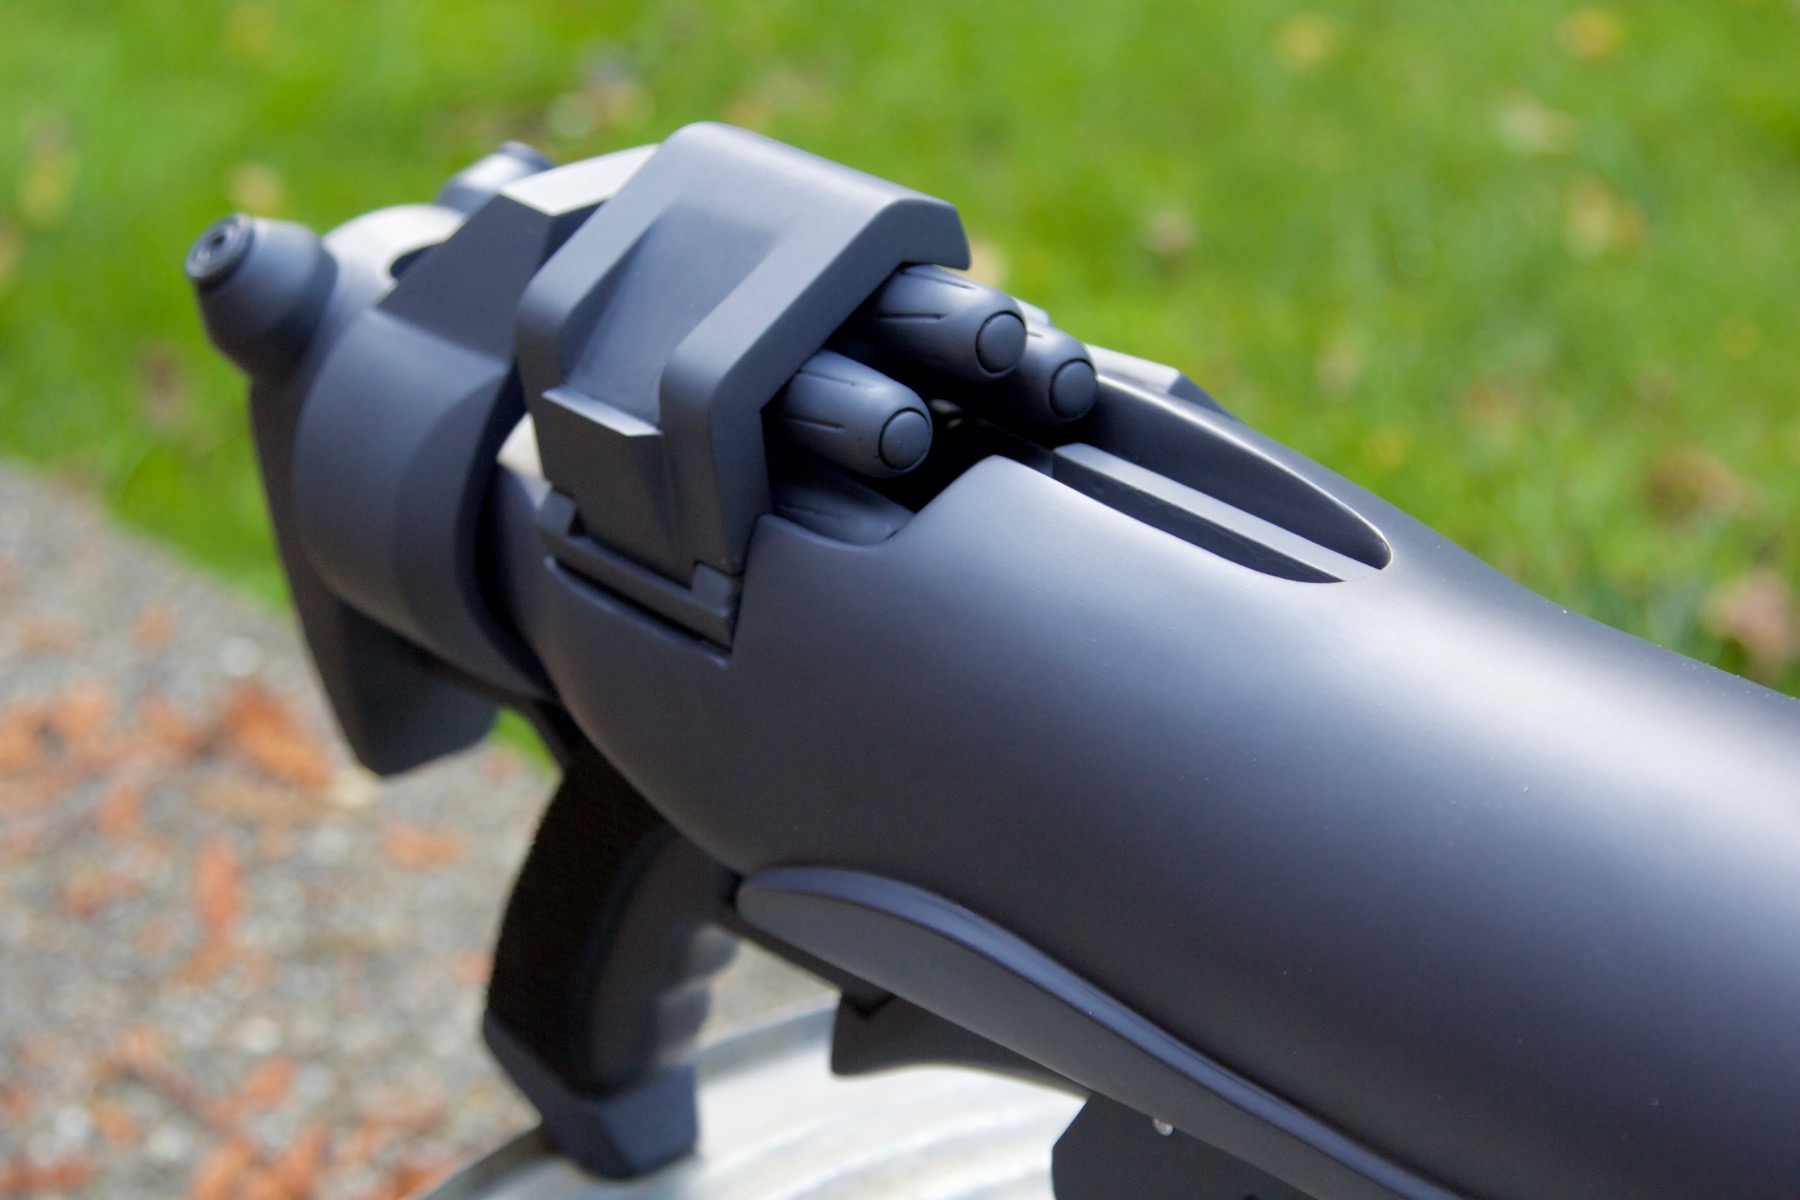
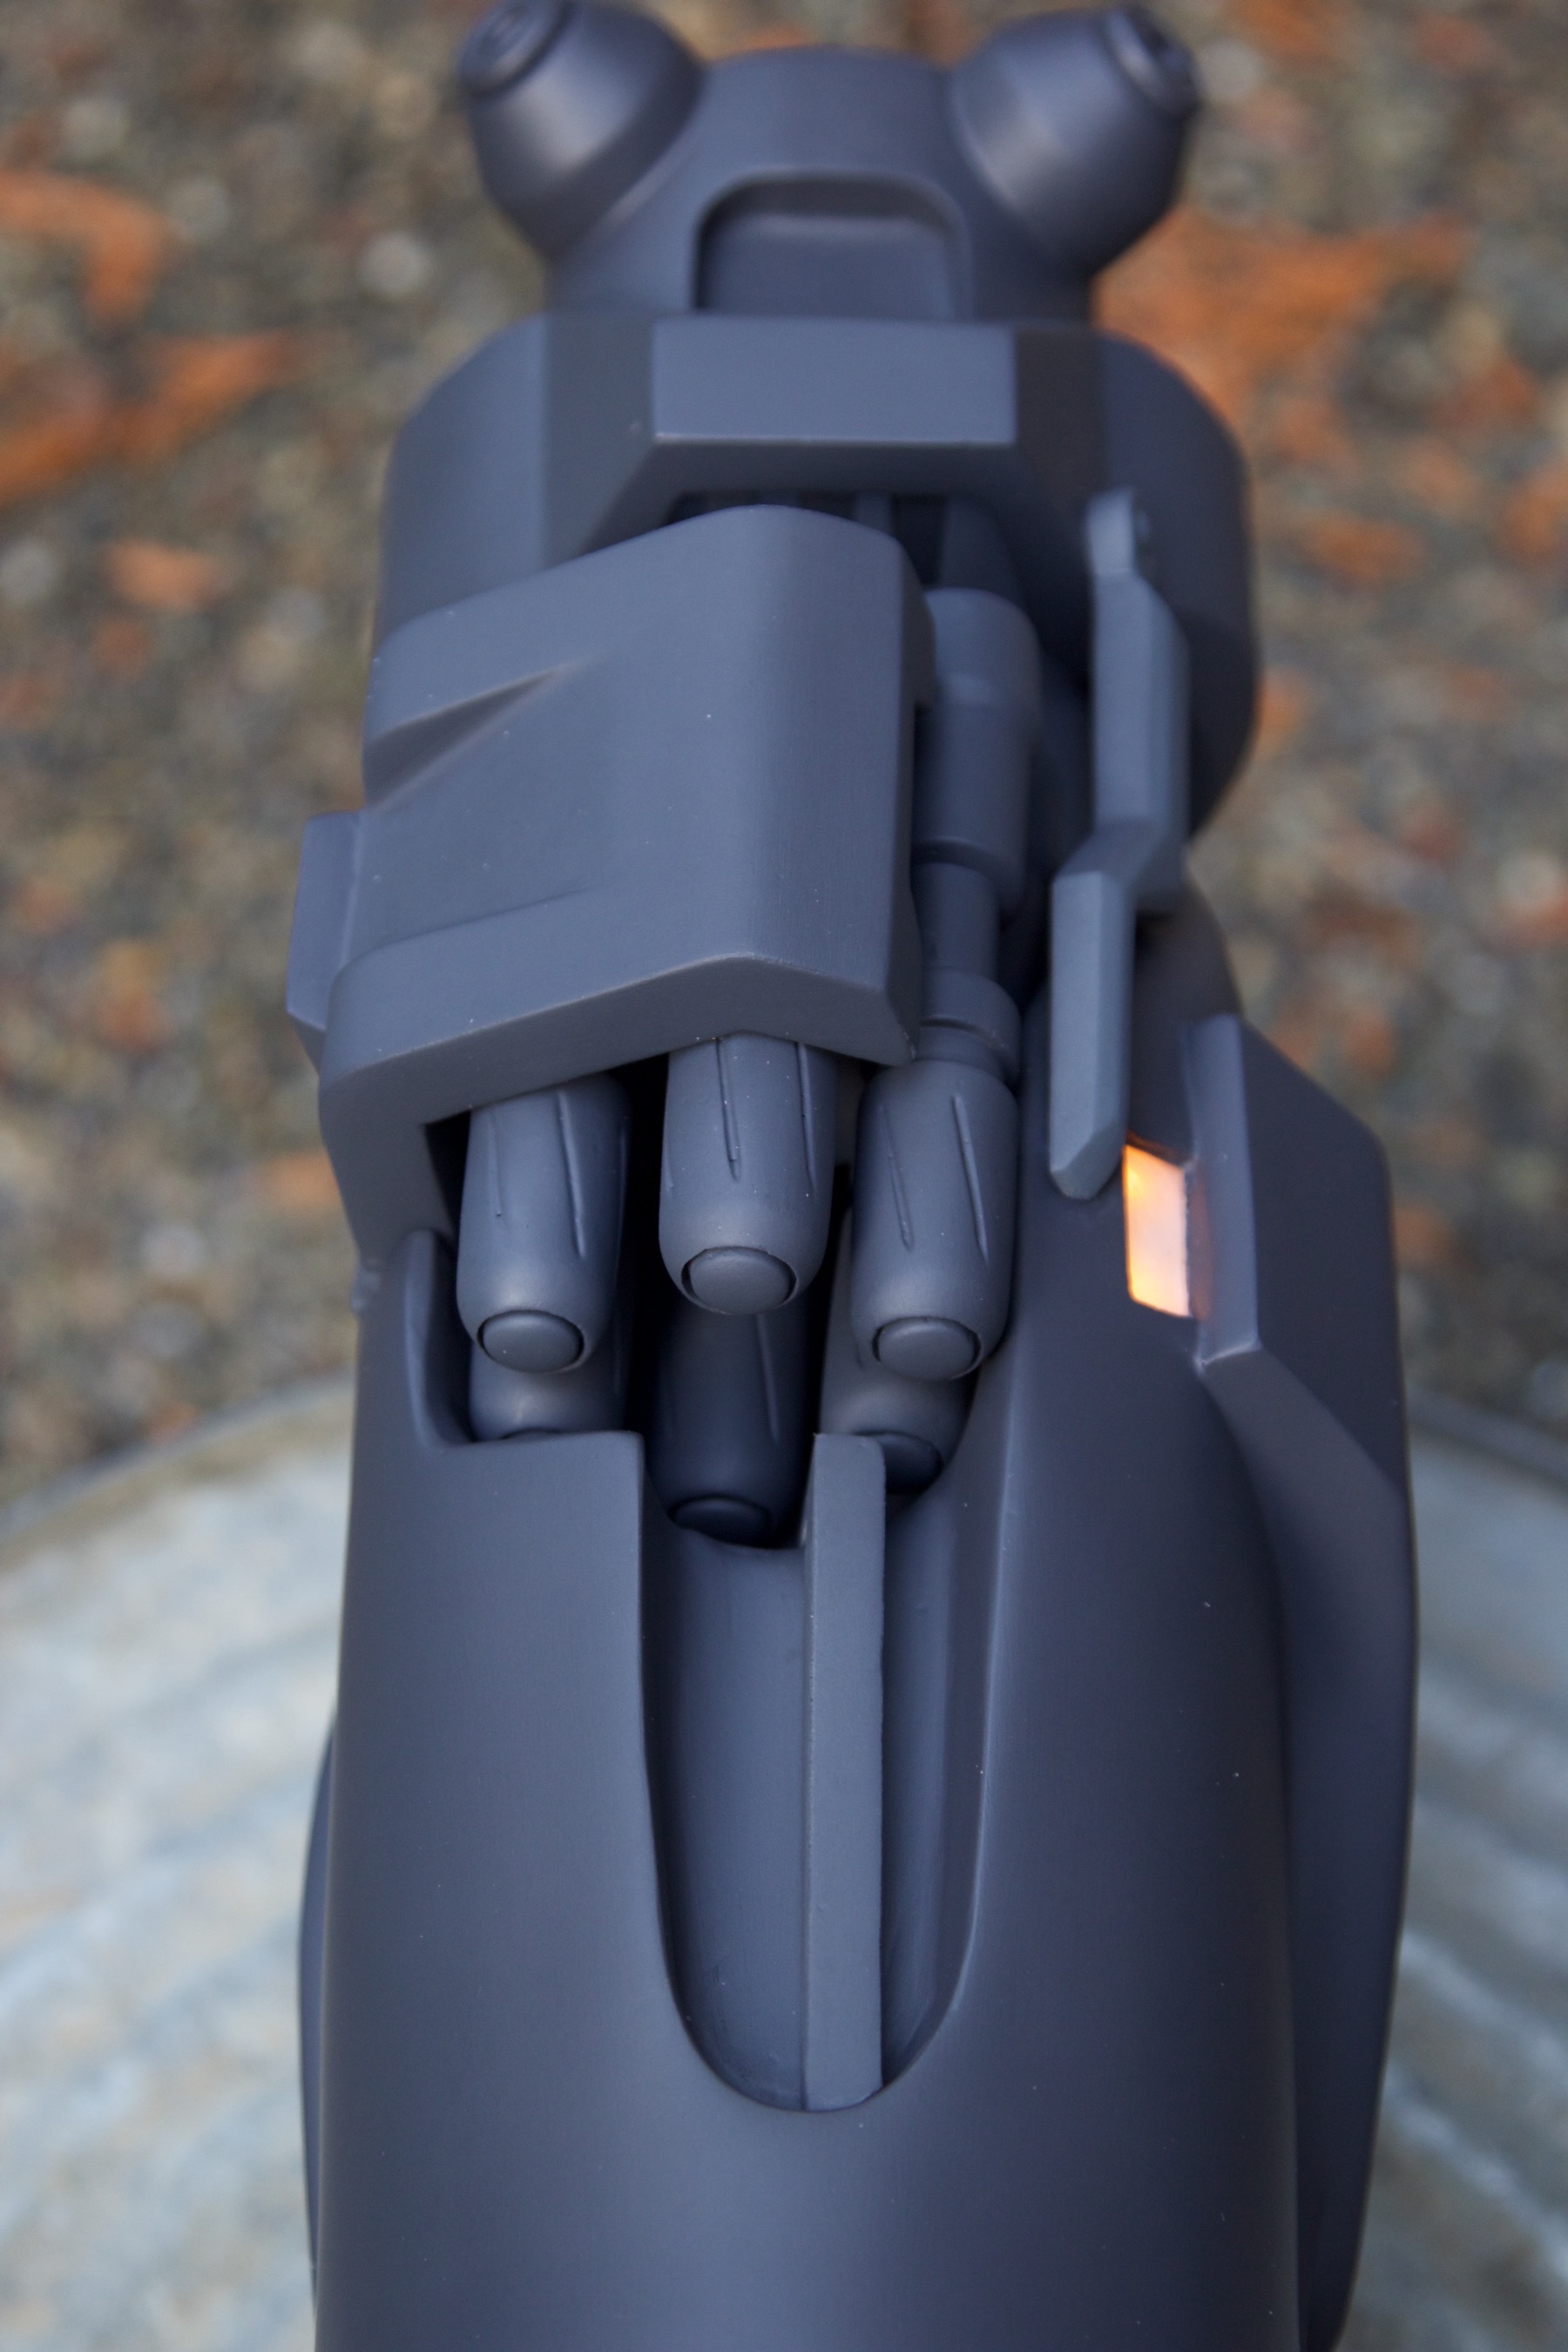
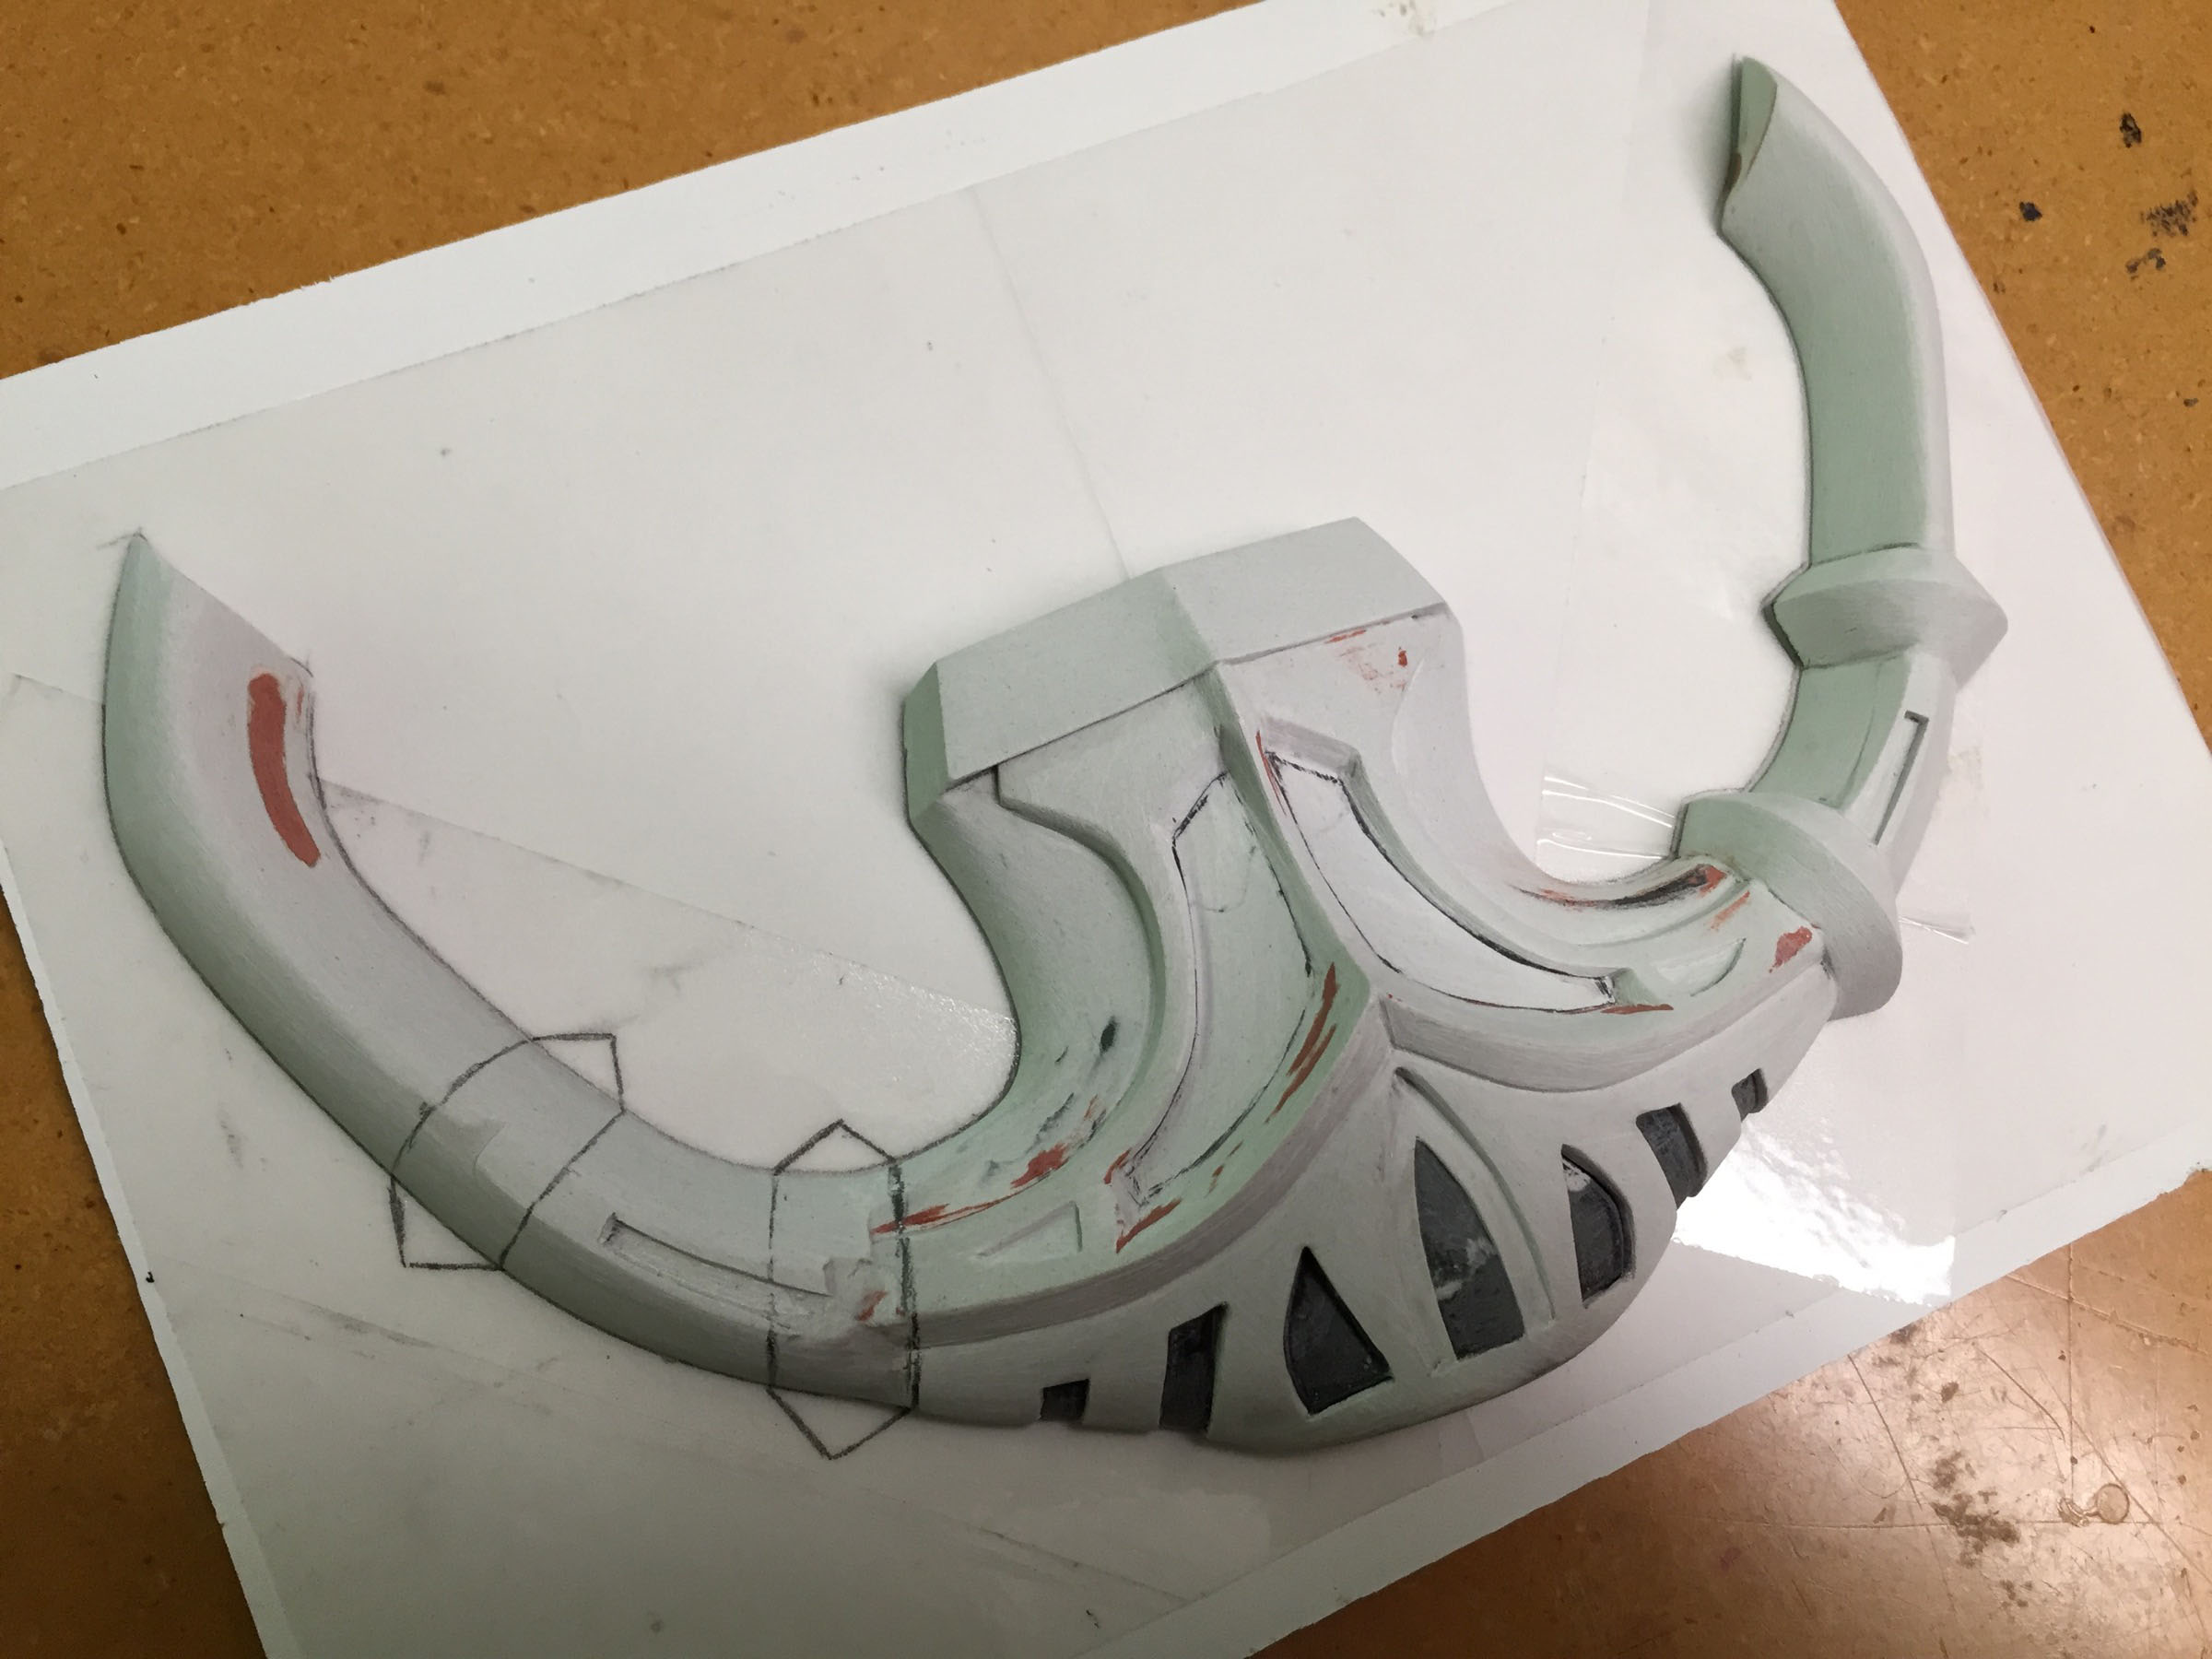
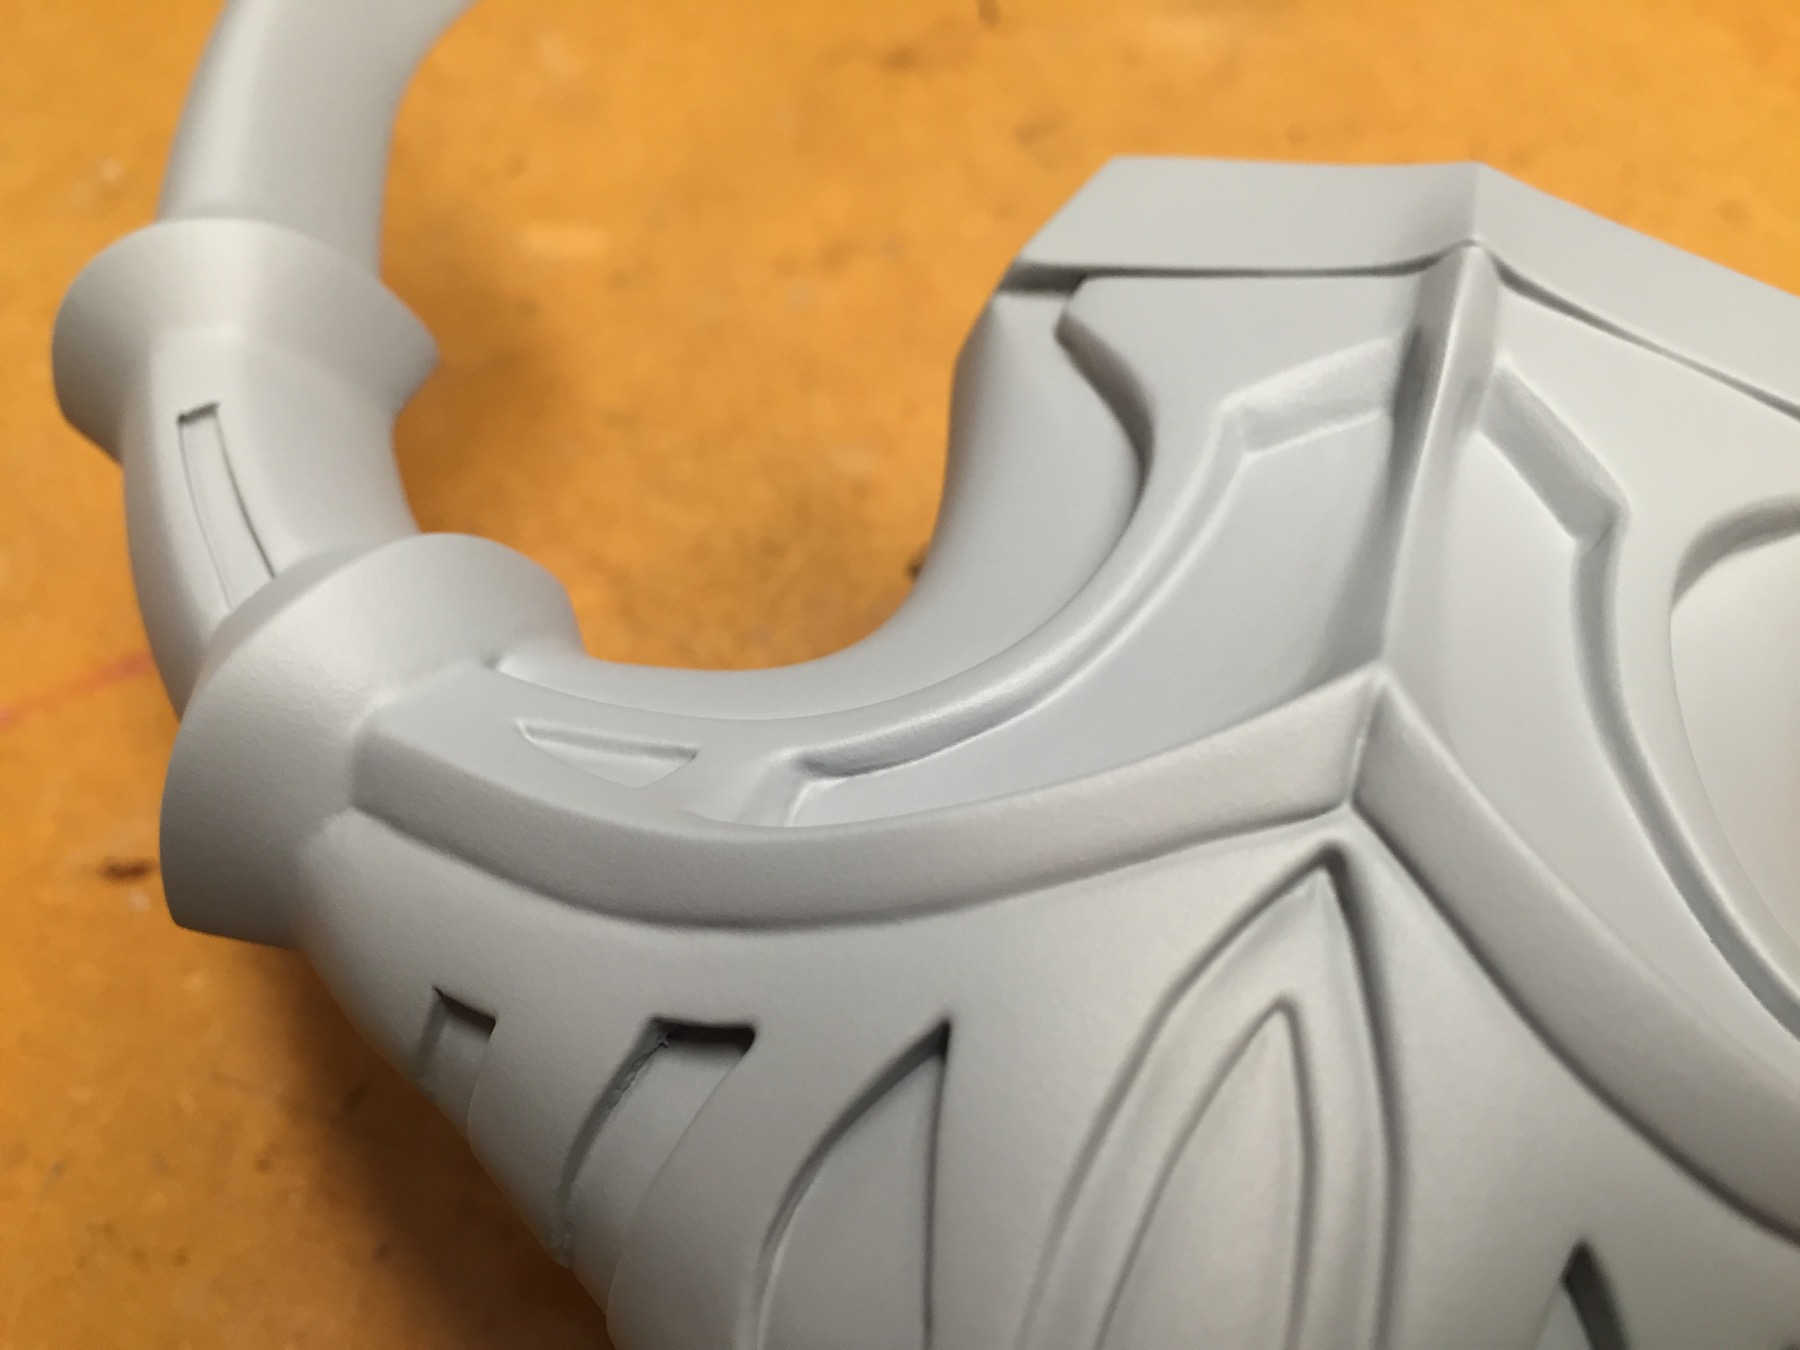
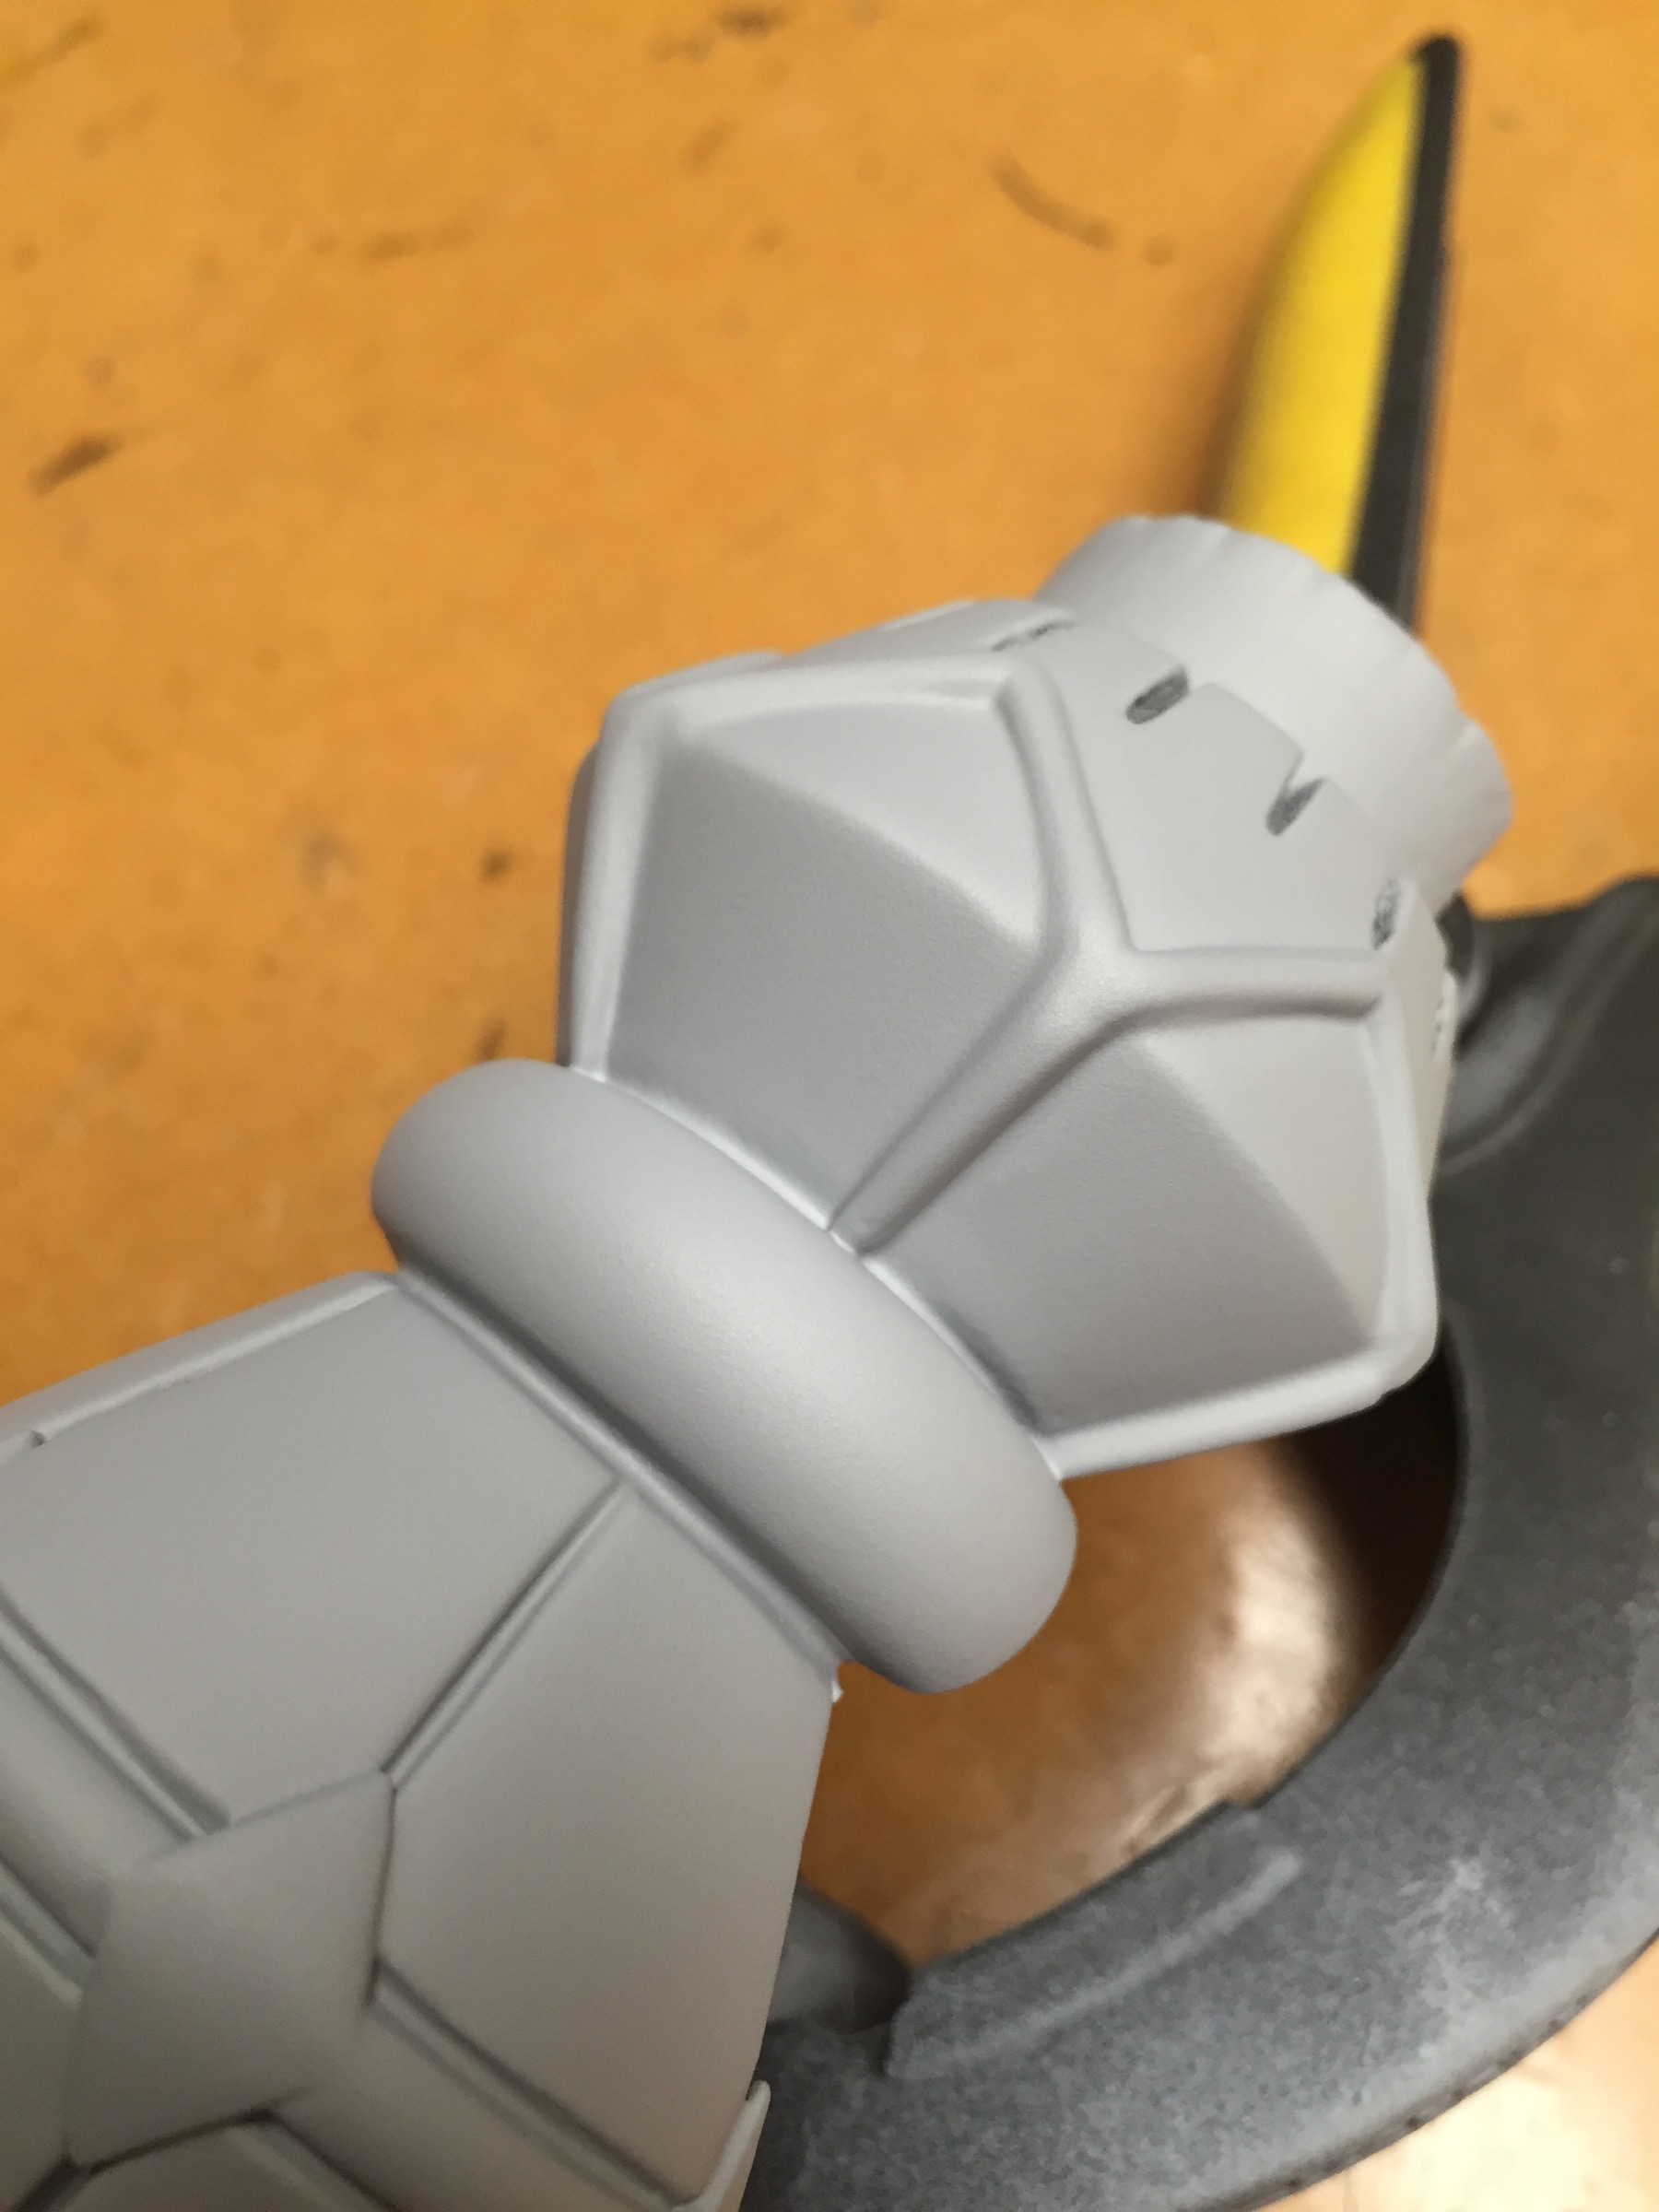
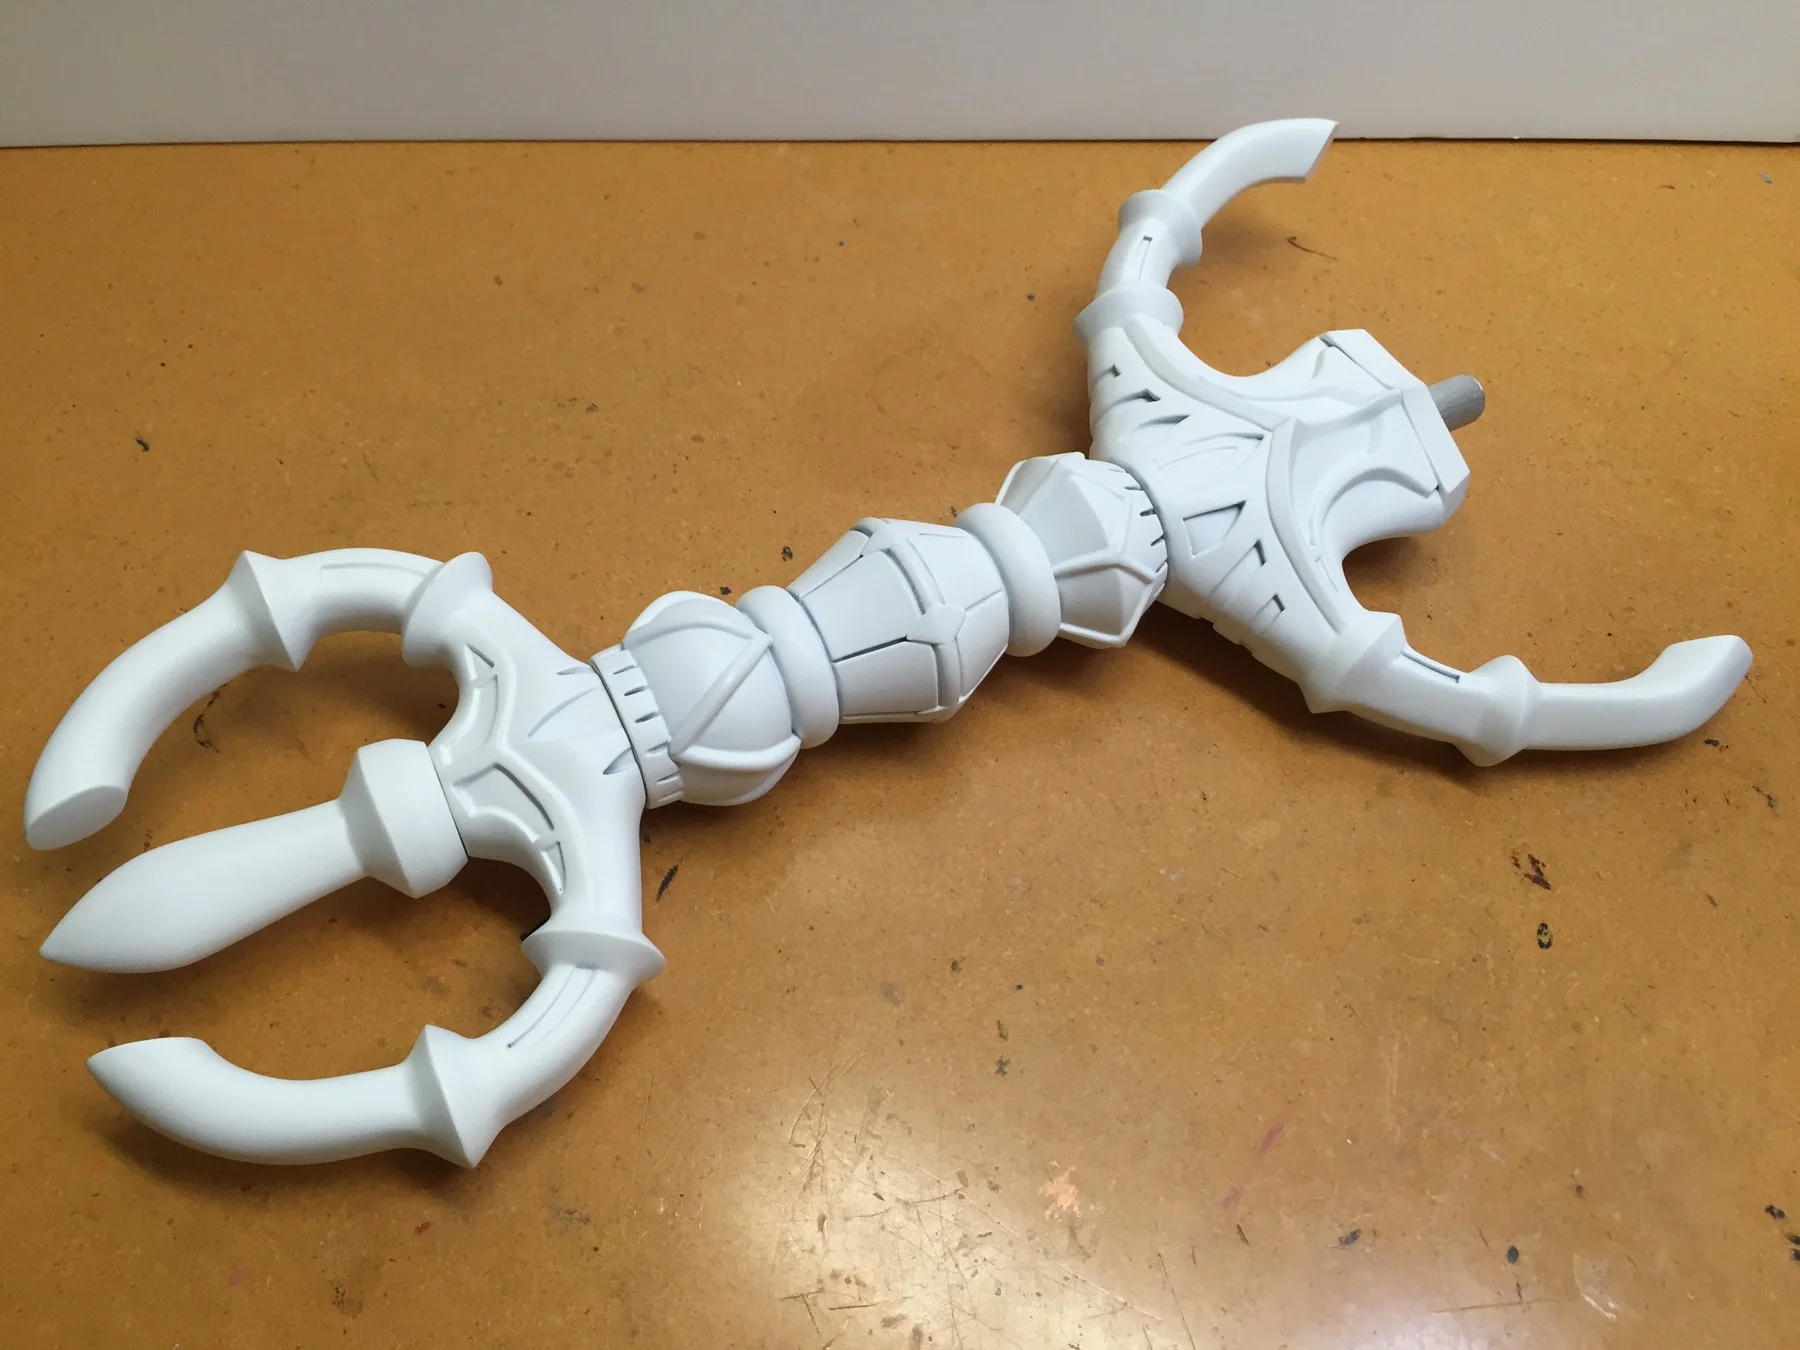
Due to limited building time I did not paint this prop myself. This first photo (below) is the furtherest I completed the prop, which is final primer all ready for paint. I unfortunately have very few photos of the fully finished prop. The above photo is one of my favorites and believe it or not uses all natural lighting. Final paint was completed by Nimbus Cosplay.