Frostmourne FAQ: Fog Direction

“How does the fog only appear through the eye sockets?”

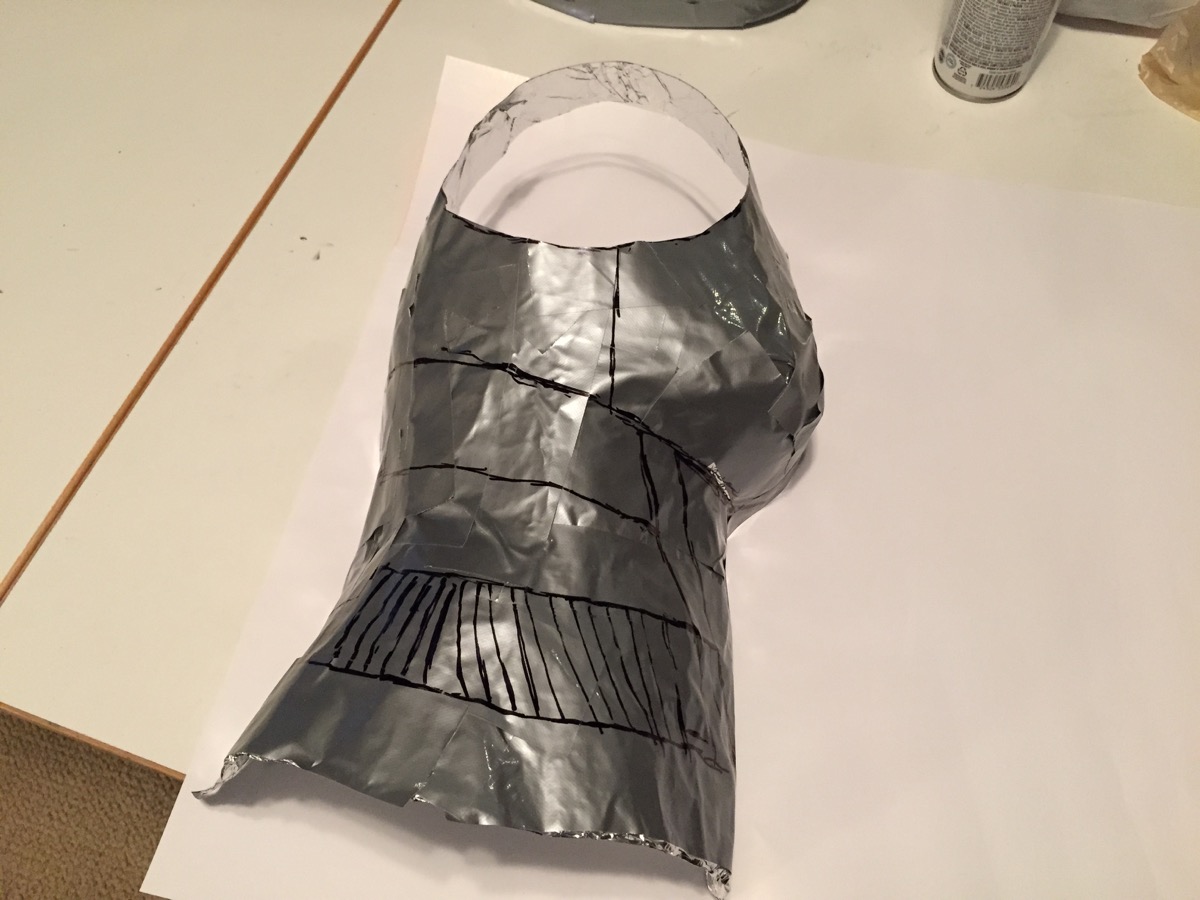
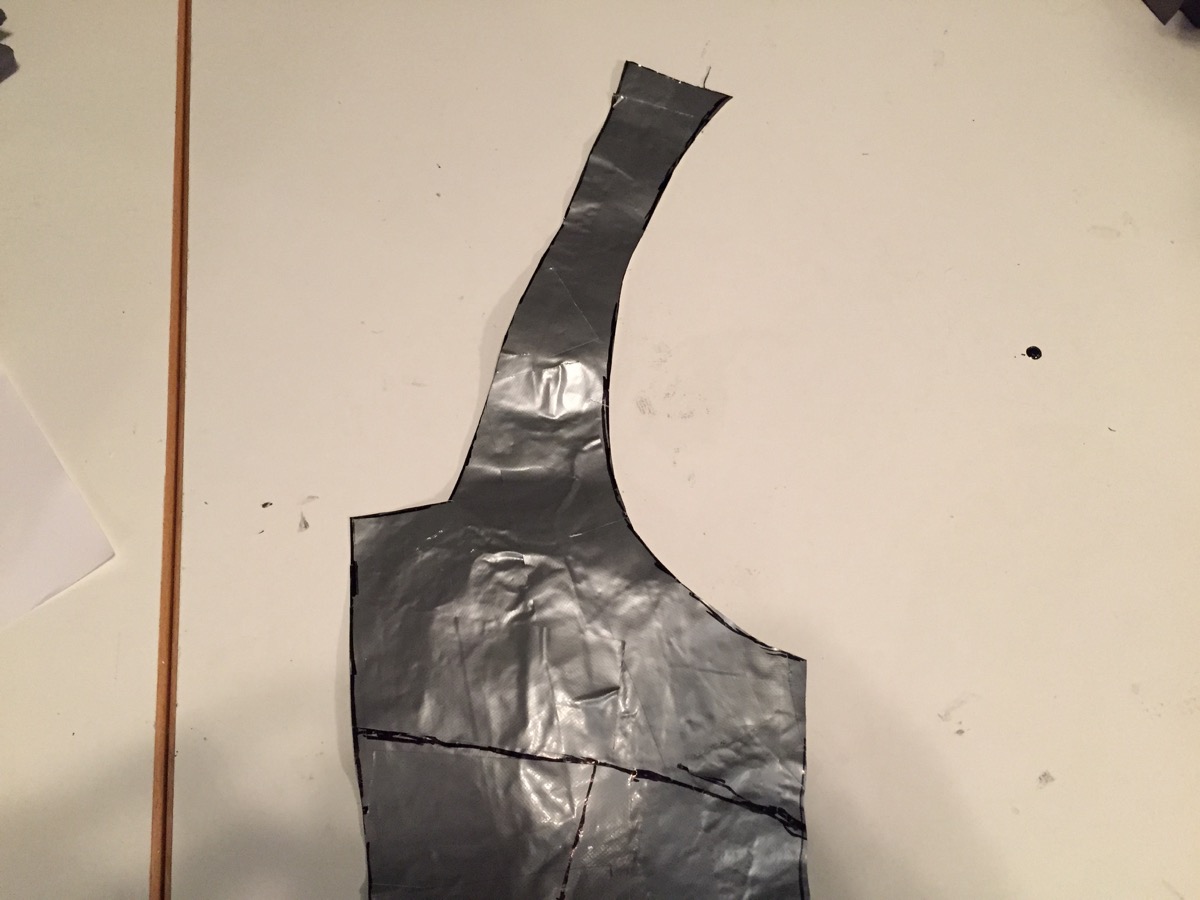
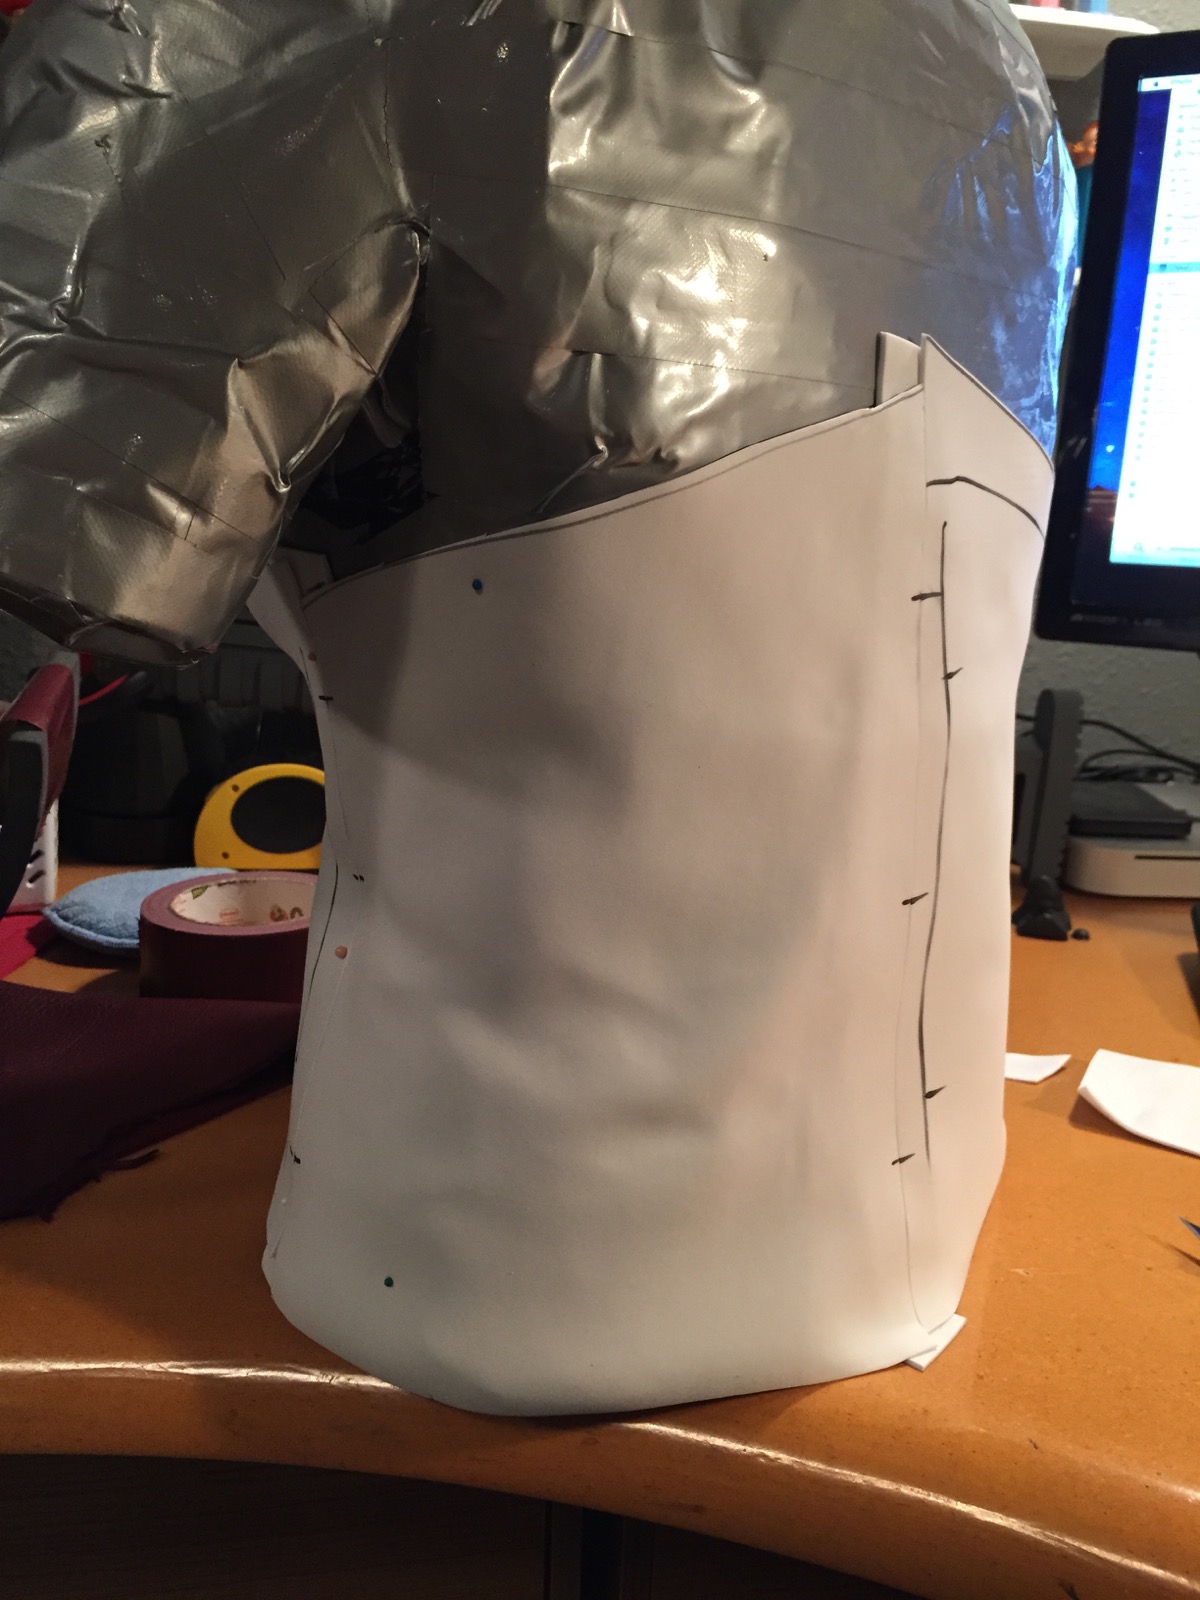
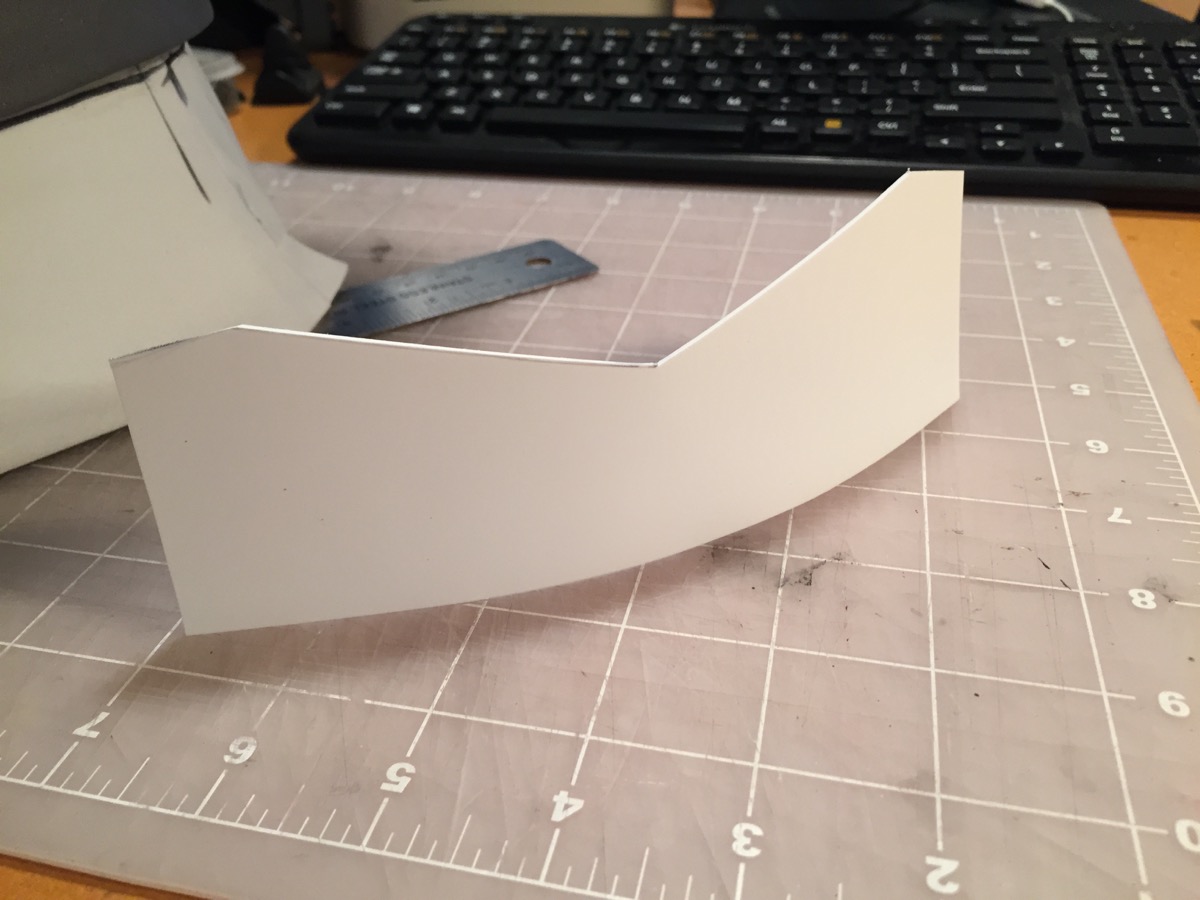
Due to the cramped space inside the skulls I had to create a way to route the fog out of eye sockets. I accomplished that by creating a u-shaped ducting from EVA foam. The fog blows up then the ducts re-route it downward and out of the tops of the sockets. I made these by dremeling out a channel then covering it with another thin piece of EVA as a lid. It’s sealed with hot glue so no leaks occur.

I also had to take in consideration that the vape's tank would need to be accessible and removable in order to refill the fog juice. The vape system stays in place with a pressure fit which seals nicely against the EVA.

* All of the 3D elements for Frostmourne were created by Vertvixen.


Frostmourne FAQ: Fog Creation

"What creates the fog?"

The mini fog machines consists of two modified vape cartomizers. Fish pumps blow the fog through the cartomizer, where it normally would be drawn from sucking.

Each skull has its own machine which I decided was necessary because of placement, ease of installation, overall fog output and redundancy in case one fails. The cartomizers are only meant to run in short bursts 5-10 seconds so this isn't something you can run indefinitely. If it's ran too long the cartomizers will overheat and burn out. 

The liquid used in the system is non-toxic fog juice so its a bit heaver looking and lingers more than standard vape emission. 
I followed this guide from Valkyrie Studios which has all of the specific information and links you'll need to build your own. 

* All of the 3D elements for Frostmourne were created by Vertvixen.


Frostmourne FAQ: Metallic Paint

What paint did you use for that metallic finish?

Final paint is a light dusting of Alclad 2 lacquer (airframe aluminum color) over glossy black Krylon base. You can see the difference between just black and black + Alclad in the two smaller photos. 

The key here is to have a very smooth object prior to painting. Lacquers are unforgiving and show every little missed part of your surface prep. 

* All of the 3D elements for Frostmourne were created by Vertvixen.


Large photo with final paint. Small photos before and after with lacquer.  


Frostmourne FAQ: Blade Lighting

"How do the blade runes light up and why did you make it from wood?"

The blade is only 1/2" thick. There are several reasons I made the blade from wood (kiln dried, select Pine)  those include rigidity, durability, light weight, easier to finish quickly.

Blade runes in steps:

  1. After shaping the blade I cut a 1" x 6" hole in the blade with a jig saw.
  2. Added led rope lighting to the inside edge of the hole. This makes the leds glow inward and helps eliminate hot spots.
  3. I had Vertvixen 3D model a 1" x 6" x 2mm thick inlay plate that had the runes knocked out of it. The inlay fit snugly inside the first 2mm of the previously cut hole on each side. (Thanks to MaCo Creative for the final inlay 3D prints.)
  4. Several applications of filler and sanding to smooth the inlays and make the seam between the 3D prints and wood disappear.
  5. Primer is the final test to check for seamlessness.
  6. Finished blade with paint and lights.

* All of the 3D elements for Frostmourne were created by Vertvixen.


Blade lighting progression.