
In preparation for the King Loki cosplay build, the helm was one of the pieces that intimidated me the most. That thing is crazy detailed and those horns! I thought about it for weeks and researched like crazy. I found some other creators on the interwebs (most notably Eldritch Arts, Sithcamaro and Timbo's Creations) and who had posted their excellent work. The thing I realized quickly was I preferred the look of the helms that had been sculpted. I'm not a sculptor and wasn't ready to tackle yet another new medium for this project so I finally decided I'd do something similar to Timbo's and start with a foam base and build it up from there. Sometime later I was at Goodwill looking around for random stuff (you never know what discarded item you may find that can be tuned into something cool) and I saw one of these:

It's hard to tell because of the photo's angle but something about the shape reminded me of the Loki helm. (I forgot to take picture of the actual helmet but this is a stock photo of the exact model.) It hit me that maybe basing the Loki helm on a preexisting helmet would be a better place to start. So I bought the helmet for $6 and the rest follows.
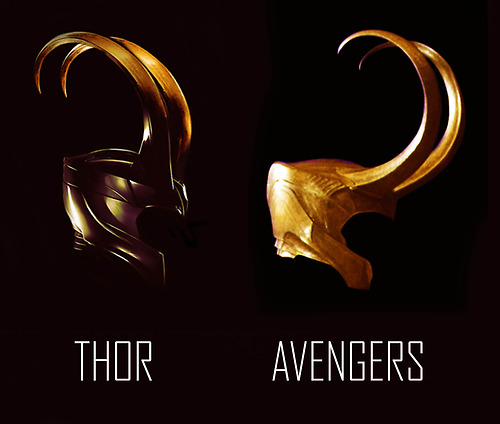
The more I studied the batting helmet in comparison to Loki's Avengers helm I realized the dome shape of the batting helmet was much rounder than the Loki's more squared off Helm. I really try to strive for screen accuracy but quickly realized that I would have to modify the overall look of my build if I was going to stick with the batting helmet base. What I ended up with is a helm that copies the main lines of the Avengers helm and actually takes on a bit of the style of the Thor style helm. Yup, his helm is actually different between the two films. This picture isn't the best but it get the point across:
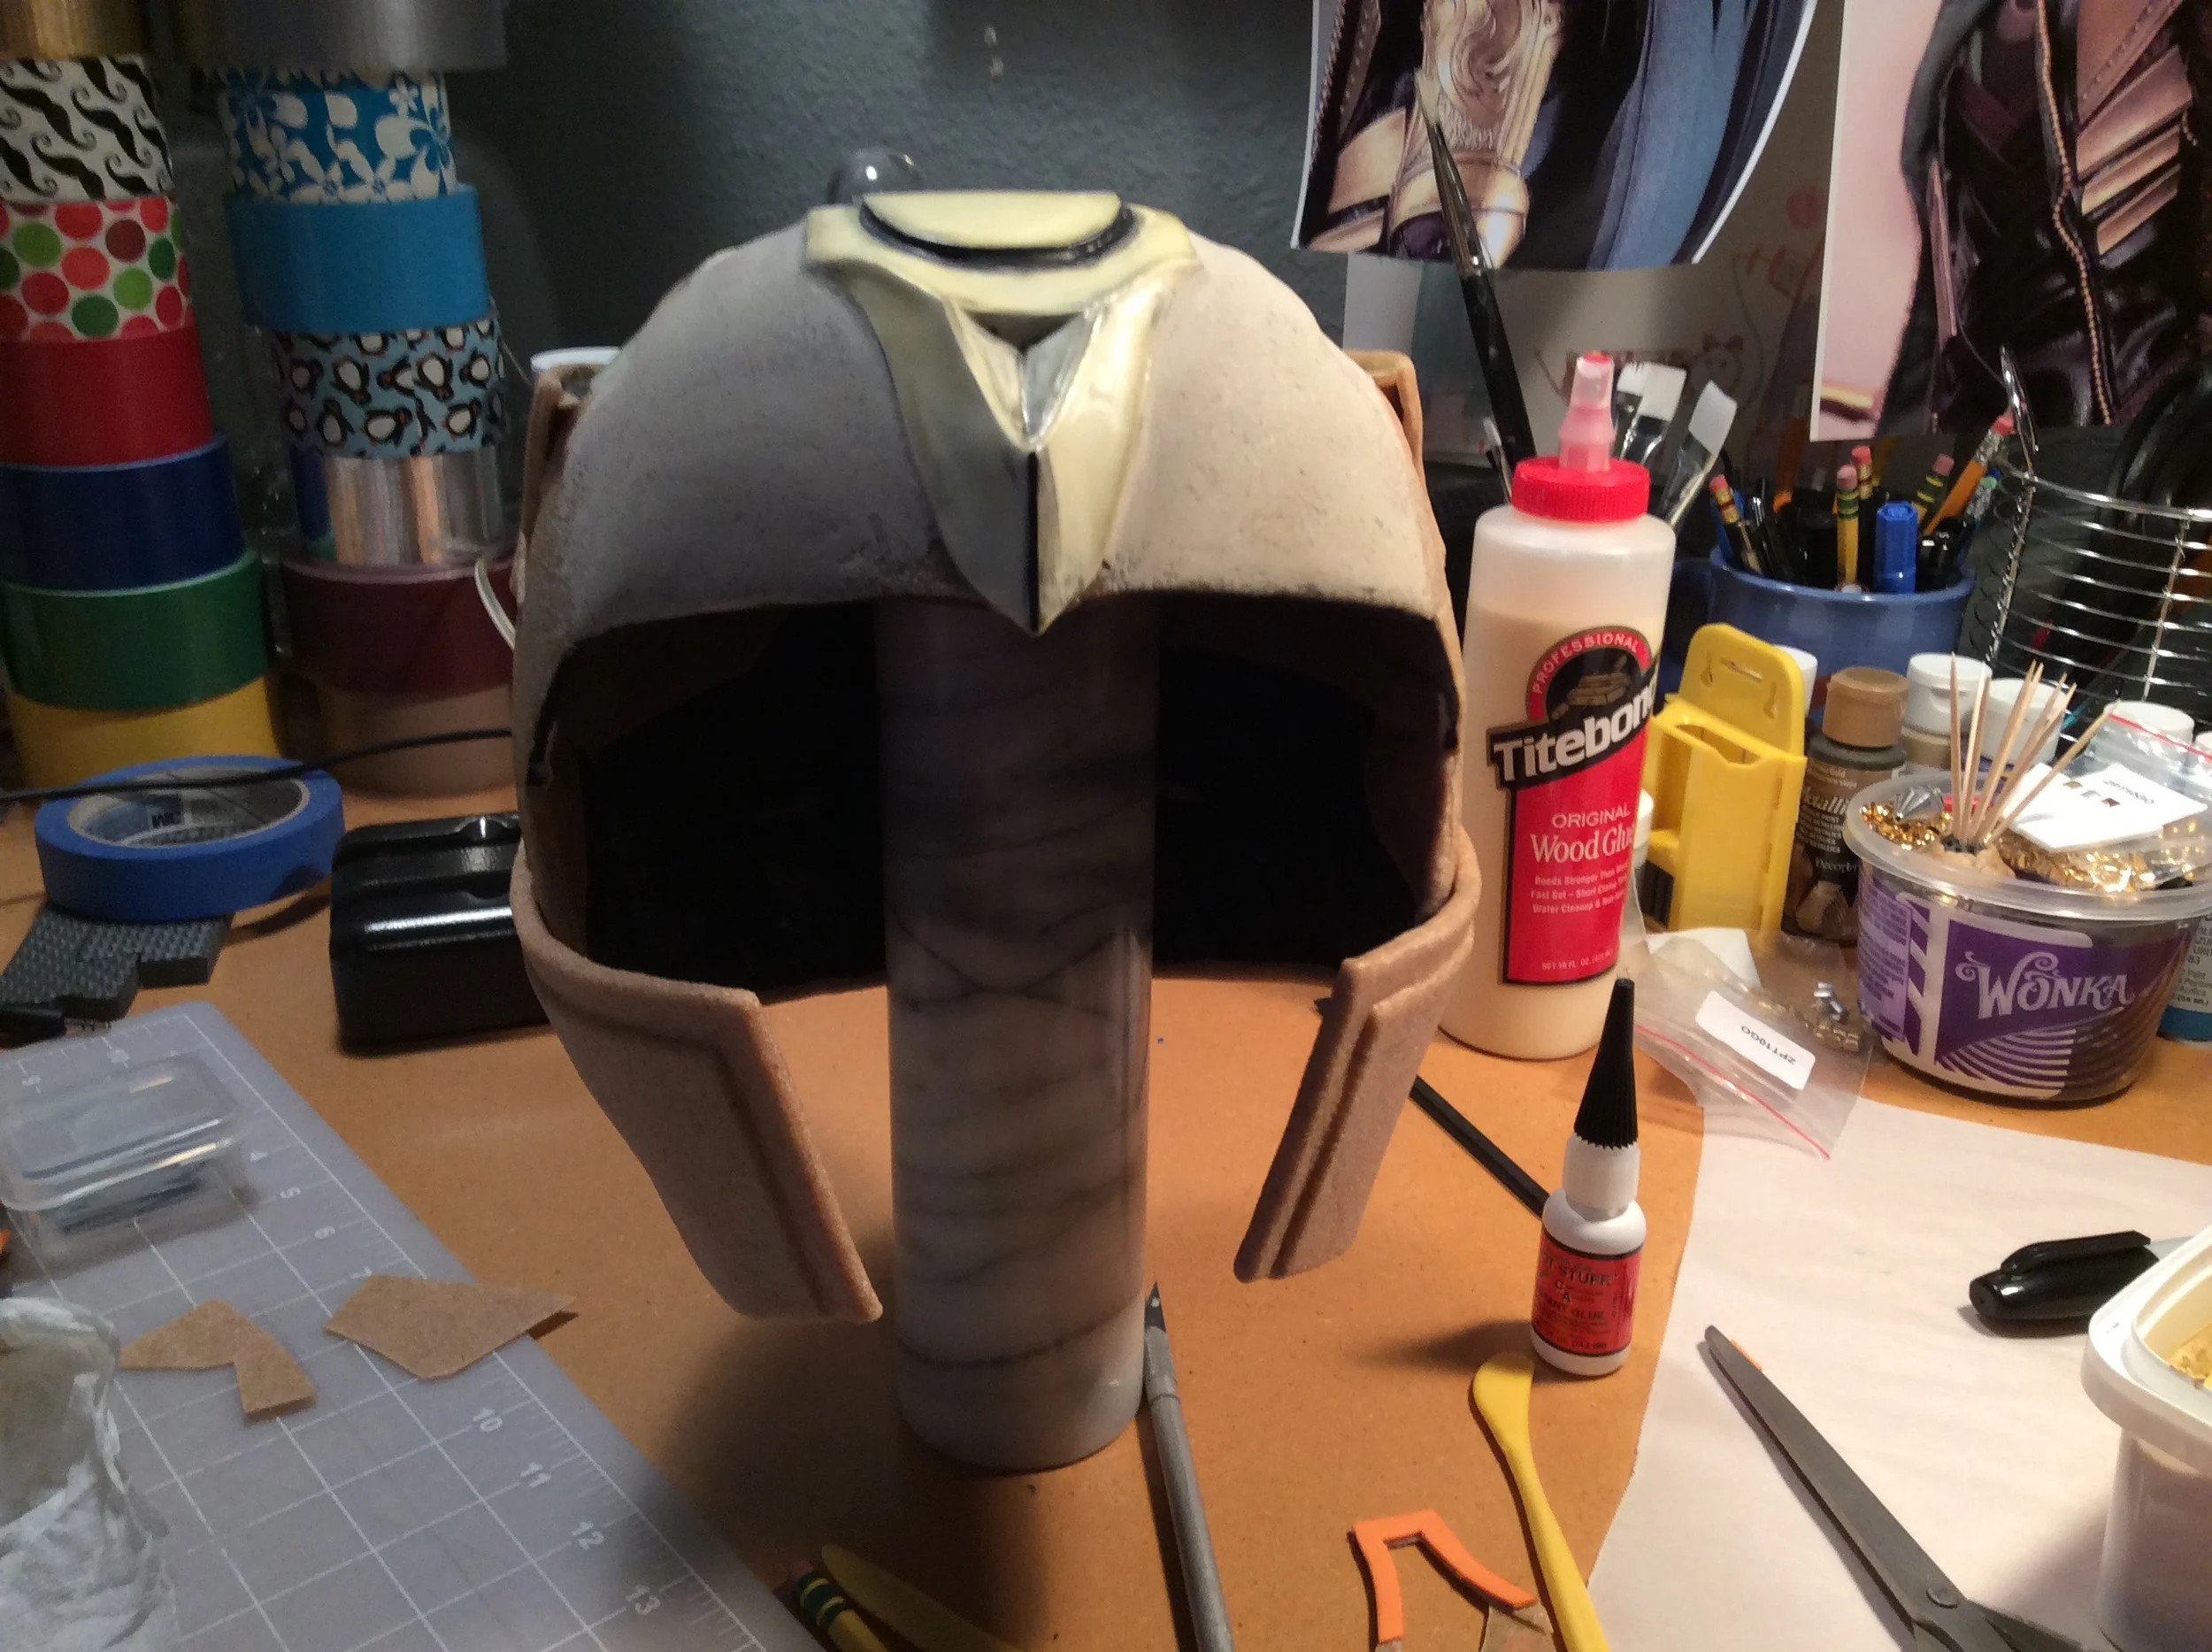
When I started modifying the batting helmet I was in a bit of a rush so I didn't take photos to being with. My progress photos start with the batting helmet already cut down and heavily modified. Besides removing the bill I also chopped out a part of the midsection, pretty much the whole part that is painted silver to compress the profile of the forehead.
This post is not meant to be an exact how-to guide. What you'll find is a whole bunch of progressive photos of the build and painting prep process. I'm not done with the final painting. The photos stop at the first base paint layer. I'll add the painting photos when I'm done and satisfied. Thanks for reading this far. If you have questions please feel free to ask in the comments section.
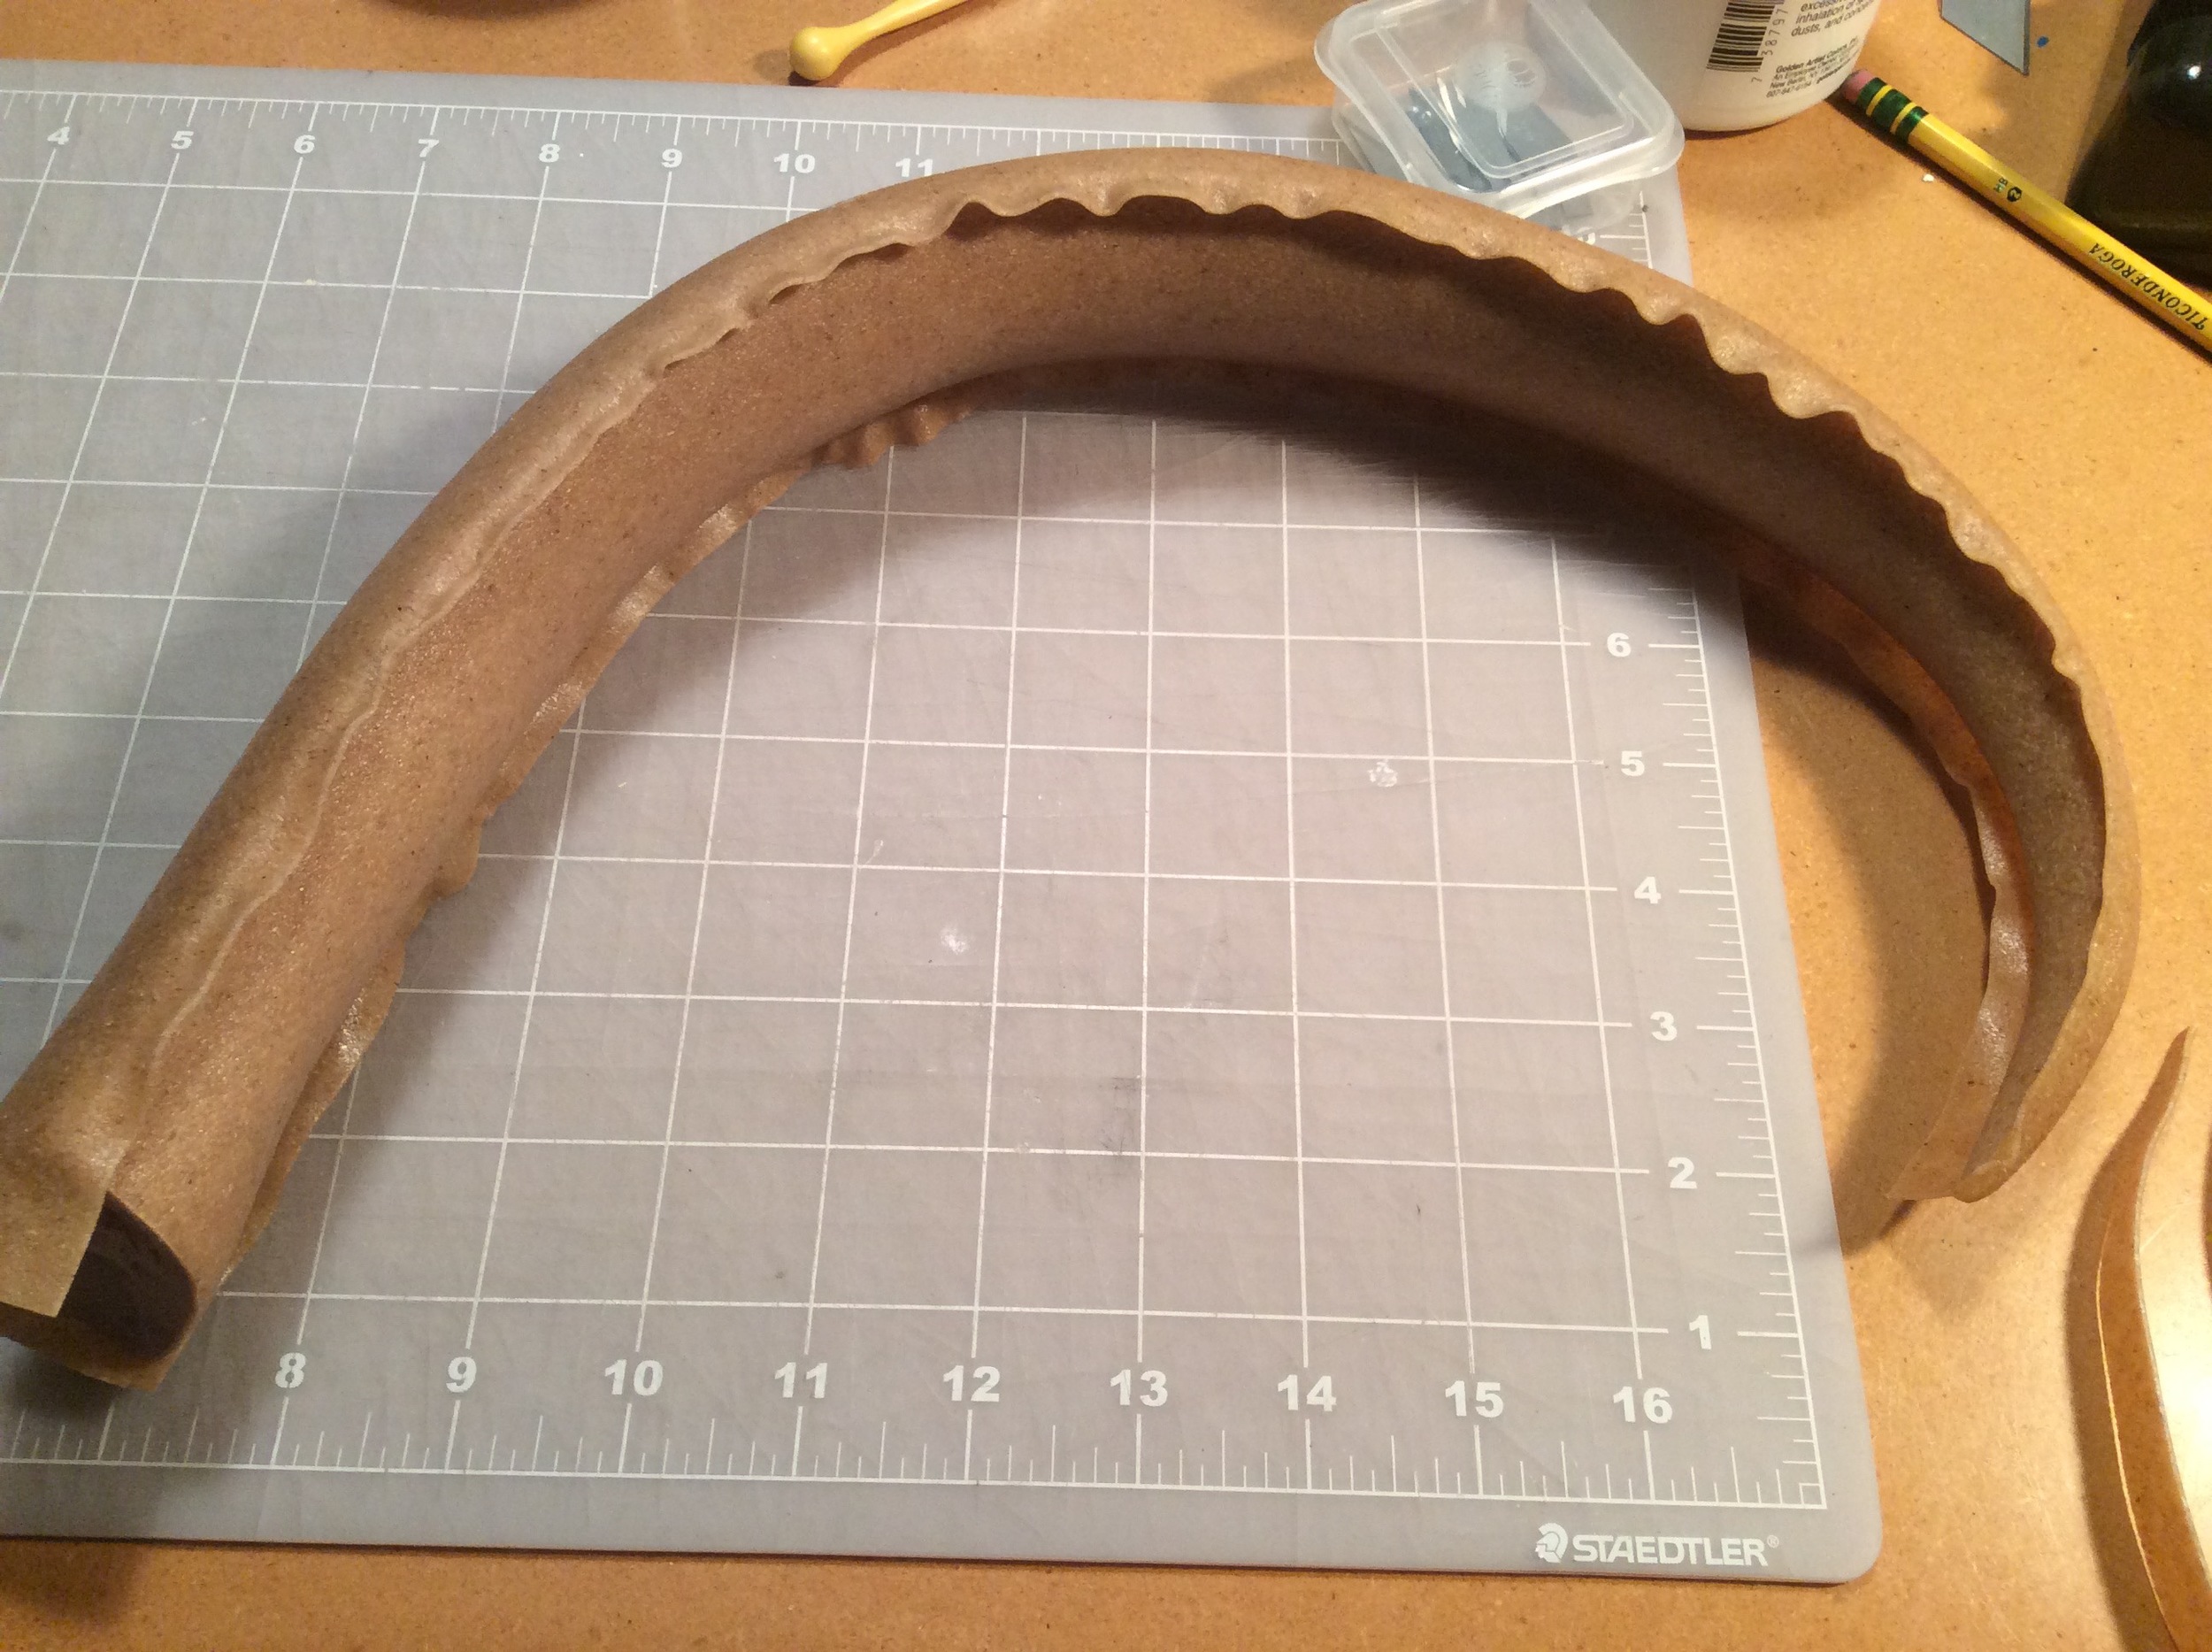
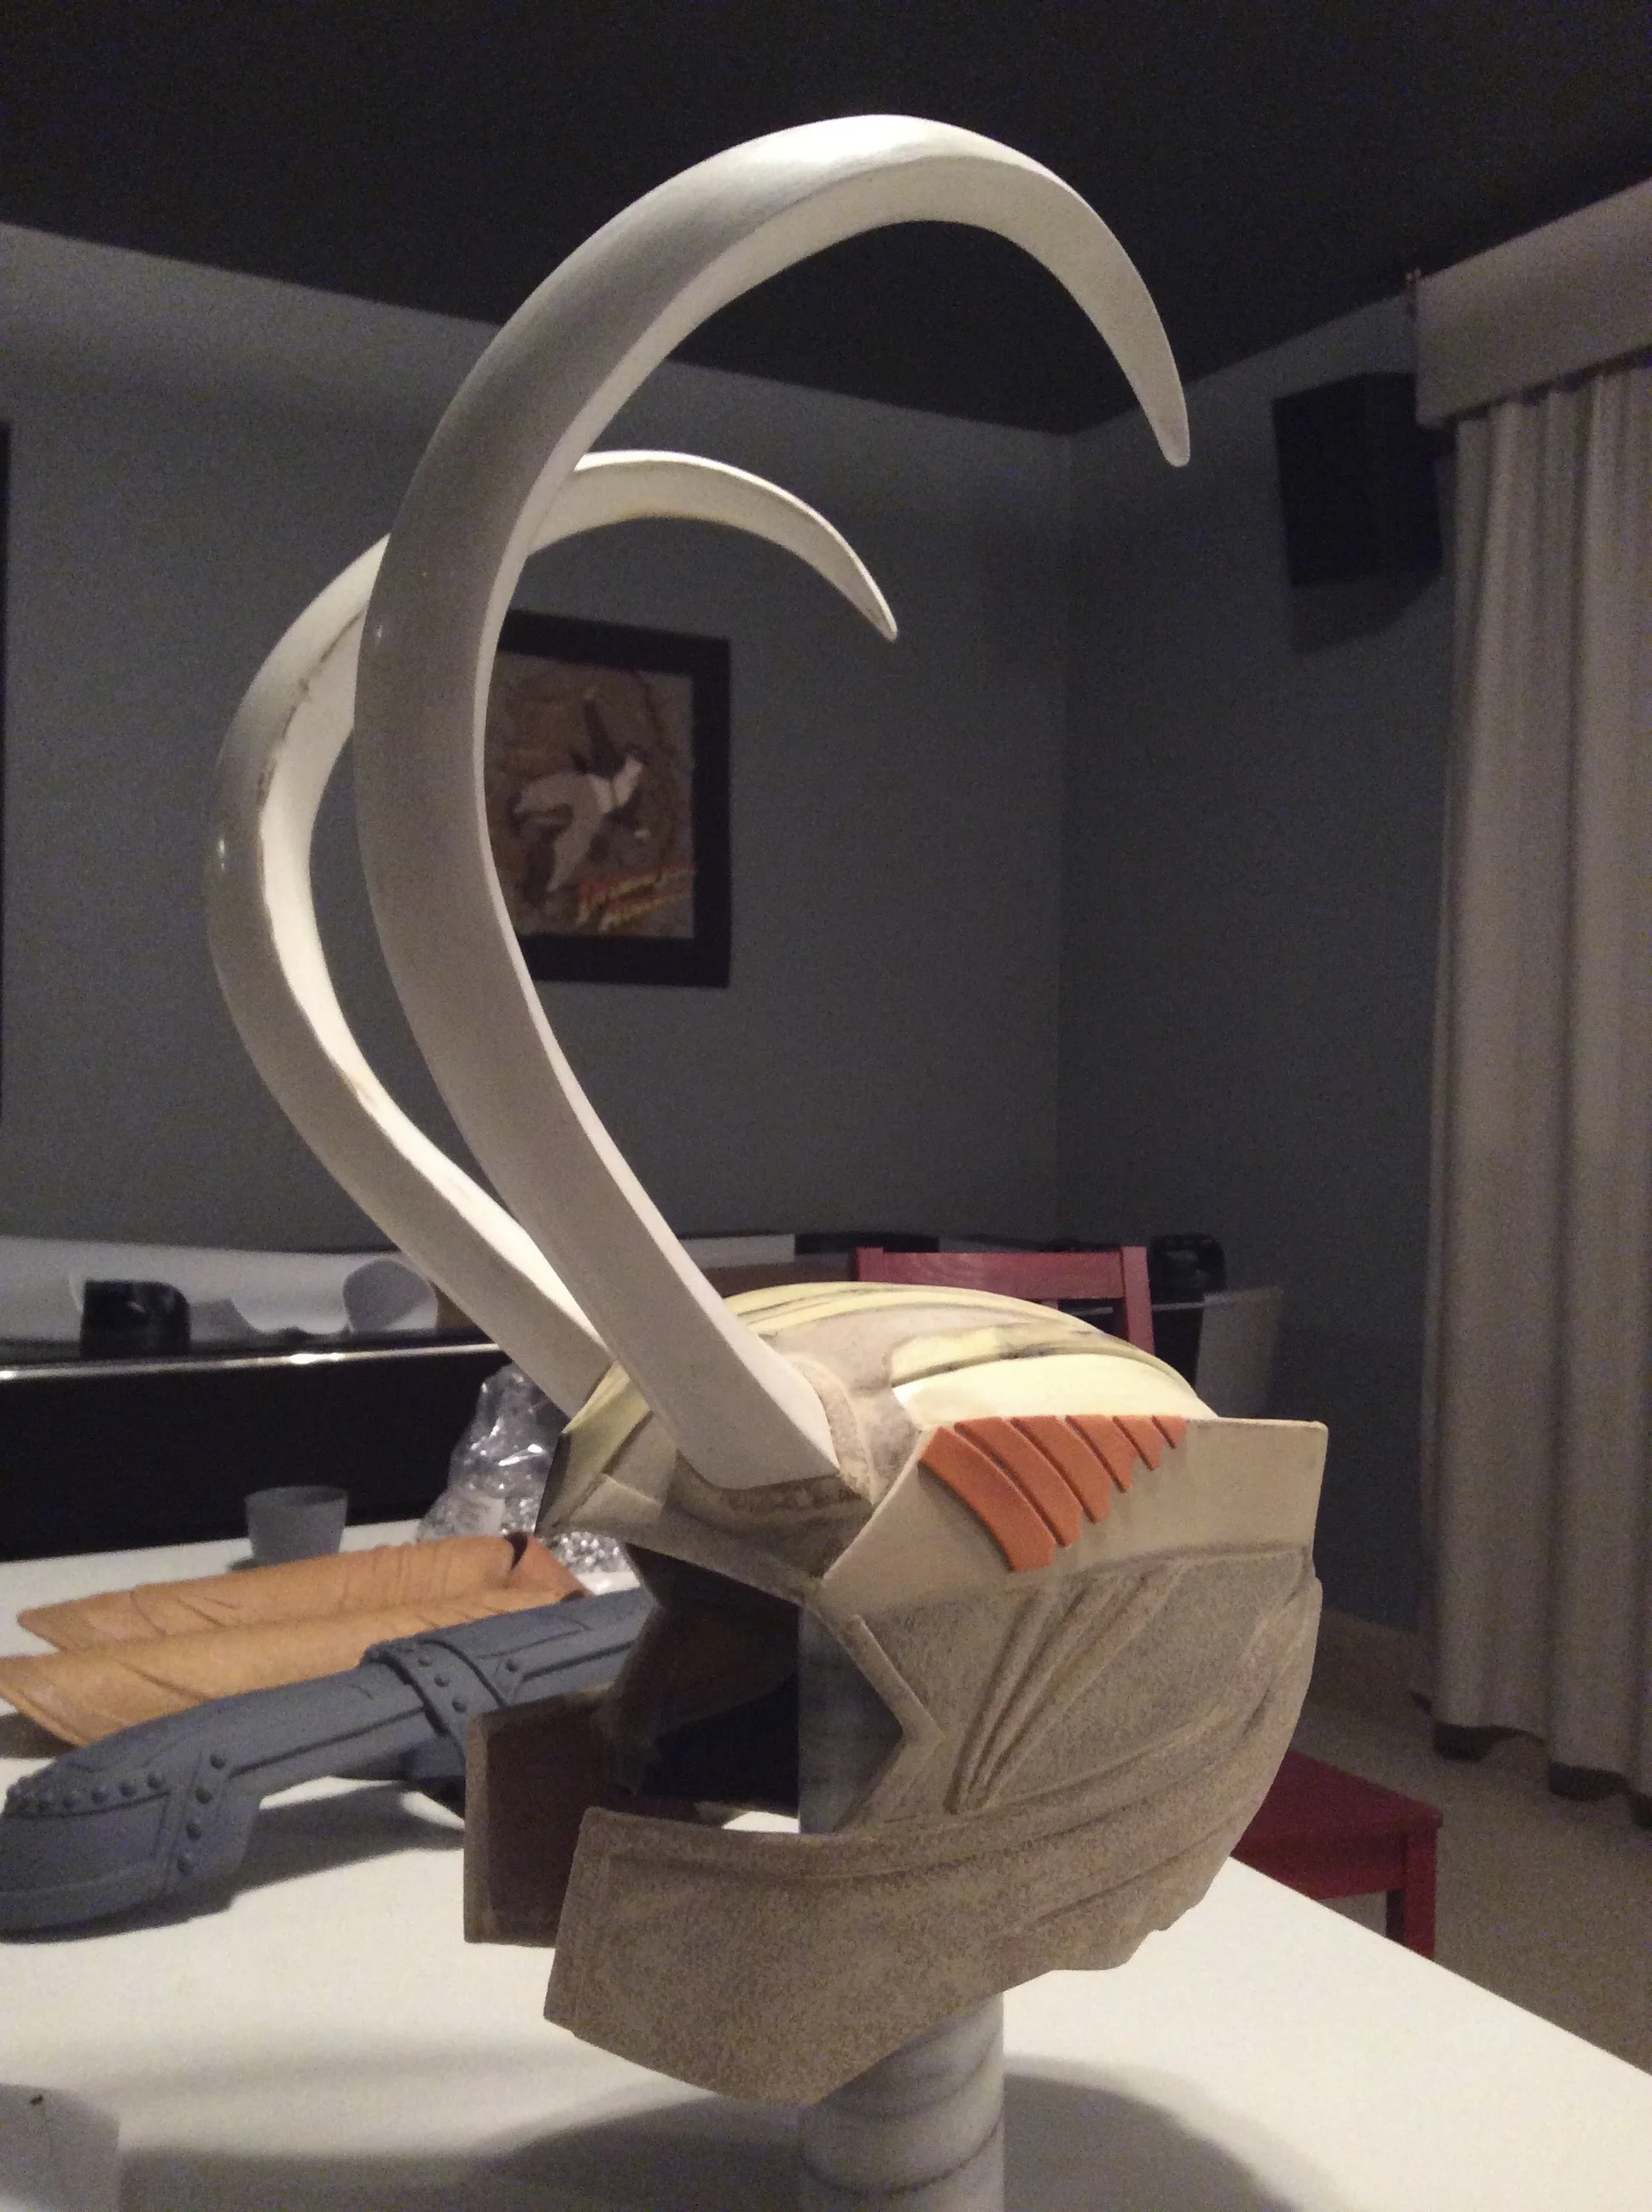
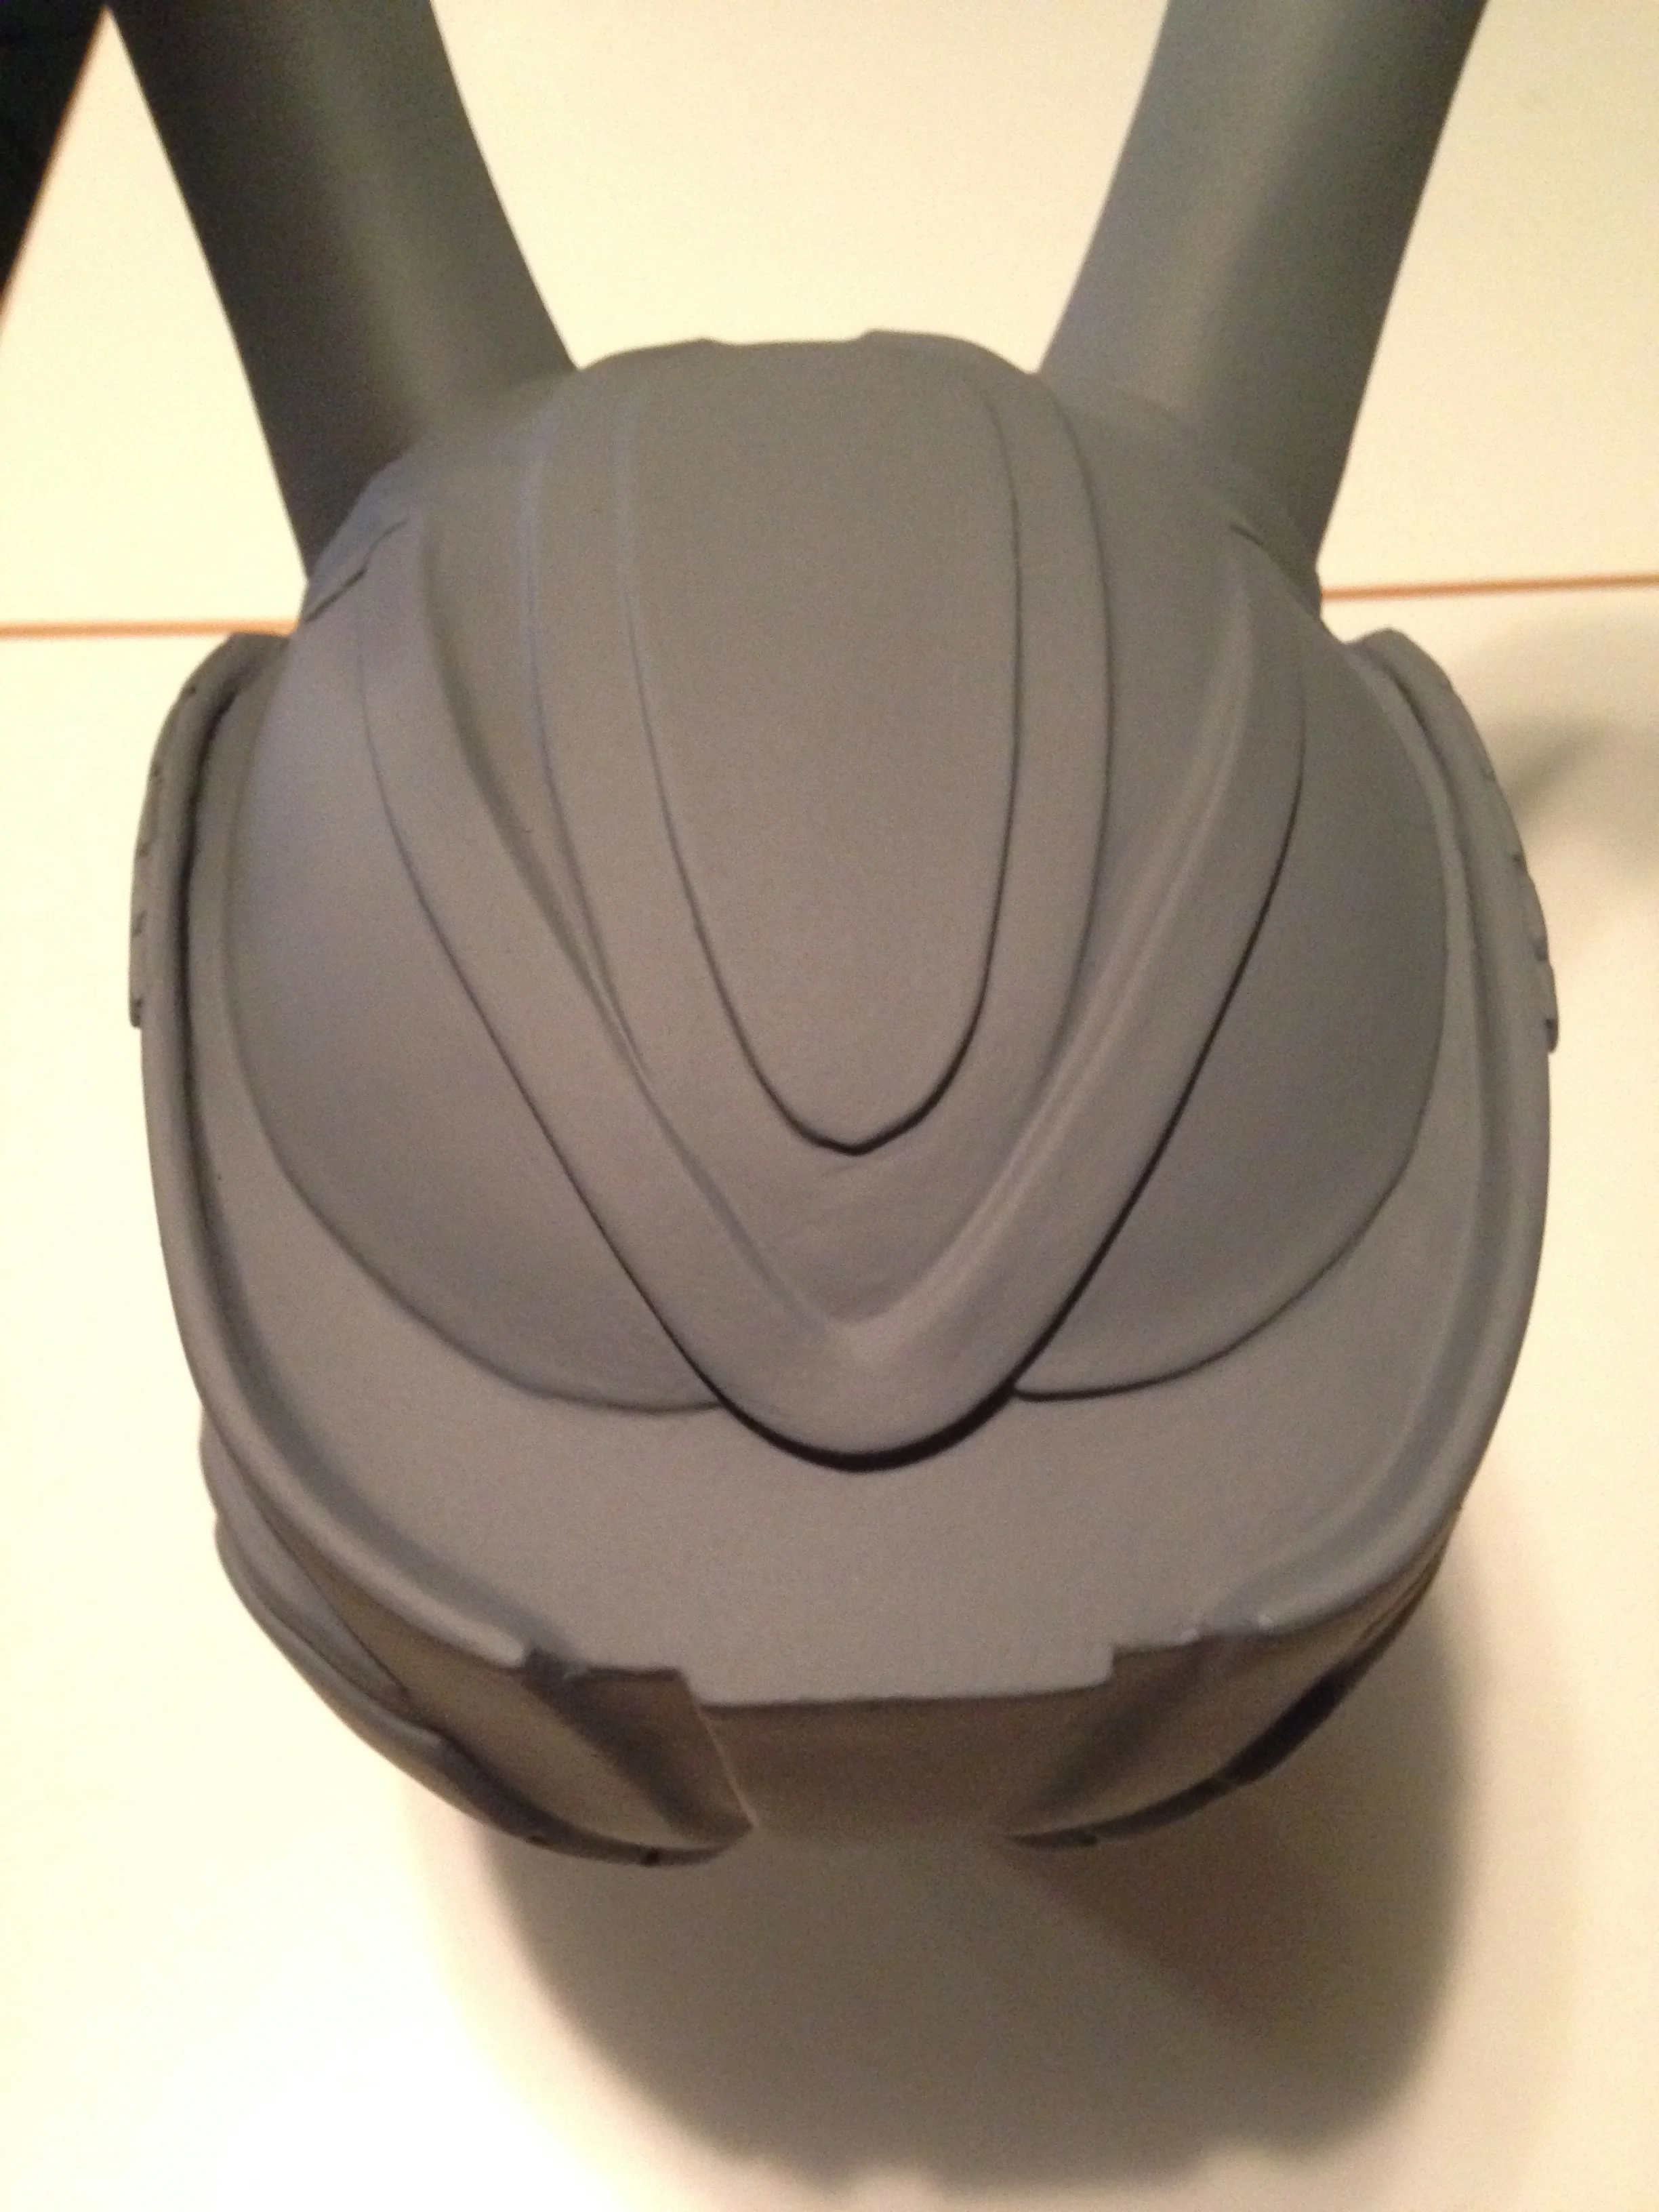
Work In Progress (WIP) Gallery:


If you liked this post you can see my work in progress on Instagram: coregeek which I update regularly as I build. I write these longer build posts after the project is finished. I'd appreciate you "liking" my page while you are there.